

Last Updated on February 26, 2025
Want a new home site?
In this guide, let’s talk about the home site in SharePoint, its key features, and how to set one up.
Let’s get started.
Table of Contents:
The home site is the designated communication site that serves as the main entry point for the intranet.
It serves as a centralized hub for accessing company news, important resources, and key tools for employees.
Here are some of its features:
- Centralized access to news, resources, and events
- Personalized content with audience targeting
- Integration with Microsoft Teams through Viva Connections
- Global navigation
The first two features came in by default, with the home site being a communication site.
The last two, however, are interconnected and are only possible with the integration of Teams and Viva Connections.
Later on, I will show you how to configure the global navigation. 🙂
Sign up for exclusive updates, tips, and strategies
Creating a Home Site
Creating a home site is fairly simple, you simply start with an existing or a new modern communication site.
Step 1: Set Up a Modern Communication Site
Go to the start page of SharePoint Online and click on the + Create site button.
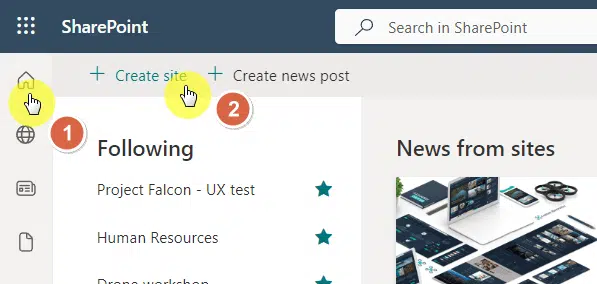
As you may already know, there are two types of modern sites in SharePoint:
- Team sites
- Communication sites
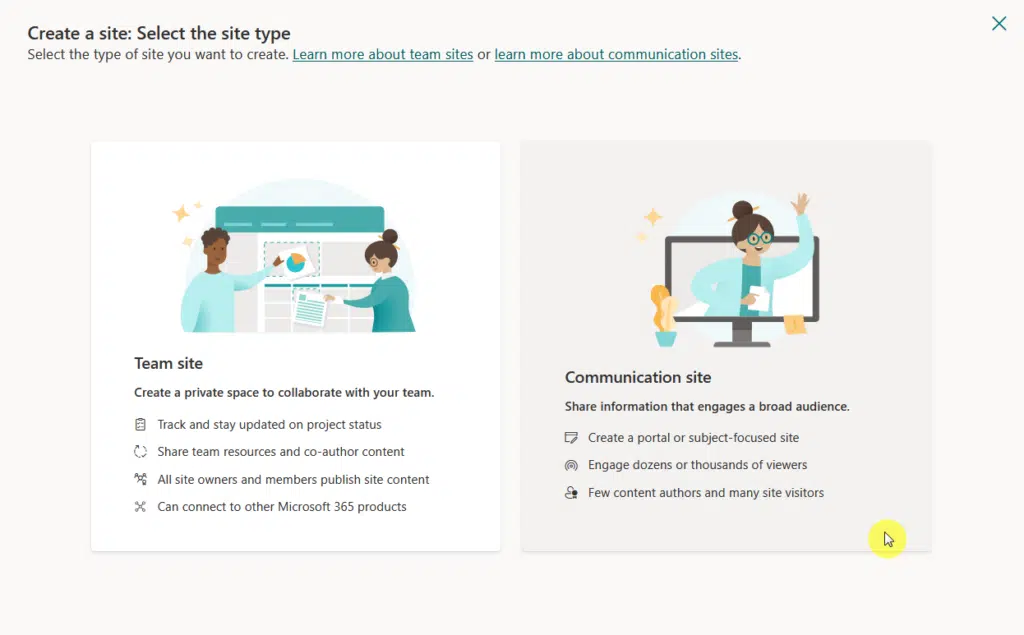
If we’re talking about the home site, the only type of site that you can assign as the home site is a communication site.
So for that, click on the Communication site option:
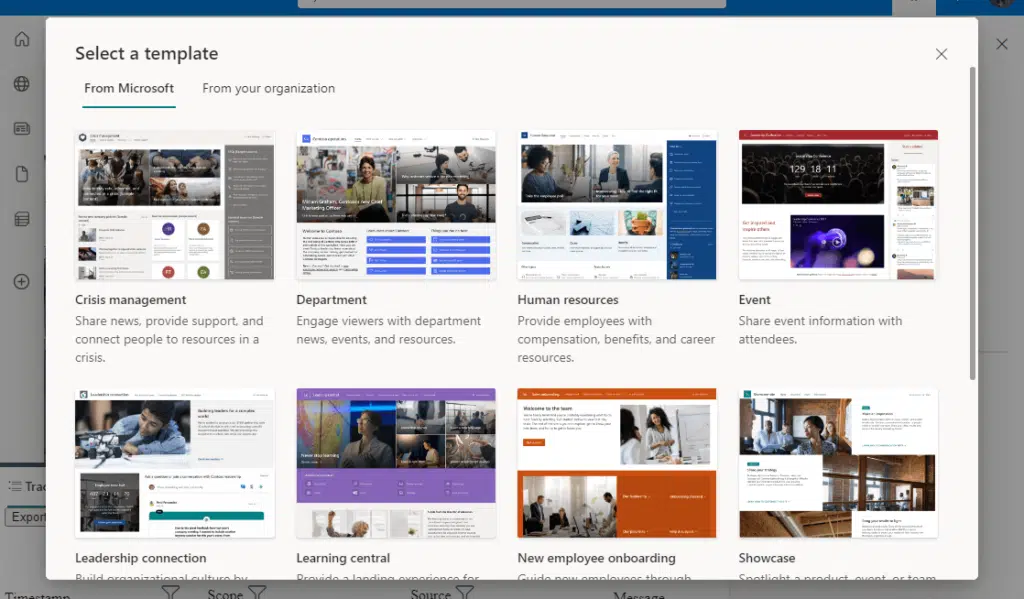
Next up is choosing a communication site template.
You can preview existing templates and use one, or you can also start from the standard template and take it from there.

Anyway, once you’re done with it, you will need to configure the site details:
- Site name
- Site description
- Site address
- Default site language

Once created, the communication site will be ready for customization.
Step 2: Customize the Home Site with Web Parts
This is where you add web parts to your home site if you want to present more dynamic content and improve user engagement.
Basically:
- Enter the edit mode
- Add and configure web parts
- Save and publish
On the home page of the site, you will see an Edit button in the upper-right corner:
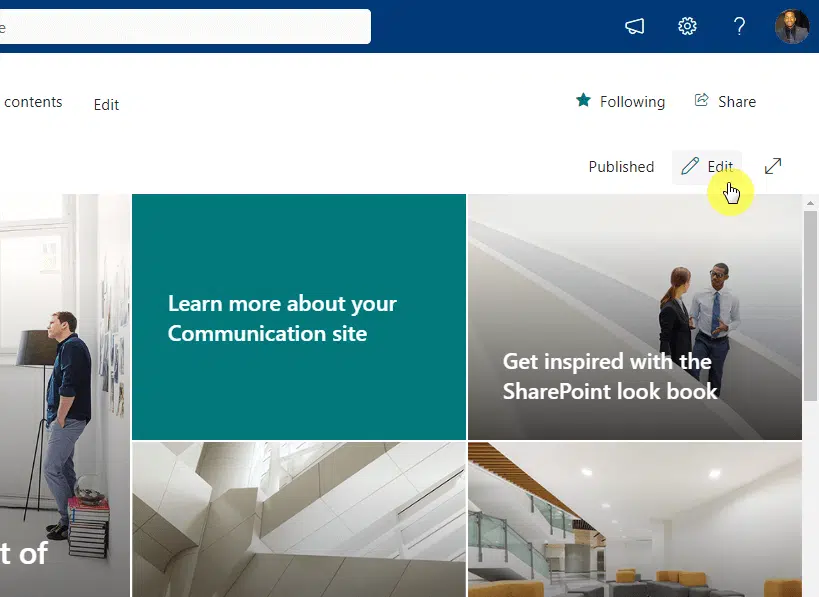
This will bring you to the edit mode.
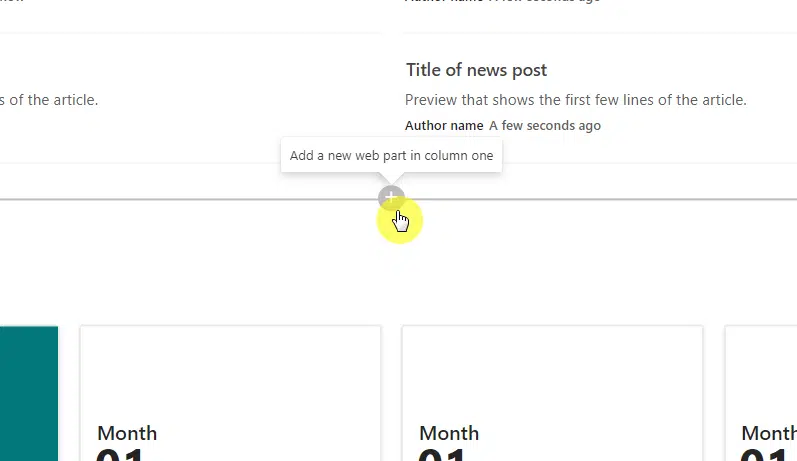
As for web parts, there are a lot of them you can add, like News, Document Library, Events, etc.
Just click the + button to open the web part selection page and then browse or search for the desired web part.
Once you’re satisfied with the customization, you can click on Republish, and that will make the changes go live.
I will put this here in advance, but take note that you need to designate the communication site as the home site first.
Anyway, once you change the newly created site to the home site, the global navigation option will appear in the settings.
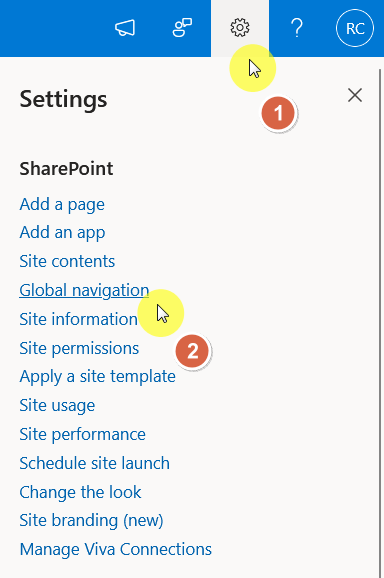
Once there, you will be able to enable or disable (default) the global navigation.
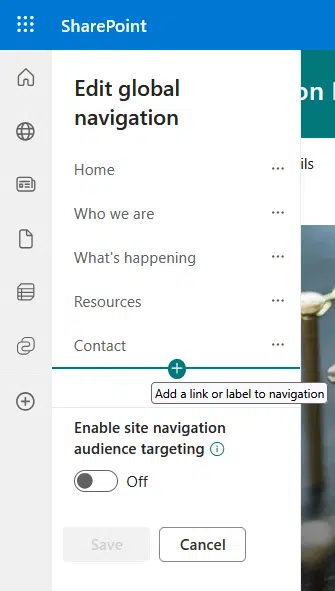
After that, you can optionally add a 20×20-pixel PNG logo for branding and enter a title for the navigation pane.
You then need to choose the navigation source.

As for the sources
- Home site navigation – this uses the current site’s menu
- Hub or global navigation – this uses the hub navigation or allows the creation of a custom menu
You can also edit the global navigation items and add in custom labels or links.
That’s basically it! 🙂
Changing the Home Site
Previously, you could change the home site in the SharePoint admin center, but it has now moved to Viva Connections.
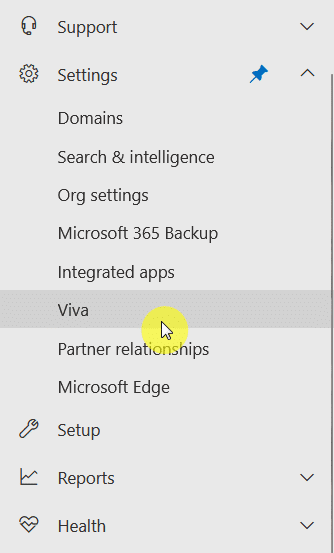
Go to the Microsoft 365 admin center, then to Settings > Viva, and then to Viva Connections under app management.
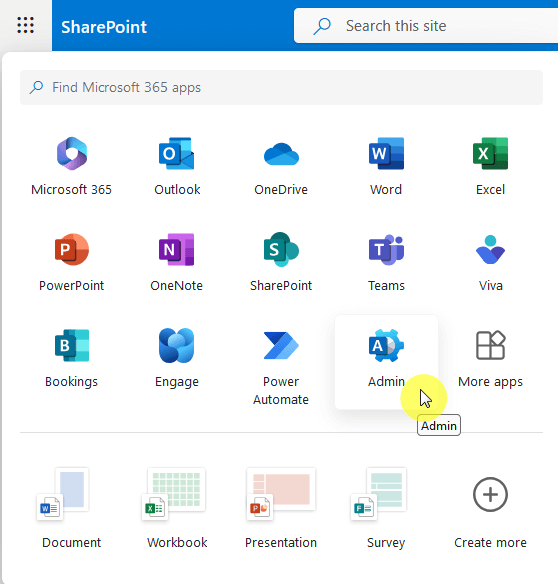

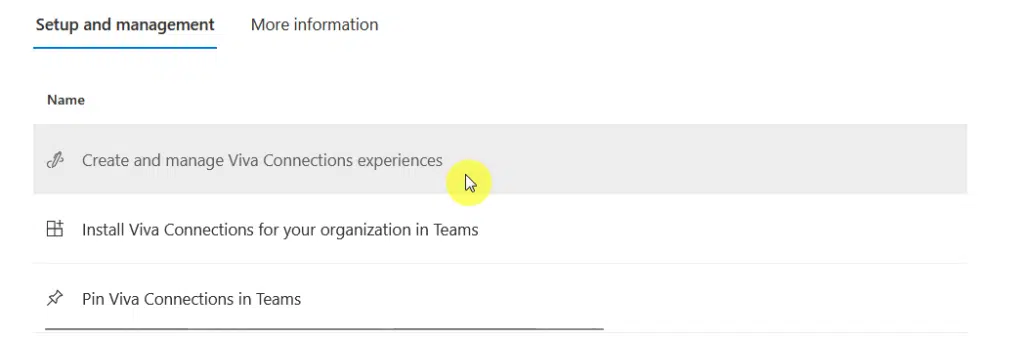
After that, click Create and manage Viva Connections experiences under Setup and management.
On this page, click the Create new button

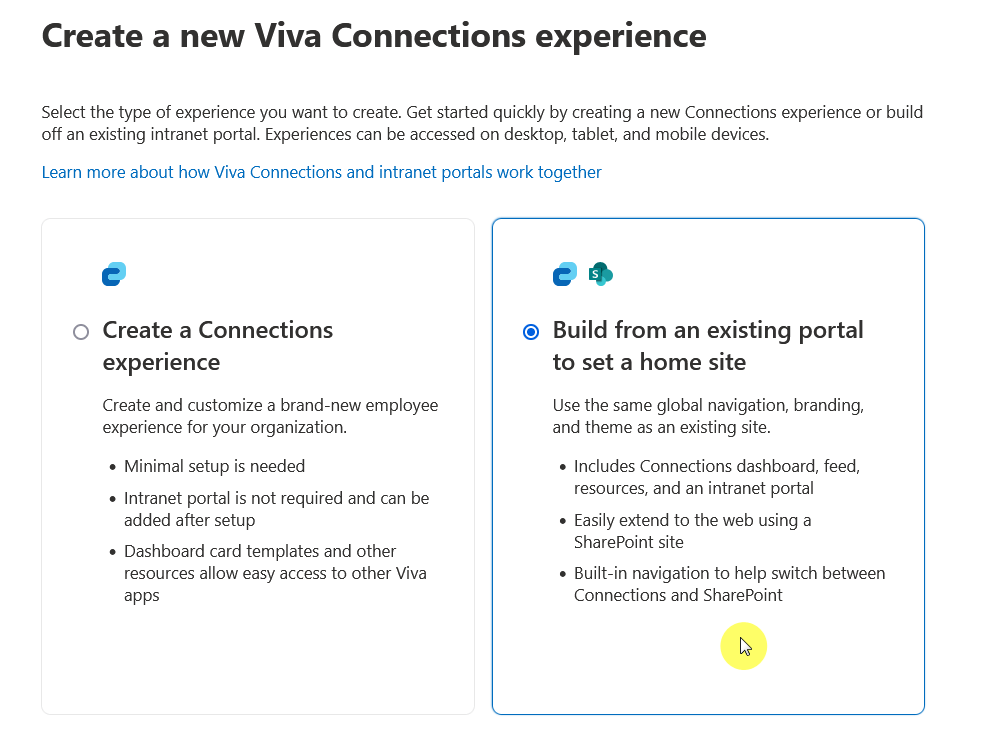
This will start a wizard where you can set up the new Viva Connections experience.
Since you have already created a communication site, click the option to build from an existing portal.
On the next page, you will be able to enter the URL of the communication site that you just created earlier.
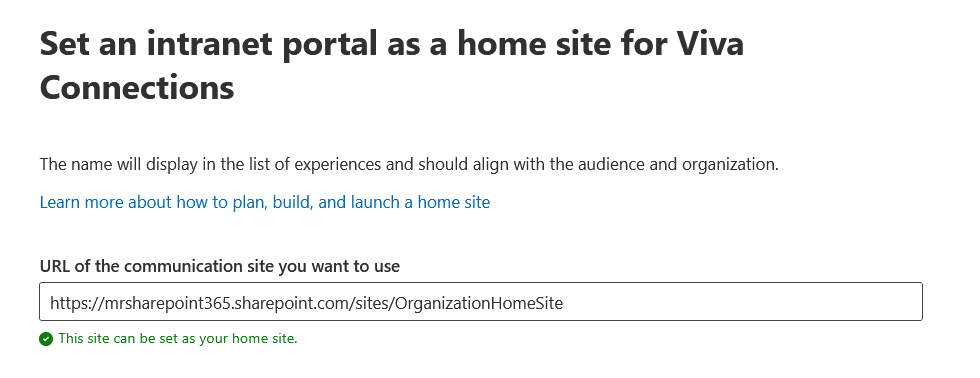
Continue through the process until the end.
The communication site will then be registered as the home site URL for the Viva Connections and SharePoint experience.
Do you have any questions about setting up a home site in SharePoint? Let me know below.
For any business-related queries or concerns, contact me through the contact form. I always reply. 🙂


What is SharePoint for?
It is used for document management and collaboration among many other reasons.