
Last Updated on November 10, 2025
Want to build SharePoint solutions that actually scale without constantly hitting dead ends?
In this guide, let’s talk about the essential SPFx development tools that separate casual builders from professional developers.
Let’s get started!
Table of Contents:
- What Is SharePoint Framework?
- The Dual-Pillar Toolchain Concept
- Building Your Local Development Environment
- The Developer’s Toolkit: IDE and Productivity Extensions
- Building Professional User Interfaces
- Debugging, Testing, and Quality Assurance
- Automation, Deployment, and Lifecycle Management
- The Future: SPFx Roadmap 2025–2026
- Mastering the Dual-Pillar Approach
SharePoint Framework (SPFx) is Microsoft’s recommended development model for all modern customizations in Microsoft 365.
Everything executes in the user’s browser (not on servers) which means you write JavaScript (or TypeScript) and CSS that runs client-side.
This replaces older server-side models and the now-deprecated SharePoint Add-in model, making SPFx the only supported path forward for new development.
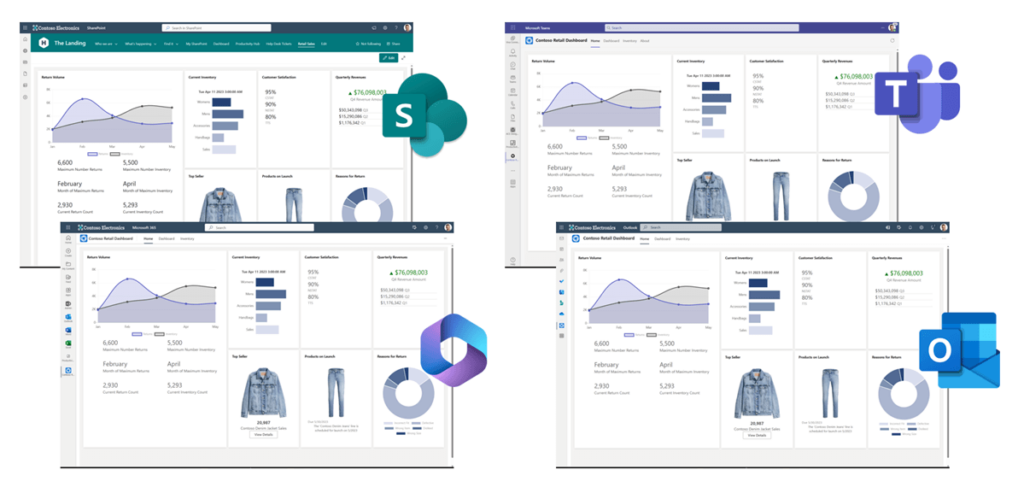
The framework’s power extends beyond SharePoint alone.
You can deploy the same SPFx solution to SharePoint, Microsoft Teams (as tabs), Viva Connections, Outlook, and Microsoft365.com.
This “build once, extend everywhere” vision positions SPFx as the unified framework for all Microsoft 365 extensibility.
Sign up for exclusive updates, tips, and strategies
The Dual-Pillar Toolchain Concept
The SPFx ecosystem stands on two essential pillars:
- The Official Microsoft Toolchain
- The PnP Community Toolchain
Neither alone is sufficient for professional development, and understanding both is critical.
Microsoft’s Official Toolchain includes essential npm packages: the Yeoman generator, core framework libraries, and build tasks.
However, this toolchain is intentionally minimal.
The PnP (Patterns and Practices) Community fills every gap the official toolchain leaves behind.
This community-blessed initiative provides professional-grade tools for tenant management, UI acceleration, and application lifecycle management.
A developer using only official tools faces significant productivity disadvantages compared to someone leveraging both pillars effectively.
Building Your Local Development Environment
Getting SPFx development started requires installing several global command-line tools via npm.
They form the foundation of your local workbench and determine your ability to build, test, and deploy solutions.
Core Prerequisites (Global Installs)
Here’s what you need to install before creating your first project:
- Node.js (Long Term Support version only). SPFx versions are strictly tied to specific Node.js releases.
- npm (included with Node.js). This manages all project dependencies and installs global tools.
- Gulp-CLI. This task runner handles build processes like serve, bundle, and package-solution for SPFx v1.21.1 and earlier.
- Yeoman. This scaffolding tool generates the folder and file structure for new projects.
- @microsoft/generator-sharepoint. This is the SPFx-specific model Yeoman uses to create project structures.
Install these with a single command:
npm install gulp-cli yo @microsoft/generator-sharepoint --globalThis gets you ready for your first SPFx project immediately.
The Critical Versioning Challenge
Version incompatibility is the biggest source of friction for new and experienced SPFx developers.
SPFx versions have strict, non-negotiable dependencies on specific Node.js versions, and then TypeScript versions depend on those.
Using an unsupported Node.js version (like the newest LTS with an older SPFx project) creates cryptic build failures.
This challenge becomes severe when consultants or in-house teams maintain multiple projects built on different SPFx versions.
You cannot run SPFx v1.21 (Node 18-22) and SPFx v1.17 (Node 16) on the same machine without version management.
Node Version Manager (NVM) is not optional.
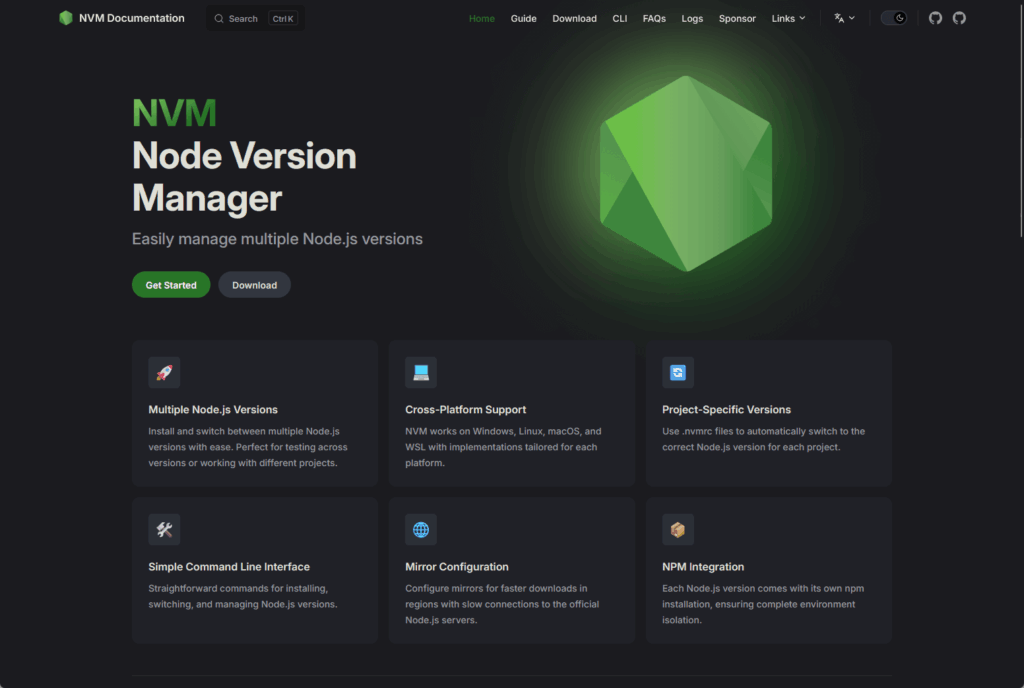
NVM allows you to install multiple Node.js versions and switch between them instantly with commands like nvm use 18 or nvm use 22.
The SPFx community’s own Toolkit provides configuration settings to work with NVM seamlessly.
Here’s the key version matrix for SharePoint Online development:
| SPFx Version | Node.js Support | TypeScript Support |
| v1.21.x | v22 only | v5.3.3 |
| v1.20.x | v18 | v4.5, v4.7 |
| v1.19.x | v18 only | v4.5, v4.7 |
| v1.18.x | v16, v18 | v4.5, v4.7 |
| v1.17.x | v16.13+ | v4.5 |
| v1.16.x | v16.13+ | v4.5 |
| v1.15.x | v12, v14, v16 | v4.5 |
The Developer’s Toolkit: IDE and Productivity Extensions
Visual Studio Code is the universally recommended IDE for SPFx development.
Its lightweight nature, integrated terminal, debugging support, and rich extension ecosystem make it the clear standard.
Why Visual Studio Code Is the SPFx Standard
VS Code’s popularity in SPFx development isn’t accidental.
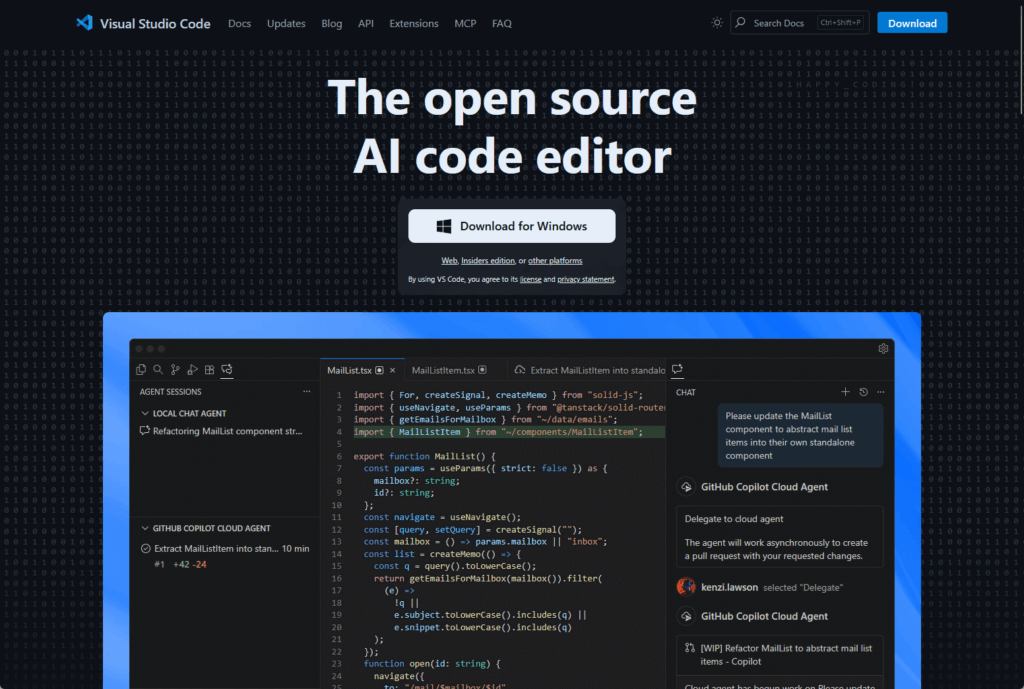
Its speed and responsiveness matter when you’re compiling and recompiling code dozens of times daily. The integrated terminal lets you run gulp tasks without context switching.
Most importantly, the extension ecosystem transforms VS Code into a purpose-built SPFx development environment.
With the right extensions, you can eliminate manual steps, automate repetitive tasks, and catch errors before they reach production.
Essential Extension Packs
You have two main extension options: a passive toolkit or an active management system. Both serve different workflows.
SPFx Essentials is a bundle of smaller extensions that provide helpers and snippets.
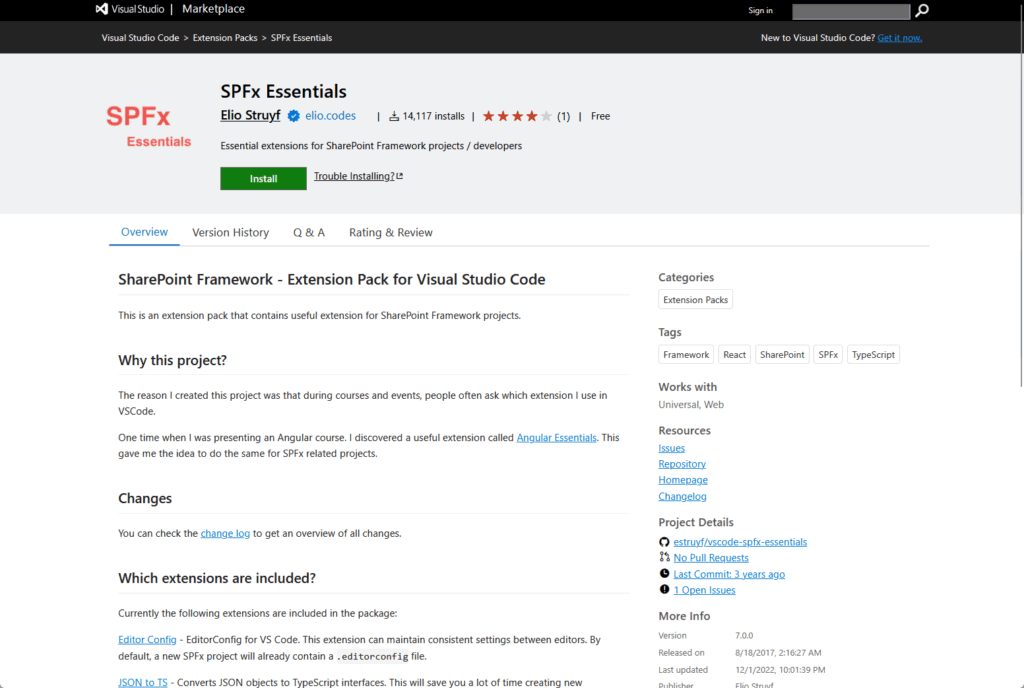
It includes:
- SPFx code snippets for scaffolding common structures
- A localization UI for managing multi-lingual files
- A task runner for executing Gulp commands from the sidebar
- npm Intellisense for auto-completing module names
- Path Intellisense for auto-completing file paths
Use this pack if you prefer working with commands but want quick helpers available.
SharePoint Framework (SPFx) Toolkit (also called Viva Connections Toolkit) is an active management dashboard built by the PnP community.
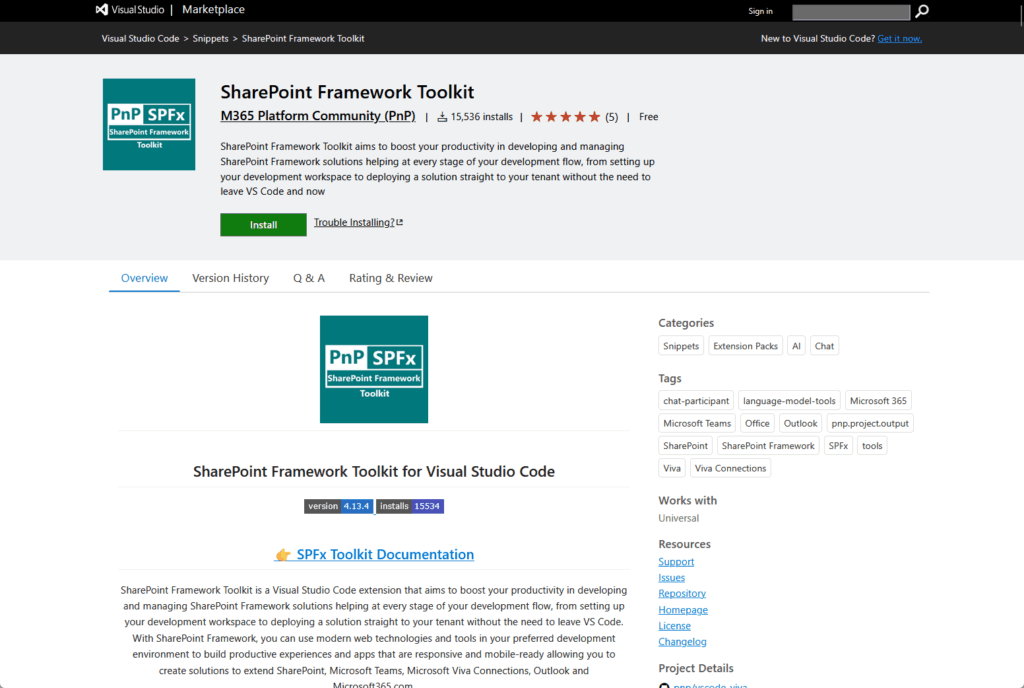
This tool represents the maturation of SPFx tooling, providing:
- Environment validation checking your local setup against project requirements.
- Guided scaffolding with one-click dependency inclusion.
- A sample gallery for creating projects from existing samples.
- Tenant management from VS Code showing your App Catalog and deployed extensions.
The Toolkit also automates lifecycle tasks like upgrading projects and deploying solutions using CLI for Microsoft 365 under the hood.
It can generate Azure DevOps pipeline YAML files complete with app registration guidance.
For most professional developers, this extension becomes indispensable once you start managing multiple projects.
AI-Powered Development with GitHub Copilot Chat
A new @spfx Copilot agent (currently pre-release) integrates AI into your VS Code workflow.
It’s not a standalone extension but rather a chat participant feature integrated within the SharePoint Framework Toolkit extension
In the Copilot Chat window, type @spfx to invoke the agent and ask for guidance in natural language, as seen here:

For example, type @spfx /new or “I want to build a new web part to show my Teams events.” The agent asks follow-up questions to help you select the right component type.
Finally, it presents the exact terminal command to run and a button to execute it, scaffolding your project and installing dependencies automatically.
AI helps solve SPFx’s main issue for new developers: complexity. Beginners struggle with the framework’s overwhelming versioning, scaffolding, and tenant configurations.
Building Professional User Interfaces
Creating professional UI requires two layers:
- The design framework
- The data-bound accelerators
Both matter equally for building solutions that feel native to Microsoft 365.
Fluent UI React: The Microsoft Design Standard
Fluent UI (formerly Office UI Fabric) is the official Microsoft UX framework for building all Microsoft 365 experiences.
Using it is the standard and recommended way to build any SPFx web part.
Fluent UI provides two core benefits.
First, consistency: a robust collection of components (buttons, text fields, dialogs, DocumentCard) ensures your web part looks and feels native to SharePoint, Teams, and M365.
Second, accessibility: the components are designed with enterprise-grade accessibility and responsiveness built in.
There’s a versioning quirk here worth understanding. SPFx projects currently default to the older office-ui-fabric-react package (v8).
The newest version is @fluentui/react (v9), which represents a merge of previous libraries and is recommended for modern web apps.
While you can use Fluent UI v9 in SPFx, it’s not the default and can cause compatibility issues if not handled carefully.
For most developers, sticking with office-ui-fabric-react (v8) that comes with the project template is the most stable path.
You avoid unexpected compatibility problems and benefit from well-documented examples throughout the community.
PnP Reusable Controls: The Accelerators Built on Fluent UI
The PnP community provides two libraries of pre-built React components that dramatically accelerate development.
These aren’t competitors to Fluent UI; they’re accelerators built on top of Fluent UI that solve SharePoint-specific, data-bound scenarios.
Consider the PeoplePicker as an example. Fluent UI provides a basic PeoplePicker component.

The PnP PeoplePicker wraps the Fluent UI component but adds all the logic to search, validate, and retrieve users and groups from your actual SharePoint tenant.
This saves you from writing complex data-binding logic.
@pnp/spfx-controls-react provides reusable React controls for SharePoint Framework solutions.
Key controls include:
- PeoplePicker for user selection
- DateTimePicker for date handling
- Accordion for collapsible sections
- Carousel for image galleries
- ComboBoxListItemPicker for SharePoint items
- ChartControl for data visualization
@pnp/spfx-property-controls provides controls for the property pane (configuration sidebar).
This library is arguably more critical than the first because the default SPFx property pane is very basic:
- PropertyFieldCollectionData: Creates a full data grid editor.
- PropertyFieldColorPicker: Enables rich configuration experiences.
- PropertyFieldFilePicker: Enables rich configuration experiences.
- PropertyFieldFolderPicker: Enables rich configuration experiences.
- PropertyFieldEnterpriseTermPicker: Enables rich configuration experiences that define professional-grade web parts.
Debugging, Testing, and Quality Assurance
Testing and debugging span multiple tools and workflows, from rapid local iteration to comprehensive end-to-end testing.
The primary local debugging tool is the SharePoint Workbench, a development surface that loads your web part from your local machine.
Launch it by running gulp serve. This tool comes in two functionally different versions.
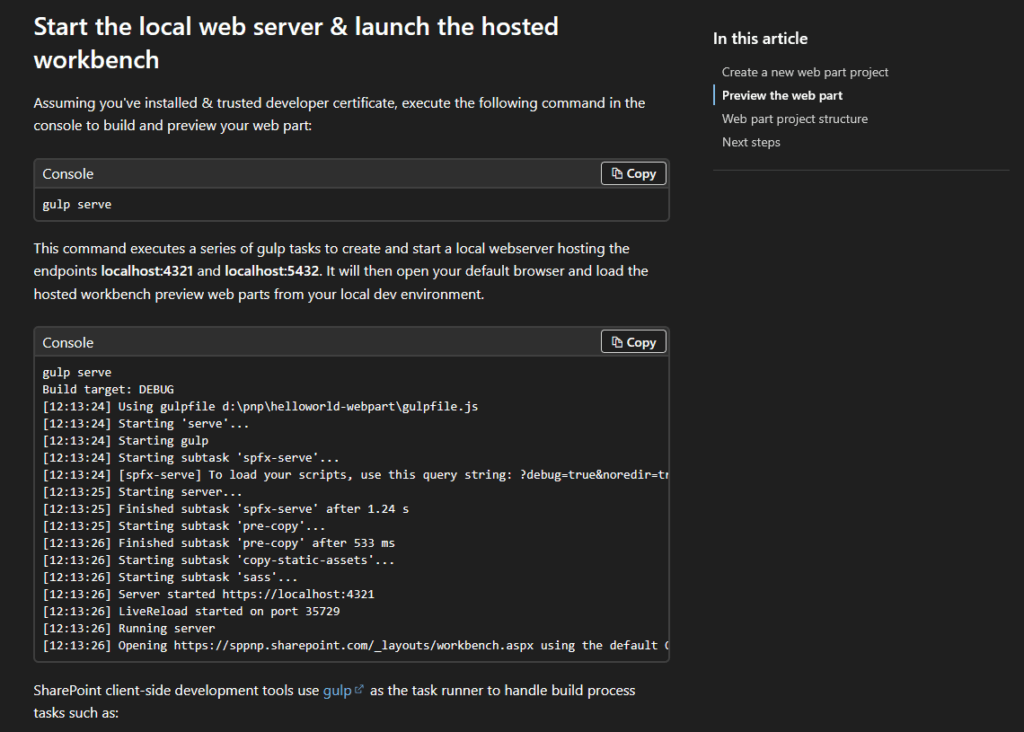
The Local Workbench runs at https://localhost:4321/temp/workbench.html. It’s a static HTML page with no SharePoint context.
You cannot access SharePoint lists, user data, or make API calls. Use this for pure UI and layout testing with mock data.
The Hosted Workbench runs at https://{tenant-name}/_layouts/15/workbench.aspx within a real SharePoint site.
You have full context and can access all site data, lists, and SharePoint APIs. This is your primary debugging environment for testing data-connected web parts.
SPFx Extensions (Customizers and Command Sets) cannot use the workbench; they must be debugged on live, modern SharePoint pages.
When you scaffold an extension, the Yeoman generator automatically adds a pageUrl entry to your config/serve.json file.
When you run gulp serve, it opens that real SharePoint page with all necessary debug parameters appended to the URL, loading your extension code from localhost.
Debugging Workflows
Three methods handle different debugging scenarios.
Browser DevTools (F12) is simplest.

Open the browser’s Sources tab and set breakpoints directly in your code. Even simpler, add the debugger; statement in your TypeScript file.
When code executes, the browser pauses automatically. Since SPFx uses source maps, you see your original TypeScript, not compiled JavaScript.
VS Code Integration is more powerful and uses VS Code’s built-in JavaScript Debugger. No extension installation needed.
Go to the Run and Debug tab (Ctrl+Shift+D) and create or modify your launch.json file.

Configure it to point to your Hosted Workbench URL with the “pwa-chrome” debugger type for modern browsers.
Run gulp serve –nobrowser in your terminal, set breakpoints directly in your TypeScript files, then press F5 to start debugging. VS Code launches a debug-attached browser.
Your breakpoints are hit when your web part executes. You can inspect variables and step through code seamlessly.
Here’s a basic launch.json configuration for the Hosted Workbench:
{
  "version": "0.2.0",
  "configurations": [
    {
      "name": "Hosted workbench",
      "type": "pwa-chrome",
      "request": "launch",
      "url": "https://contoso.sharepoint.com/_layouts/workbench.aspx",
      "webRoot": "${workspaceRoot}",
      "sourceMaps": true,
      "runtimeArgs": ["--remote-debugging-port=9222", "-incognito"]
    }
  ]
}
Production Debugging is a pro technique for supporting end-users.
When you package a solution for production (gulp bundle –ship), the code is minified and source maps are not included.
This makes debugging user-reported errors nearly impossible. Generate source maps by customizing your build process.
Do not deploy the .map files; instead archive them in your CI/CD pipeline tagged with the release version.
When a user reports a bug, open the production page in F12 DevTools. Find your minified .js bundle. Right-click and select “Add Source Map.” Point it to your local .map file.
The browser instantly de-compiles the code, letting you read and set breakpoints in the original TypeScript while running against production.
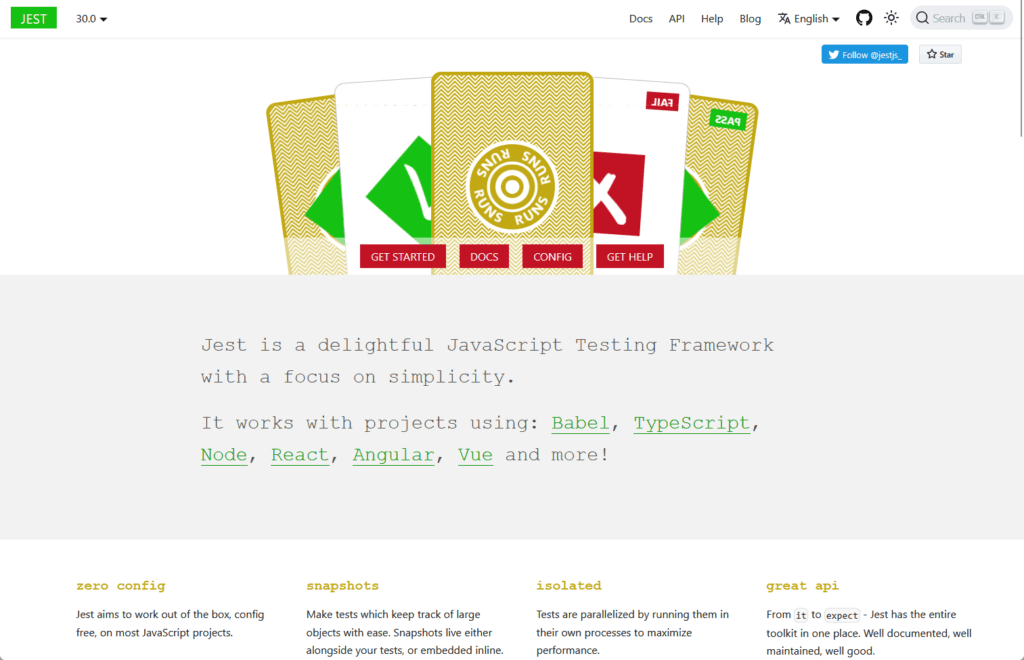
Unit Testing with Jest
Unit testing is critical practice, but it’s not configured in the default SPFx template. Jest is the de-facto standard unit testing framework for the SPFx community.
Setting up Jest manually is complex and requires multiple dev dependencies, package.json configuration, and launch.json files. This complexity discourages testing.
The community solved this with Jest Presets.
The @voitanos/jest-preset-spfx package provides a one-simple-step setup. Run npm install jest @voitanos/jest-preset-spfx –save-dev and you’re done.
The key to unit testing SPFx components is mocking. Replace real external dependencies (like SharePoint or Graph APIs) with controlled fake versions.
Here’s a conceptual test for a DocumentService class:
import { DocumentService } from './DocumentService';
import { jest, expect, test } from '@jest/globals';

const mockContext = {
  msGraphClientFactory: {
    getClient: jest.fn(() => Promise.resolve({
      api: jest.fn(() => ({
        get: jest.fn(() => Promise.resolve({ value: [{ name: "doc1.pdf" }] }))
      }))
    }))
  }
};

test('getDocuments should return one document', async () => {
  const service = new DocumentService(mockContext as any);
  const results = await service.getDocuments();
  expect(results).toHaveLength(1);
  expect(results[0].name).toBe("doc1.pdf");
});
End-to-End Testing with Playwright
End-to-end testing automates a real browser to test complete user flows. Playwright is strategically superior for SPFx.
Microsoft backs it and supports Chromium, Firefox, and WebKit (Safari).
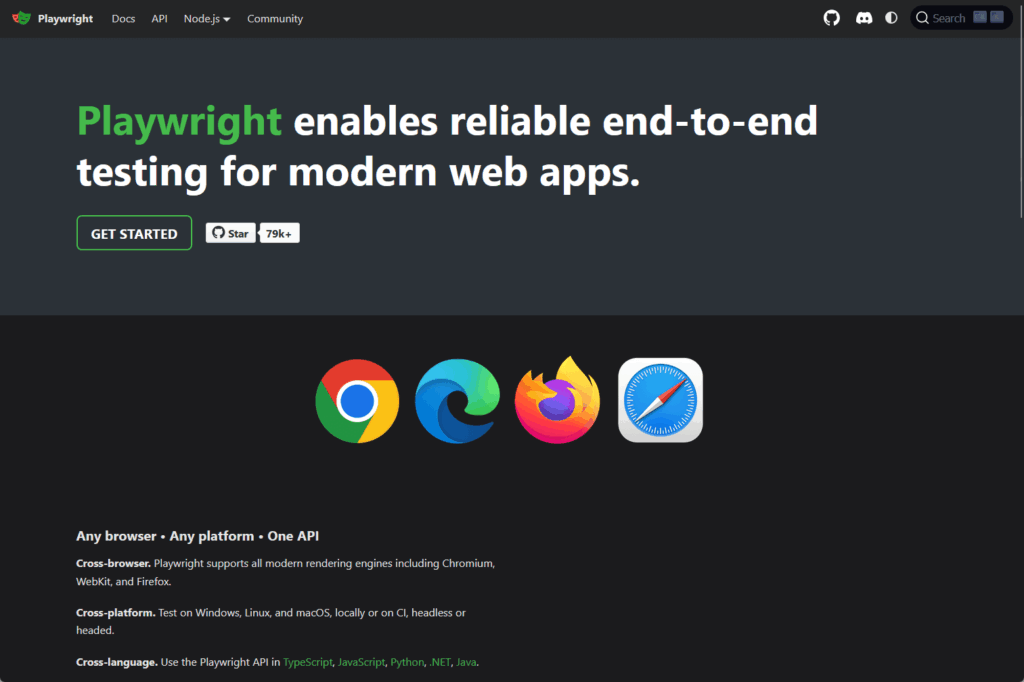
This matters because SPFx runs on SharePoint (Chromium-based), Teams desktop (WebKit on macOS), and mobile devices. Playwright has native support for all three.
Playwright also handles cross-origin testing seamlessly.
This is essential for M365 login flows where authentication happens across domains. Cypress struggles with cross-origin scenarios due to its in-browser architecture.
The primary challenge with E2E testing on M365 is handling login and Multi-Factor Authentication.
The solution is the “Reusable Auth” pattern: authenticate once, save the session state, and reuse it for all tests. Use this to manually log in one time:
npx playwright codegen https://{your-tenant}.sharepoint.com --save-storage=playwright/.auth/m365.jsonPlaywright captures your complete session and saves it to a JSON file.
Add playwright/.auth/ to your .gitignore because this file contains sensitive credentials. Define a “setup” project in playwright.config.ts that’s responsible for authentication.
Make your “test” projects depend on the setup project and use the saved storageState file. Now all tests start fully logged in:
export default defineConfig({
  projects: [
    {
      name: 'setup',
      testMatch: /auth\.setup\.ts/,
      use: { ...devices['chromium'] },
    },
    {
      name: 'chromium',
      use: { ...devices['chromium'], storageState: authFile },
      dependencies: ['setup'],
    },
      ],
});
Automation, Deployment, and Lifecycle Management
Two powerful community-driven command-line tools automate SPFx tasks. They’re not competitors; they serve different personas and platforms.
The Two Automation Command-Line Tools
PnP PowerShell is designed for SharePoint Administrators, IT Pros, and .NET developers.
It runs in PowerShell using familiar verb-noun cmdlets like Add-PnPApp. It’s ideal for admin-centric scripting, site provisioning, and bulk management tasks.
CLI for Microsoft 365 is designed for SPFx Developers and DevOps Engineers.
It’s Node.js-based and cross-platform (Windows, macOS, Linux), making it perfect for CI/CD pipelines using Azure DevOps or GitHub Actions.
It includes unique developer-centric commands not found elsewhere.
Here’s when to use each:
| Scenario | Use This |
| Admin deploying to multiple sites | PnP PowerShell |
| Developer automating CI/CD pipeline | CLI for Microsoft 365 |
| SharePoint administrator provisioning | PnP PowerShell |
| DevOps team managing deployments | CLI for Microsoft 365 |
| Upgrading SPFx projects | CLI for Microsoft 365 |
Automating Deployment (CI/CD)
Deployment involves three steps:
- Add (upload the .sppkg file)
- Deploy (trust the package in the App Catalog)
- Install (add the app to a specific site)
Here’s an example using PnP PowerShell for manual deployment:
$siteUrl = "https://contoso.sharepoint.com/sites/MySite"
$pkgPath = "./sharepoint/solution/my-package.sppkg"
Connect-PnPOnline -Url $siteUrl -Interactive
$app = Add-PnPApp -Path $pkgPath -Scope Site -Overwrite -Publish
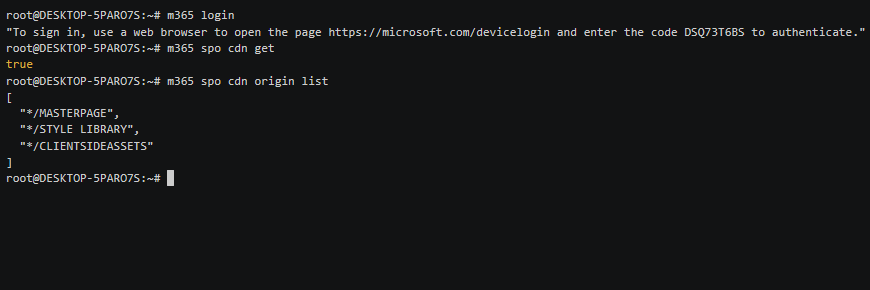
Install-PnPApp -Identity $app.Id -Scope SiteHere’s the same process using CLI for Microsoft 365 in a CI/CD pipeline with certificate-based authentication:
m365 login --authType certificate \
  --certificateFile $CERT_FILE \
  --password $CERT_PASS \
  --appId $APP_ID \
  --tenant $TENANT_ID

m365 spo app add --filePath "./sharepoint/solution/my-package.sppkg" --overwrite
m365 spo app deploy --id $SPFX_APP_ID --skipFeatureDeployment
m365 spo app install --id $SPFX_APP_ID \
  --siteUrl https://contoso.sharepoint.com/sites/TargetSite
The CLI approach works perfectly in automated pipelines where you authenticate using service principals instead of interactive login.
The Game-Changing Upgrade Tool
The m365 spfx project upgrade command is arguably the single most valuable non-obvious tool in the entire SPFx ecosystem.
It’s the community’s solution to “dependency hell.” Manually upgrading an SPFx project (e.g., from v1.14 to v1.20) is high-risk and error-prone.
The upgrade command doesn’t dangerously modify your files.
Instead, it generates a human-readable report detailing every step you need to take. It also supports interactive tours for the VS Code CodeTour extension.
Here’s the workflow. Navigate to your project directory and run:
m365 spfx project upgrade --toVersion 1.20.0 --output md > "upgrade-report.md"Open the generated report.
It provides a step-by-step checklist of npm packages to uninstall and install (with exact versions), modifications to package.json, changes to .yo-rc.json, and code-level changes (like TSLint to ESLint migrations).
After following all the report’s steps, delete your node_modules folder and package-lock.json file, then run npm install. Your project is now upgraded safely with zero guesswork.
The Future: SPFx Roadmap 2025–2026
The SPFx toolchain is undergoing its most significant evolution since 2017. Microsoft is paying down technical debt and modernizing the framework’s foundation.
The Great Migration: Gulp to Heft and Rush Stack (SPFx v1.22)
Starting with SPFx v1.22 (October/November 2025), Microsoft is migrating the core build toolchain.
Here’s what changes:
- Gulp is being removed as the primary task runner.
- Heft, a config-driven task orchestrator from Rush Stack, is moving in.
- Webpack stays as the underlying bundler but is orchestrated by Heft instead of Gulp.
Why is this happening? The old Gulp-based dependency tree has a high number of npm security issues.
Microsoft wants to modernize by replacing legacy “special purpose scripts” with a “reusable engine” that aligns the public toolchain with Microsoft’s internal Rush Stack monorepo tooling.
For new projects scaffolded with v1.22 and later, Heft becomes the default.
Existing projects have a choice: continue with Gulp (temporarily supported) or migrate to the new Heft-based system.
Microsoft is developing migration documentation to guide this process.
What’s Next: 2026 and Beyond (v1.23 & v1.24)
The roadmap for v1.23 (February/March 2026) and v1.24 (May 2026) reveals Microsoft’s focus on flexibility and addressing community requests.
A new open-sourced SPFx CLI will replace the Yeoman generator. Open-sourced templates will finally enable companies to create and use custom internal templates for scaffolding.
Long-awaited React 18 support is planned (supposedly planned, but not confirmed yet), helping align SPFx with modern web standards.
New extensibility points are coming, including List New/Edit Panel Overrides (completely replace new/edit form panels) and Navigation Customizers (override navigation with custom SPFx components).
A planned in-page “Debugging toolbar” will simplify testing solutions on live pages without relying on the workbench.
Mastering the Dual-Pillar Approach
SPFx mastery requires competency in both the Official and PnP toolchains.
The official tools provide the runtime and APIs, while the PnP community provides the professional toolkit that makes enterprise development possible.
Essential skills include version management with NVM, leveraging the SPFx Toolkit in VS Code, building with PnP Controls, and deploying with CLI for Microsoft 365.
Each tool solves a real problem in the development workflow, and the project upgrade command is the single most valuable resource you’ll find.
Do you have questions about SPFx development tools or the right approach for your project? Let me know.
For business-related questions, you can send me a direct message using the contact form on this page.