

Something I run into on almost every engagement: Microsoft Purview sits in most M365 tenants fully licensed, fully capable, and completely untouched.
Here’s what that costs:
- The global average data breach now runs $4.4 million
- Non-compliance costs organizations an average of $14.8 million annually, according to a Ponemon Institute study
- Total GDPR fines have climbed past €5.65 billion across more than 2,200 enforcement actions
Purview is the compliance center built directly into Microsoft 365, available on both E3 and E5. Most teams have it, most teams have never configured it.
Configuring what you already own is how you close that gap. Here’s the practical version.
What Microsoft Purview Actually Is
Purview isn’t a separate product you go buy and bolt on. It’s the compliance and data governance center built into Microsoft 365, sitting right next to the admin tools you already use.
Under one roof, it gives you:
- Sensitivity labels for classifying and protecting content
- Data Loss Prevention (DLP) for stopping sensitive data from leaving
- Retention for keeping (or deleting) content on a schedule
- Compliance Manager for scoring and improving your posture
- eDiscovery for legal holds and investigations
- Insider Risk Management for catching risky internal behavior
The core features run on E3, while the advanced and automated capabilities live in E5.
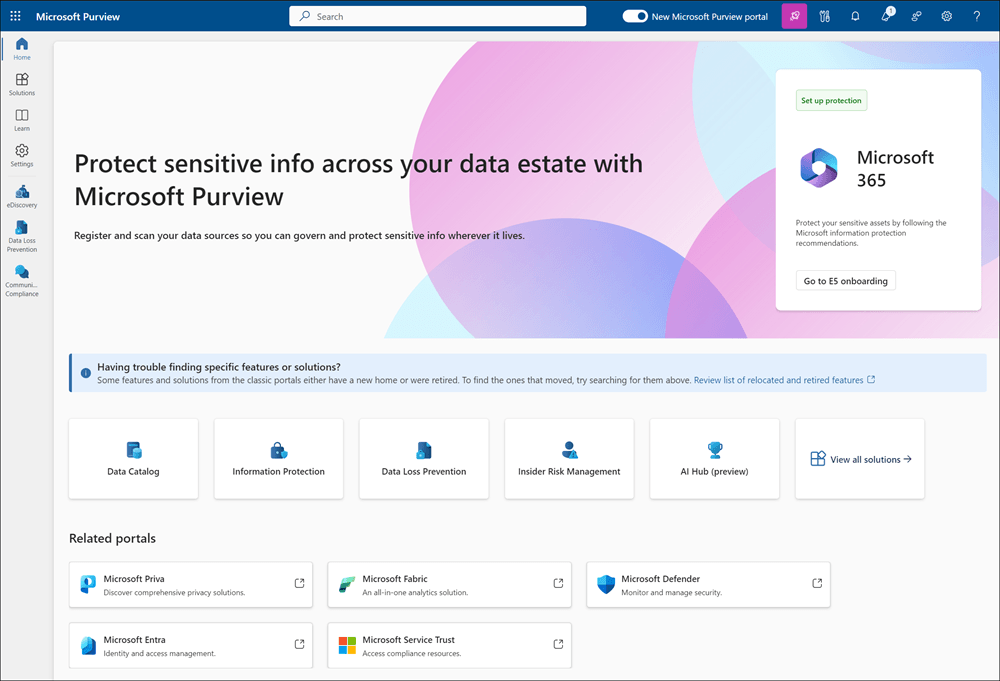
Source: https://learn.microsoft.com/en-us/purview/purview-portal
Licensing it doesn’t activate it. Almost everything below starts switched off, which is exactly why so many tenants pay for compliance tooling they’ve never used.
Sign up for exclusive updates, tips, and strategies
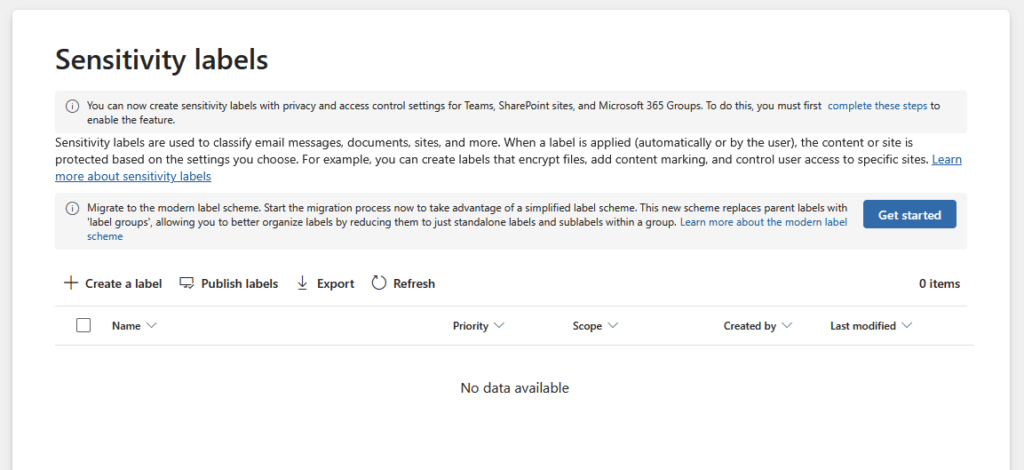
Step 1: Build Your Sensitivity Label Framework
Sensitivity labels are where I always start, because everything downstream depends on them. A label is persistent clear-text metadata stamped onto a file or email.
It travels with the content across devices, apps, and services, so the classification sticks even when the file leaves your tenant.
The trick is keeping your taxonomy small. I tell clients to start with five levels and resist the urge to add more.
Once you push past five main labels or five sublabels, user comprehension drops and people stop labeling correctly.
Here’s the starter taxonomy I recommend:
| Level | Example Use Case | Key Protection Setting |
|---|---|---|
| Personal | Non-business content on a work device | No encryption, no marking |
| Public | Press releases, published marketing | No encryption, visual marking only |
| General | Internal docs with no sensitive data | Header or footer marking |
| Confidential | Contracts, financials, customer PII | Encryption plus access restrictions |
| Highly Confidential | Trade secrets, regulated health data | Encryption, restricted to named groups |
One ordering detail people miss: label priority runs top to bottom, and your most restrictive label has to sit at the bottom of the list. Put Highly Confidential last.
After you publish, give it up to 24 hours to propagate across all services before you start troubleshooting. It’s not instant.
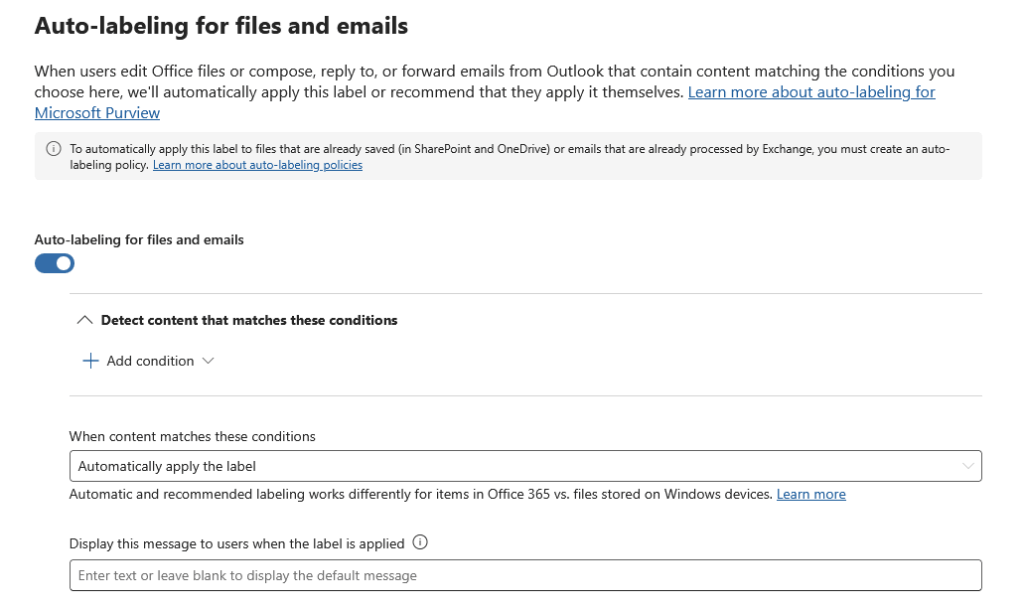
Don’t Rely on Users to Label Manually
This is the part that quietly sinks most rollouts. Manual labeling does not scale.
Users skip it, mislabel things, or resist it outright, and your beautiful taxonomy ends up half-applied. I’ve watched it play out exactly that way.
Microsoft MVP Paul Hunt put it plainly: “If you rely on your users to do things manually, they’re just not going to do it.”
Auto-labeling and default label policies are what keep classification from depending on users. On E5, the system can also auto-apply labels based on detected content.
One more thing teams trip over: container labeling for Teams, Microsoft 365 Groups, and SharePoint sites is off by default.
You have to enable it at the tenant level before you can label a site or a team. Nobody flips that switch for you.

Step 2: Configure DLP Policies the Right Way
Data Loss Prevention is the guardrail that warns or blocks when sensitive data tries to cross a boundary it shouldn’t.
Someone emails a spreadsheet of credit card numbers to a personal address, DLP can catch it. And it’s smarter than a keyword scan, too.
DLP uses deep content analysis: keyword matching, regular expressions, proximity rules, and machine learning to spot sensitive data with fewer false positives.
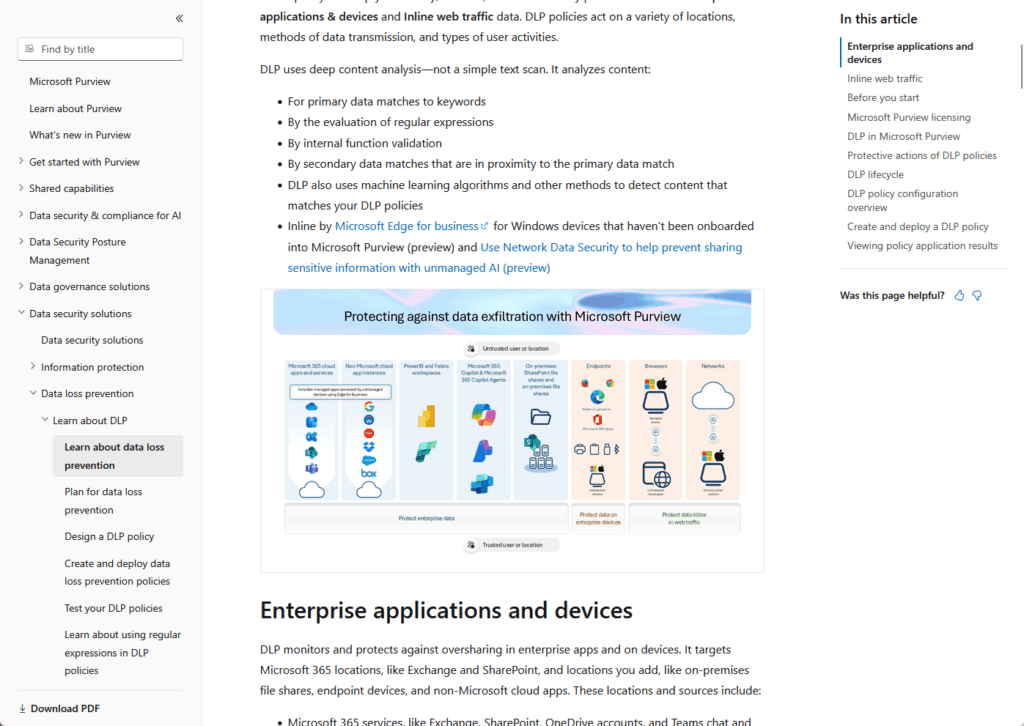
Source: https://learn.microsoft.com/en-us/purview/dlp-learn-about-dlp
The most common mistake is flipping DLP straight into enforcement mode, which over-blocks legitimate work and floods your help desk within a day.
Simulate before you enforce.
Roll it out in four phases instead:
- Plan which data types and locations you need to protect
- Deploy in simulation mode so policies log matches without applying any actions
- Monitor and fine-tune using Activity Explorer to see what would have been blocked
- Enable enforcement only once the noise has settled and the policy behaves
Simulation mode is the whole game here. Actions aren’t applied, so you get a full impact assessment before a single user gets blocked.
You watch what the policy would do, tune it, then turn it on with confidence.
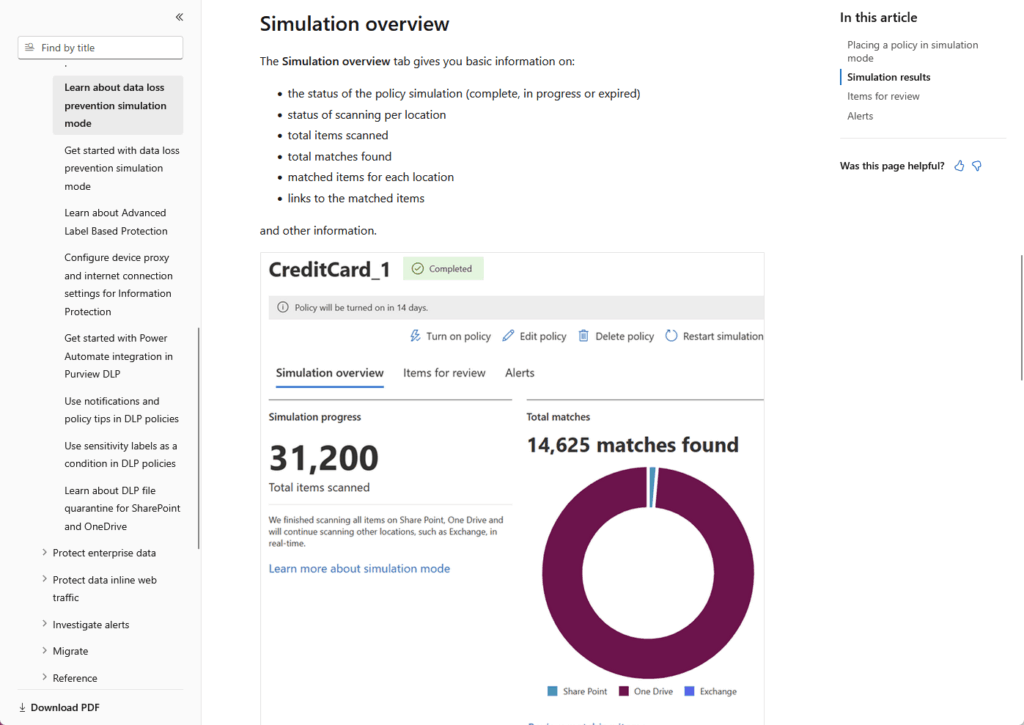
Source: https://learn.microsoft.com/en-us/purview/dlp-simulation-mode-learn
To move faster, start from Microsoft’s predefined templates for financial, medical and health, or privacy data.
They cover the common regulatory patterns out of the box, and every DLP event lands in the Microsoft 365 audit log for review.
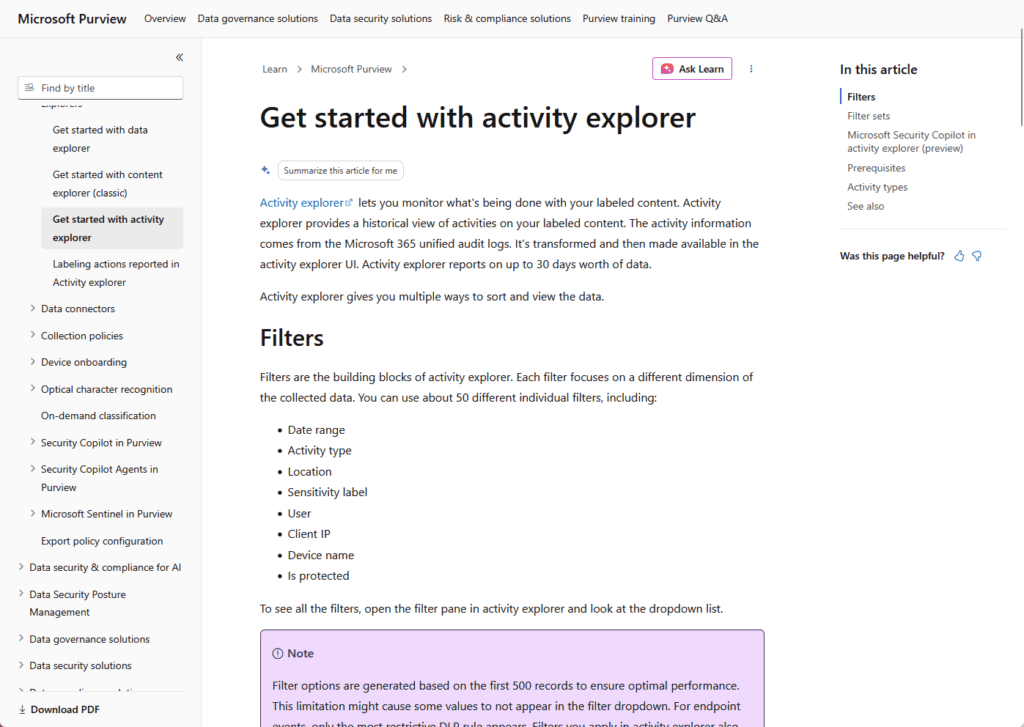
Source: https://learn.microsoft.com/en-us/purview/data-classification-activity-explorer
The E3 DLP Gap
Here’s a gap that surprises almost everyone on E3. Your DLP policies cover files shared through Teams, because those files actually live in SharePoint and OneDrive.
The chat messages themselves? Not covered.
DLP for Teams chat is an E5 capability. If someone pastes a Social Security number directly into a chat thread, E3 DLP won’t see it.
I flag this early with every client, because most assume Teams is fully protected when it isn’t.
Step 3: Set Retention Policies for Regulatory Compliance
Retention is where compliance gets concrete, because most regulations dictate exactly how long you keep certain records and when you destroy them.
Purview gives you two tools for this, and they work at different levels.
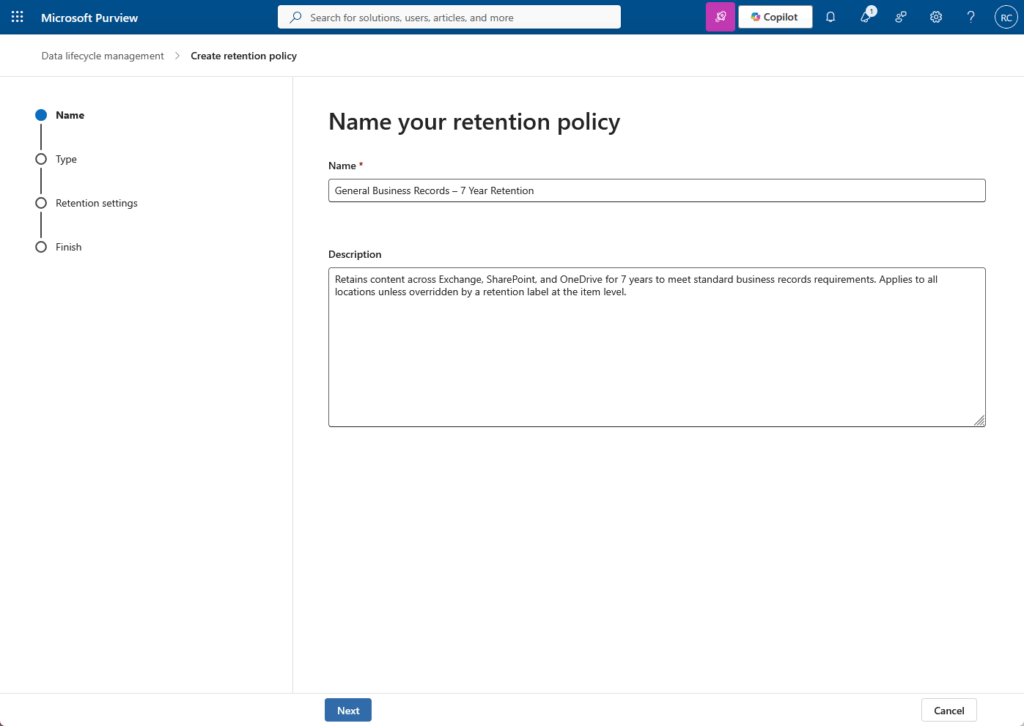
Retention policies are broad and location-based. You apply them across Exchange, SharePoint, and Teams at scale, which makes them the right tool for blanket coverage.
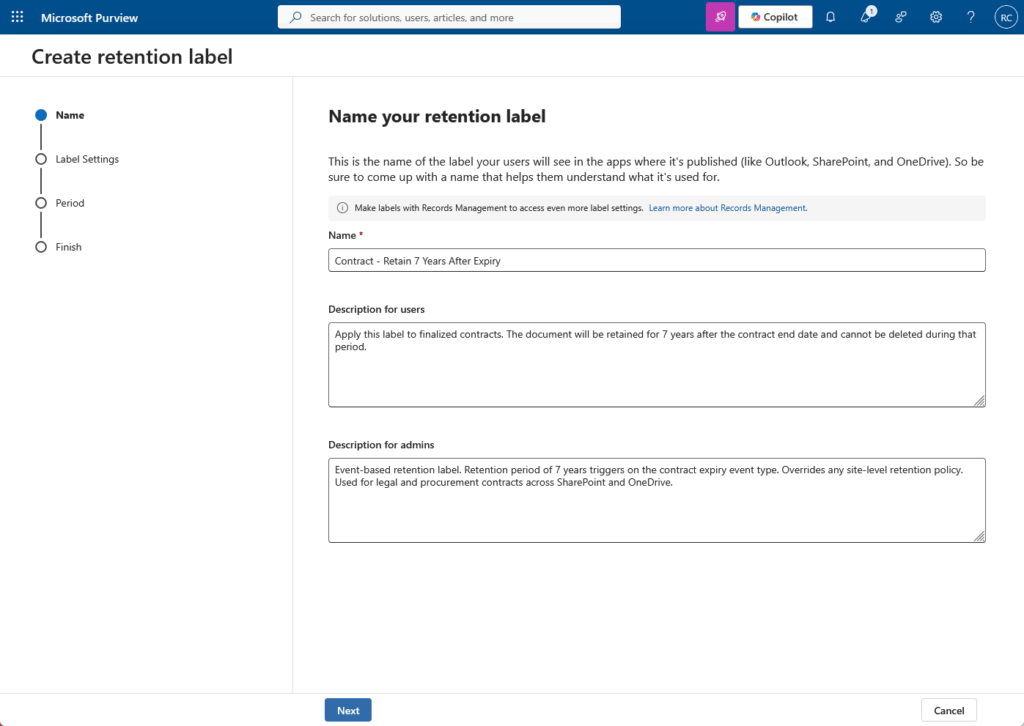
Retention labels are granular and item-level, supporting event-triggered retention like “keep this seven years after the contract ends.”
When the two overlap, labels win. A retention label takes precedence over a retention policy at the item level, so your specific rules override your broad ones.
A single document can carry both a sensitivity label and a retention label at the same time. One classifies sensitivity, the other governs retention, and they don’t conflict.
This is where Compliance Manager pays off. Regulations like GDPR and HIPAA both come with data lifecycle requirements, though they work differently.
HIPAA specifies exact retention periods. GDPR is principles-based, requiring you keep data no longer than necessary for its original purpose.
Compliance Manager surfaces both sets of requirements as concrete improvement actions instead of leaving you to read the regulation cold.
Step 4: Use Data Classifiers to Scale Coverage
Classifiers are how you find sensitive data you didn’t know you had.
Instead of relying on someone to label a document, a classifier recognizes the content and triggers action automatically. Start with the pretrained ones.
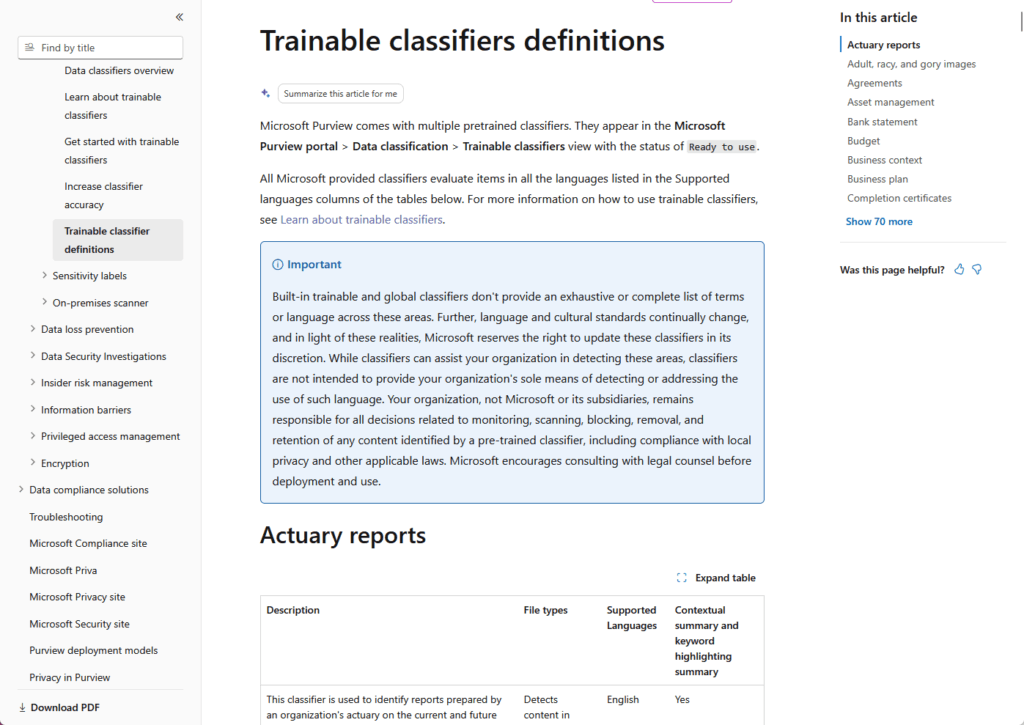
Source: https://learn.microsoft.com/en-us/purview/trainable-classifiers-definitions
Microsoft ships classifiers that deploy immediately, with no training required, covering resumes, HIPAA medical data, source code, financial data, and legal documents.
For most teams, those cover the bulk of what you’re worried about. Custom classifiers are a bigger commitment, and there’s one trap worth knowing before you start:
| Pretrained Classifiers | Custom Classifiers | |
|---|---|---|
| Setup Required | None, deploy instantly | 50–500 positive, 150–1,500 negative samples |
| Content Coverage | Common types (medical, financial, legal) | Your specific document types |
| Languages | Multiple | English only |
| Retrainable | Maintained by Microsoft | No, must rebuild from scratch |
| Best For | Fast, broad coverage | Niche internal content |
That “cannot retrain” line is the one that bites. If a custom classifier comes out inaccurate, you can’t tune it after publishing.
You rebuild it from zero with a fresh sample set, so get your training data right the first time.
Once a classifier is live, you wire it into the rest of Purview.
Classifiers work as conditions for auto-labeling, DLP policies, and Communication Compliance, which is what lets your classification scale without manual effort.
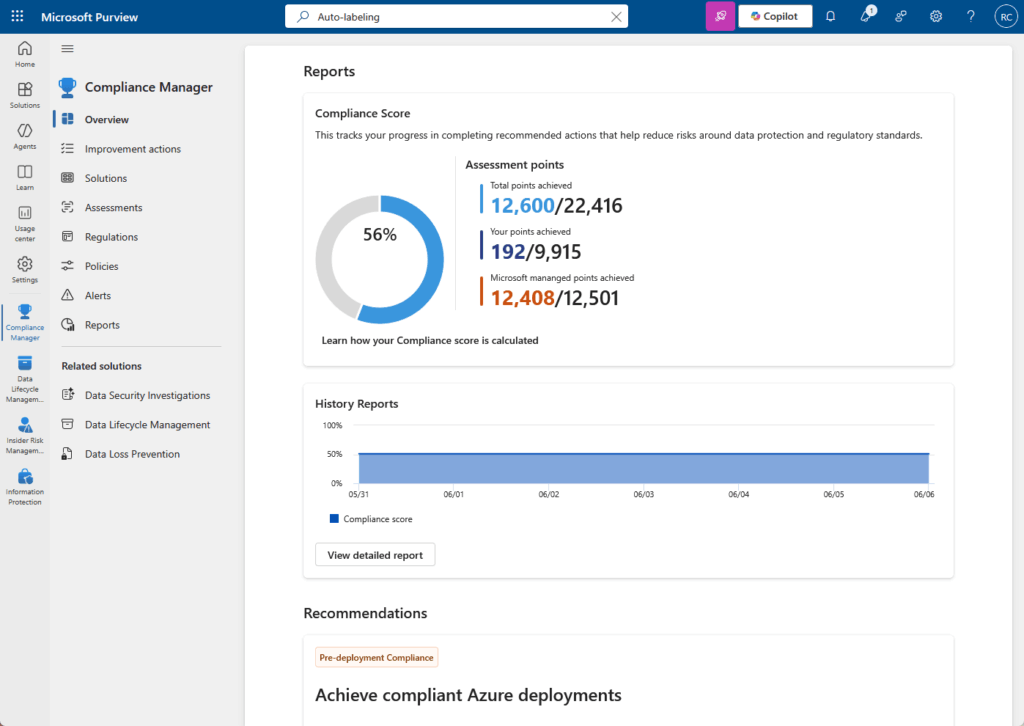
Step 5: Track Your Posture With Compliance Manager
If you do nothing else after reading this, open Compliance Manager. It’s available on every Microsoft 365 plan, no E5 required, and it’s the most underused tool in the suite.
Microsoft MVP Justine Wolters sees the same thing:
“Many organizations don’t know about Compliance Manager while they have an E5 license… I think that’s one of the tools that could be really useful for organizations.”
It gives you a compliance score plus step-by-step improvement actions, each one mapped to a real regulation.
Turn on the assessment templates that match your obligations:
- HIPAA
- GDPR
- SOC 2
- ISO 27001
- NIST
- FedRAMP
One thing worth knowing: most of these are premium templates, included with E5 or available as a paid add-on on E3.
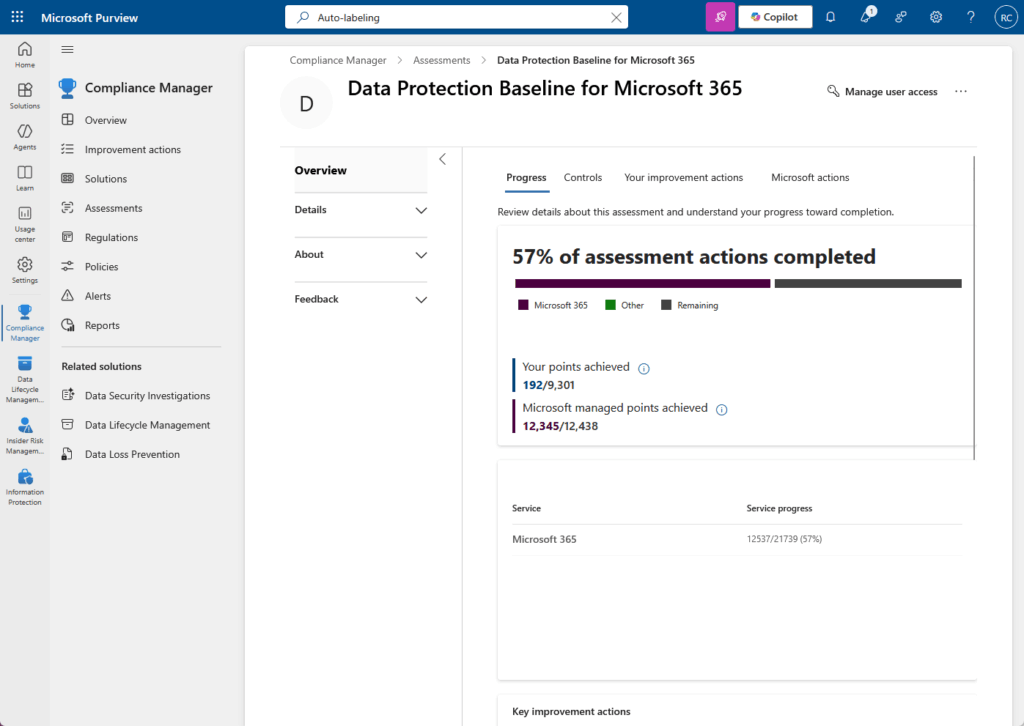
From there it’s a workflow. Assign each improvement action to a named owner with a due date, track progress, and when the auditors show up, export the whole thing to Excel as evidence.
E3 vs. E5: What the Upgrade Actually Gets You
So when is E5 worth the money? The honest answer is that the core features on E3 are enough for a lot of organizations, and what you gain with E5 is automation and broader reach.
Here’s how the two stack up on the features that matter for compliance:
| Feature | E3 | E5 |
|---|---|---|
| Sensitivity labels (manual) | Yes | Yes |
| Sensitivity labels (auto-labeling) | No | Yes |
| DLP for Exchange, SharePoint, OneDrive | Yes | Yes |
| DLP for Teams chat | No | Yes |
| DLP for endpoints | No | Yes |
| Adaptive scopes (DLP and retention) | No | Yes |
| Audit log retention | 180 days | 1 year (Premium) |
| Advanced eDiscovery | No | Yes |
| Insider Risk Management | No | Yes |
| Communication Compliance | No | Yes |
The organizations that genuinely need E5 tend to be the heavily regulated ones: healthcare under HIPAA, financial services, legal firms, and government.
When the cost of a missed message is a regulatory fine, the automation and the Teams chat coverage stop being nice-to-haves.
That Teams chat gap is the one I’d weigh most carefully. If your compliance risk lives in conversations and not just documents, E3 leaves a real hole.
For everyone else, get the E3 features configured properly first, then decide.
Get Purview Configured Right the First Time
Most teams already have what they need. Activation and configuration is the work.
Here’s where I’d start:
- Open Compliance Manager and run a baseline assessment so you know where your posture stands
- Publish a five-level sensitivity label taxonomy and give it 24 hours to propagate before layering anything else on top
- Run DLP in simulation mode for at least two weeks and watch Activity Explorer before enabling enforcement
- Enable container labeling at the tenant level, or your sensitivity labels won’t reach Teams sites and SharePoint
- Assign each Compliance Manager improvement action to a named owner with a due date
The foundation runs on E3. Compliance Manager, manual sensitivity labels, retention policies, and DLP for email and files are all available without upgrading.
Auto-labeling, Teams chat DLP, and trainable classifiers require E5. Those are the features you add after the foundation is solid.
Struggling to turn on Purview or stuck on a specific configuration?
I help IT teams get Microsoft Purview properly configured across their M365 environment. Let’s talk at mrsharepoint.com


