

Last Updated on April 29, 2023
Need to create a survey, a quiz, or simply a poll? Microsoft Forms has you covered.
In this guide, I will show you all the ins and outs of how to create a form using Microsoft Forms and the question types you can use.
Let’s get started.
Table of Contents:
How to create a form in Microsoft Forms
From the name itself, Microsoft Forms is a freemium tool you can use to create interactive surveys and quizzes.
It’s useful for businesses that want to gather feedback from customers or conduct opinion surveys by creating a Microsoft form to collect information.
Note: Microsoft Forms is free for anyone. You only need to create an account with Microsoft. The premium features though are locked behind a paywall.
The first part is to get to the app’s page first.
If you have a Microsoft 365 subscription:
- Go to any page in Microsoft 365
- Click the app launcher
- Select Forms from the list
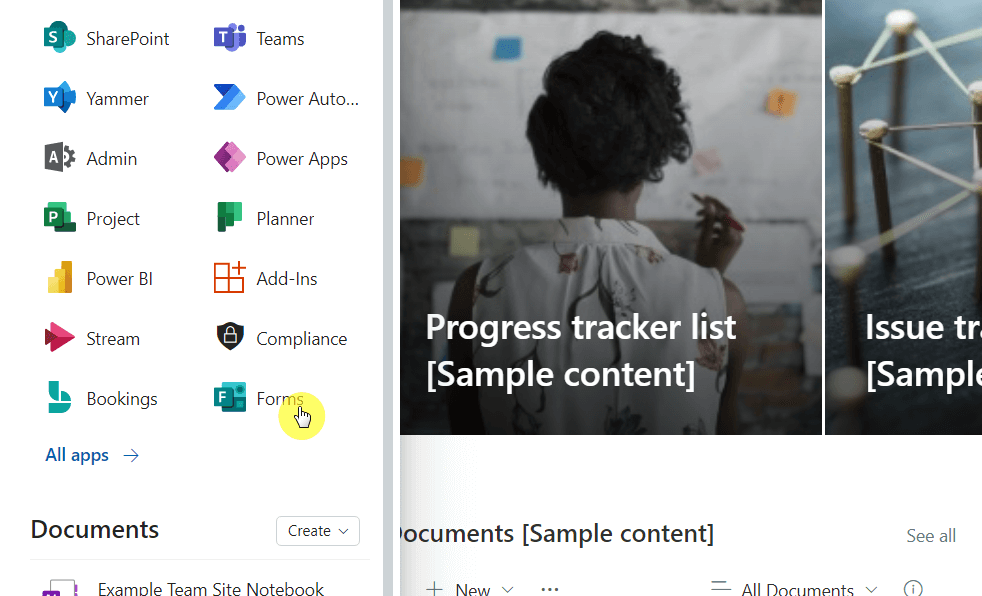
Note: If you can’t see the Forms icon from the list, click the All apps button first and find the icon from there.
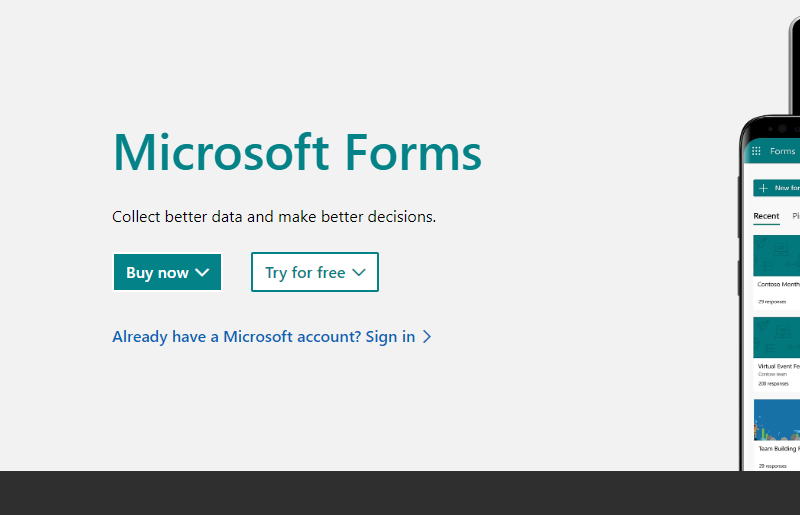
If you don’t have a Microsoft account yet:
- Head over to the app’s home page
- Click the buy now button or the sign in button (and create an account)
Once inside the app, you can then create a form or a quiz.
Click the + new form button to create a new form:
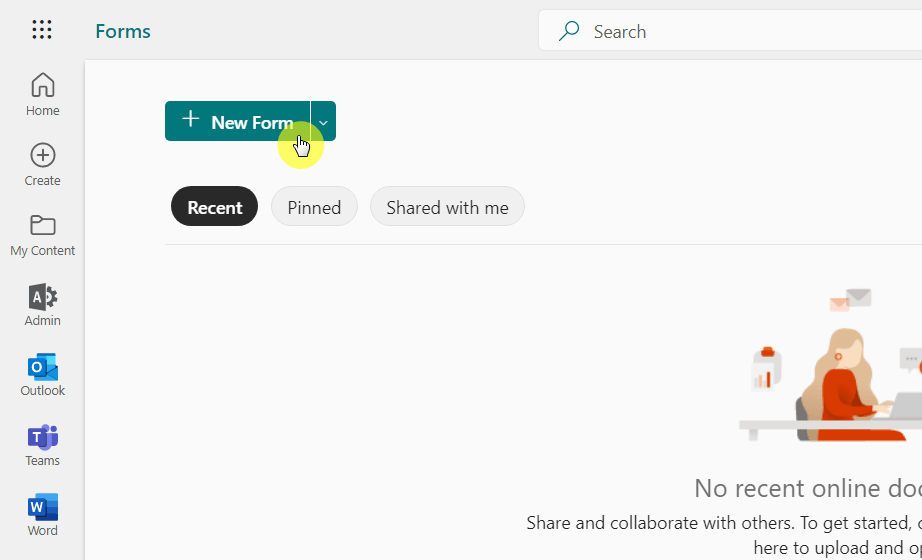
For free users, you may see a different user interface.
The process remains the same though — click on the new form button:
Note: The user experience for free and premium users is the same — except for the part where free users can’t use premium features.
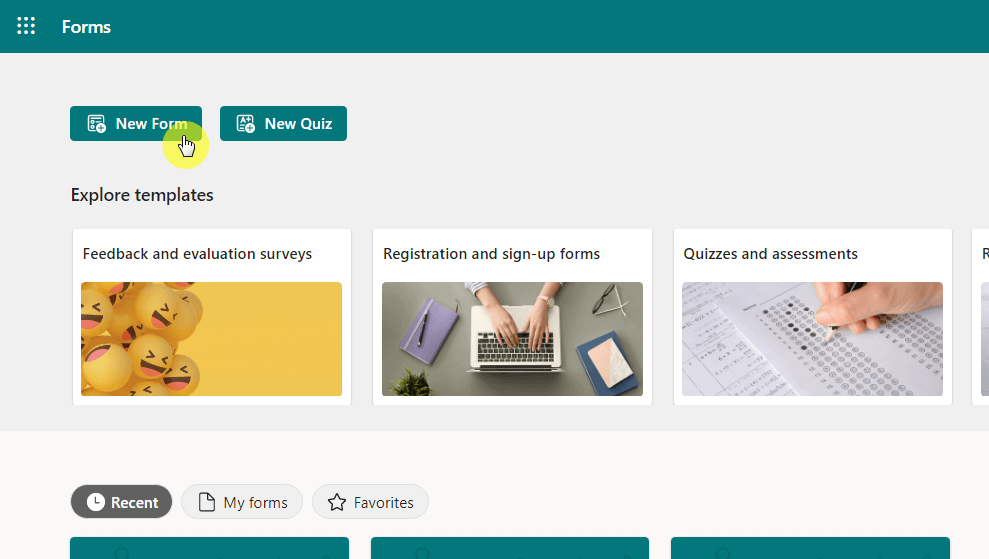
By the way, you must have seen the new quiz button.
The question is — how is a Microsoft form different from a quiz?
In terms of uses:
- Forms are for collecting feedback, creating sign-up forms, and conducting surveys.
- Quizzes are for conducting student quizzes, providing instant results, and assessing student learning.
The main difference lies in the fact that you can add answers, scores, math equations, and feedback in quizzes.
Sign up for exclusive updates, tips, and strategies
How to add questions in Microsoft Forms
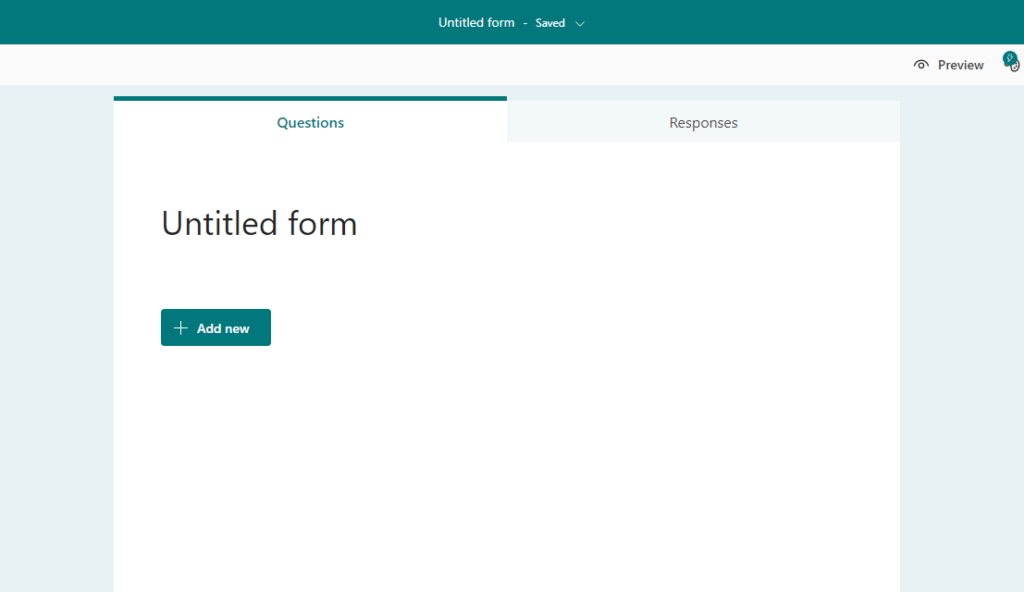
Right after creating a new form, you will see an almost empty page:
If you click on the title area, you will be able to enter the title of the form as well as some description.
You can also add some formatting options in the description part. Simply select the text and click the format you want to apply:
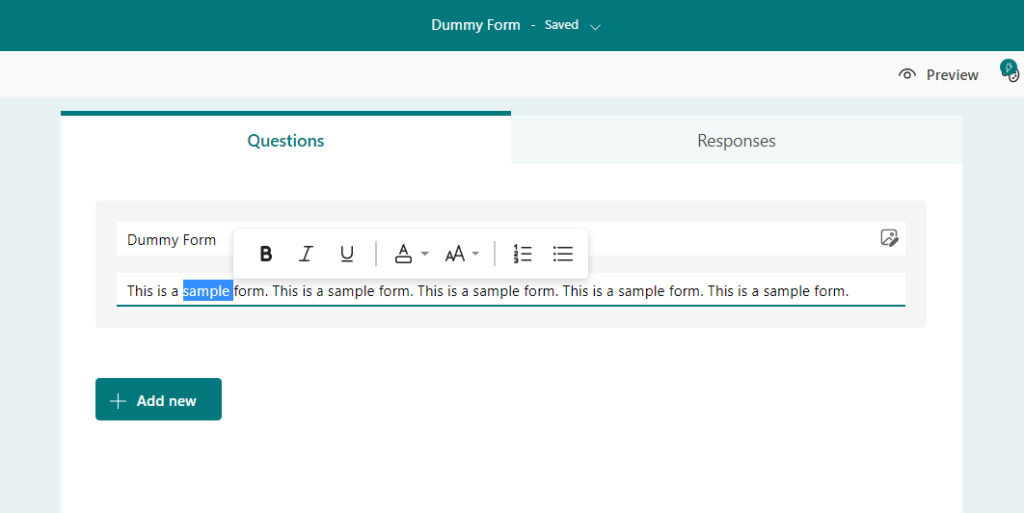
Click outside the form to apply/save the title and the description.
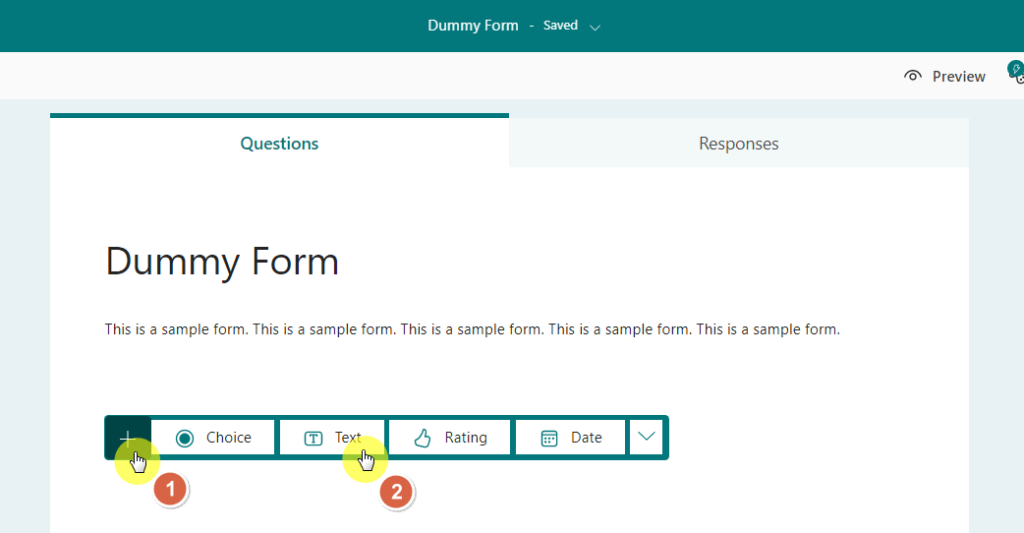
Now that you have a title and description, what’s left now is to fill out your form with questions.
For that, click the + add new button and select the question type to use:
After that, you can customize the question like add in the actual question itself and some options at the bottom
You can also see some buttons at the upper right to copy the question, delete it, or change its order in the form.
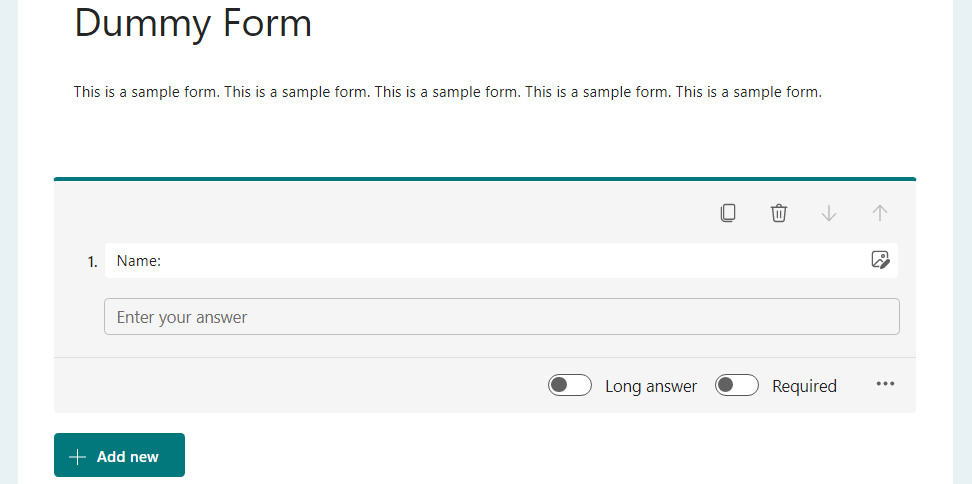
In line with the actual question, there is also an image icon. This will enable you to attach an image to the question.
The required slider will force the user to answer the question — making it unskippable (the Microsoft form can’t be submitted if it’s not answered).
Similar to the title and description, click outside the form and you will see what the question looks like to the user.
Related: Microsoft Forms Update: New Features Announced (Early 2023)
What are the types of questions you can use?
In Microsoft Forms, there are various question types and options you can apply.
I will explain them one by one here:
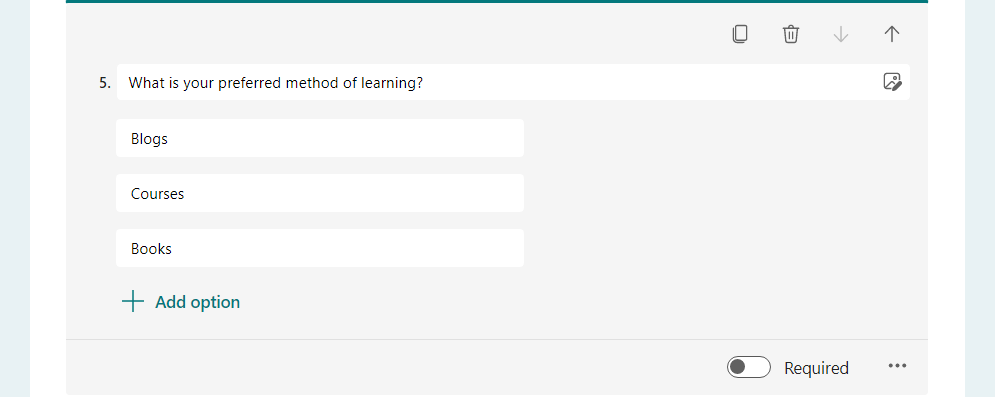
1. Choice
This is for creating a multiple-choice question where you can input options for users to choose from when answering the question.
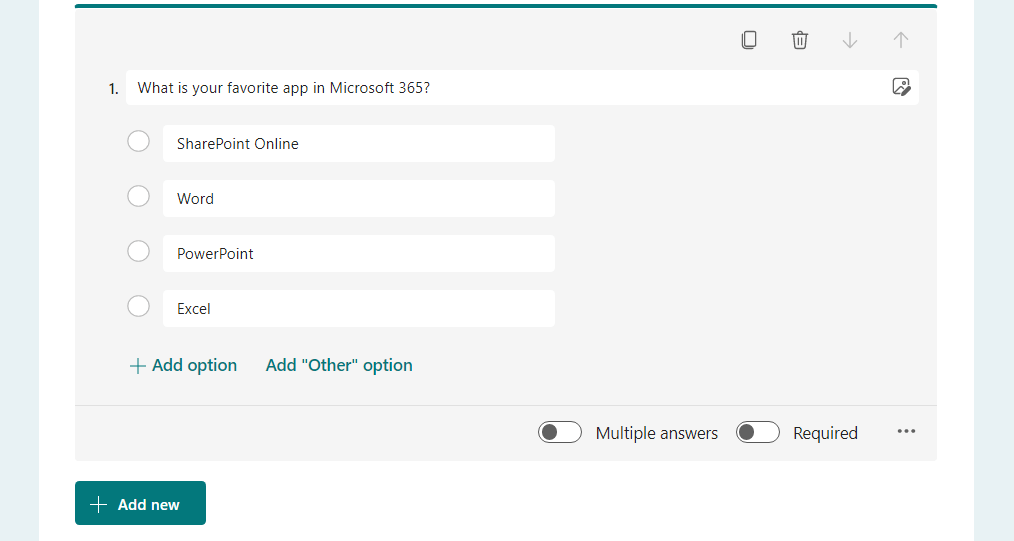
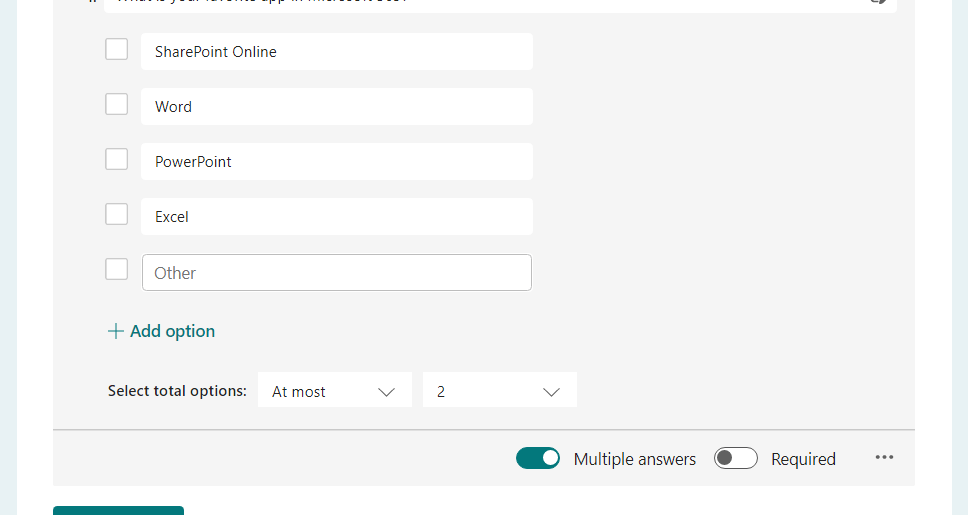
To add more options, click on the add option below the options. If you accept custom answers, click the add “other” option button.
You can also enable the user to provide multiple answers through its slider and configure the total options allowed:
2. Text
The text question is for creating a question that the user can answer using text (no choices or other options).
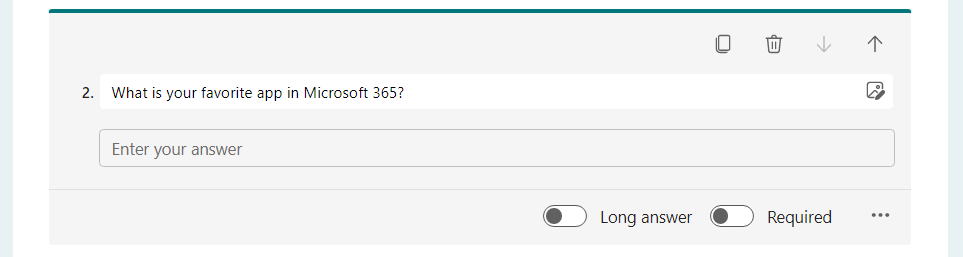
This type is quite simple to understand.
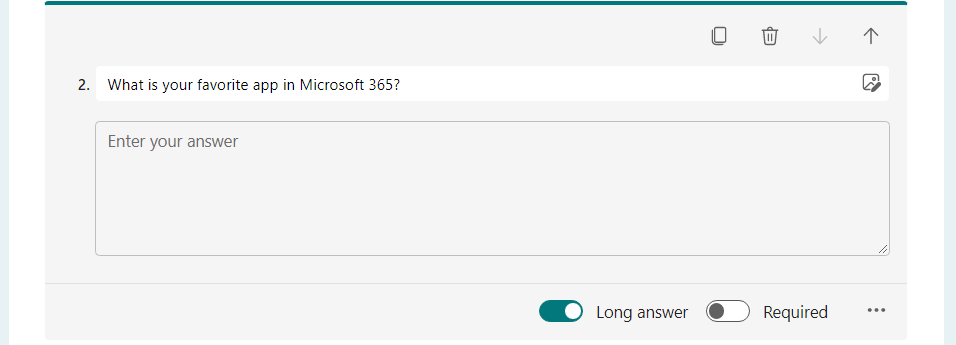
If you accept a long answer, the answer field lengthens (you can change the length by dragging the lower-right edge of the field).
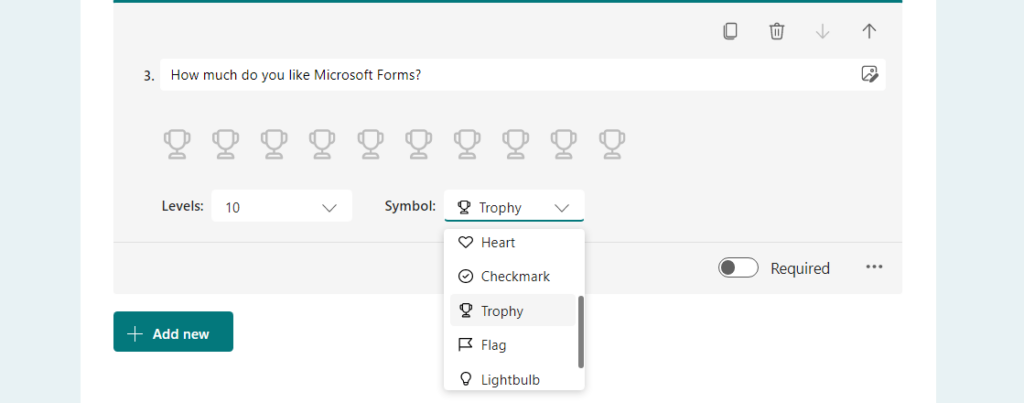
3. Rating
The rating question is for enabling the user to rate something based on your question:
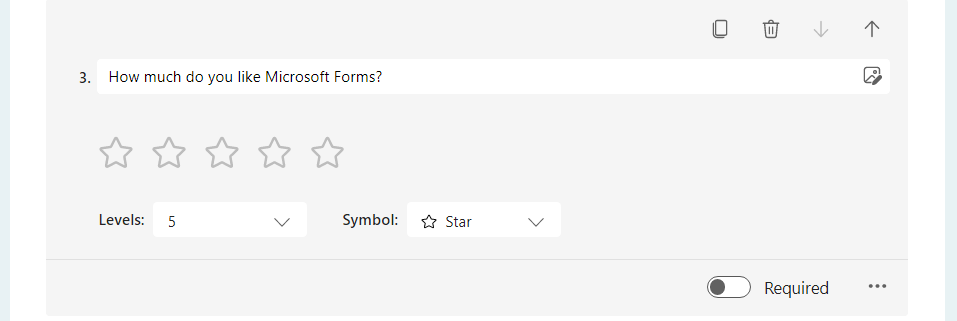
You can adjust the levels from 2 to 10 and change the symbols as well to a trophy, flag, ribbon, lightbulb, and other options.
4. Date
The date type enables you to collect date-related information from the user:
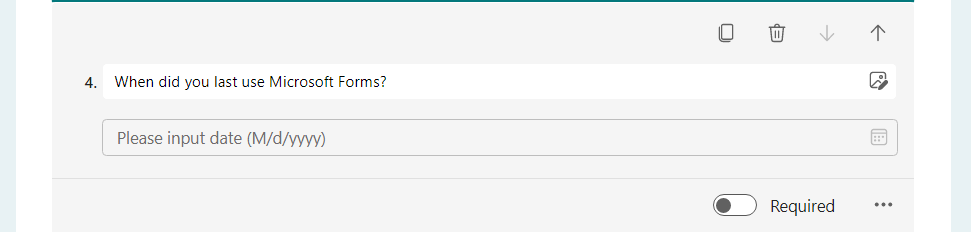
A good use case for this is when you want to ask about the availability of your customers or clients.
Unfortunately, there is no option for asking for a specific time. For this, you can follow it up with a text question.
5. Ranking
From the name itself, the ranking type allows users to rank things by importance or chronological order.
By default, there are three available slots for options. But you can click on the add option button to add more (similar to a choice type).
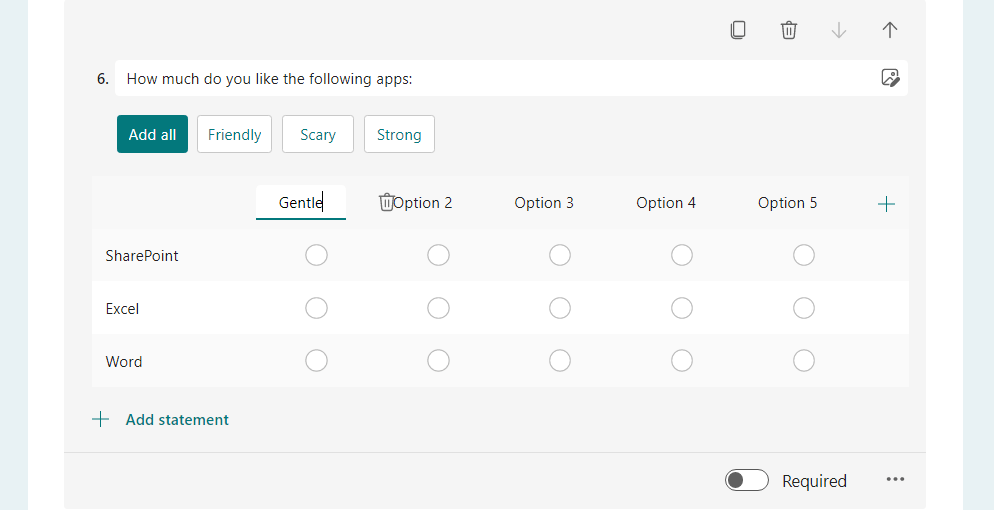
6. Likert
The Likert type allows you to measure how much the user agrees or disagrees with a particular point or statement.
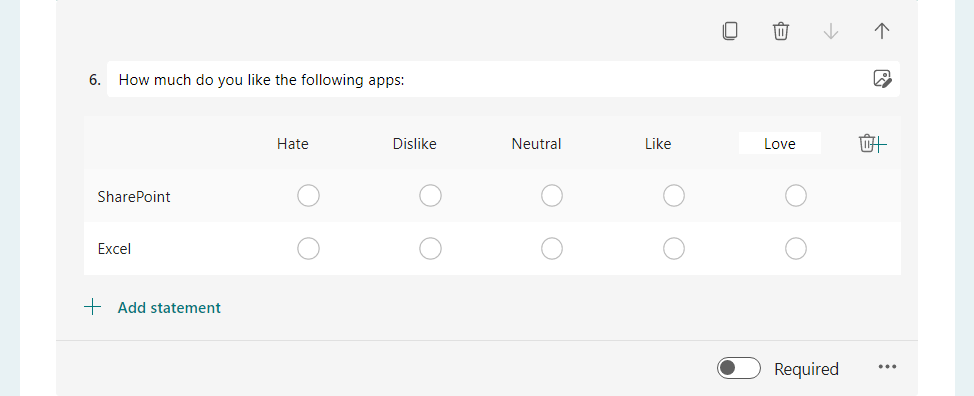
This comes with 2 statements and 5 options by default. You can always add more statements as well as more options.
You might also see some suggestions on the options to add:
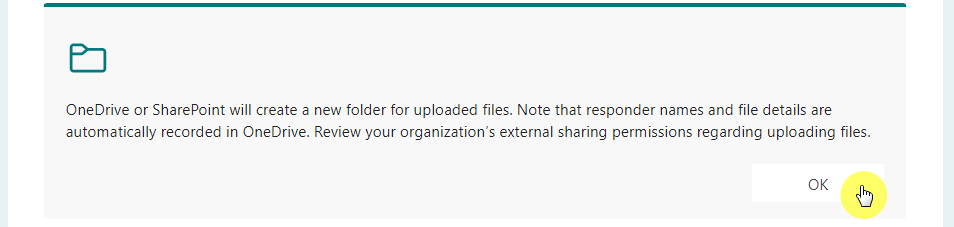
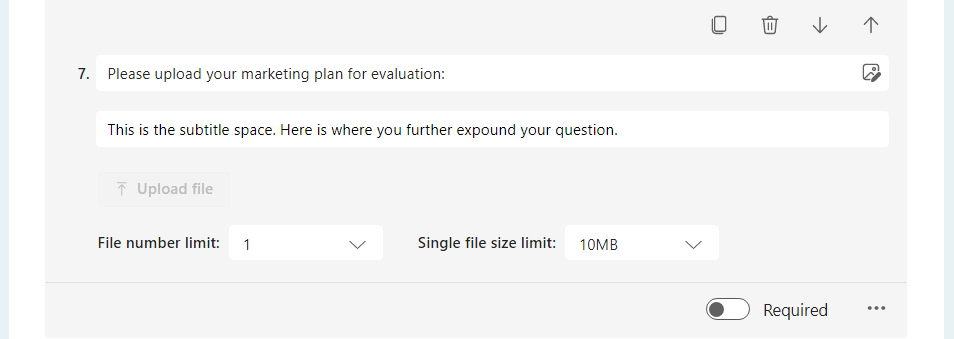
7. Upload File
If you need to, you can also ask the user to upload a file.
After selecting this type, the system will remind you that this will create a new folder on OneDrive or SharePoint for the uploaded files.
Click the OK button if you agree:
On the question itself, you will be able to limit the number of uploaded files as well as the file size limit of each upload.
What the user will see is an upload file button:

There is a defined set of allowed file types. Anything besides the file types supported won’t be accepted.
Note: When there’s an upload file question, you won’t be able to share the form with anyone outside the organization.
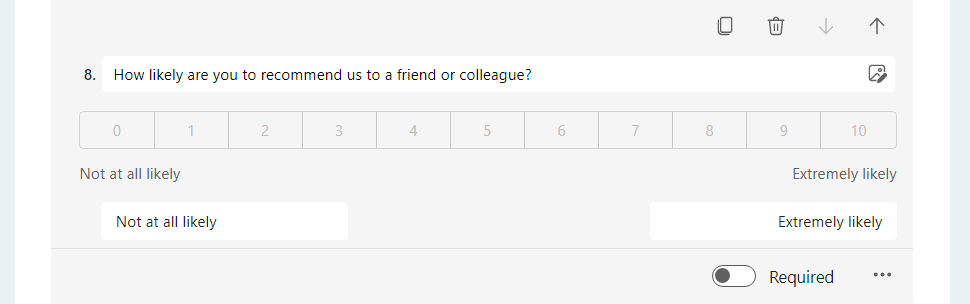
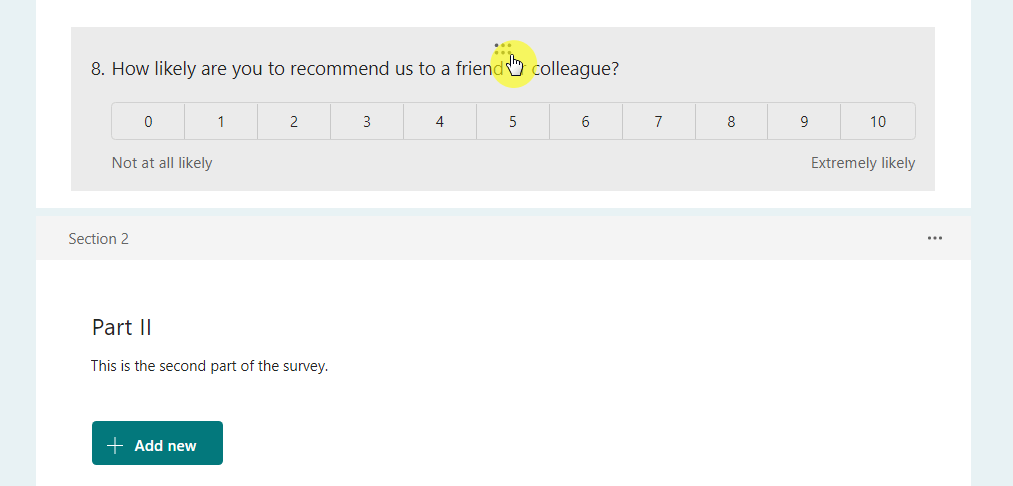
8. Net Promoter Score
The Net Promoter Score is a measurement of the user’s customer experience or loyalty usually used for market research.
Of all the types, this is the only one that comes with its own question.
Although you can change the labels on both sides, you can’t change the scale itself (like changing it from 0 to 100).
9. Section
This option will allow you to break your form into different parts or pages.
Similar to the title, you can add here a section title as well as a description:
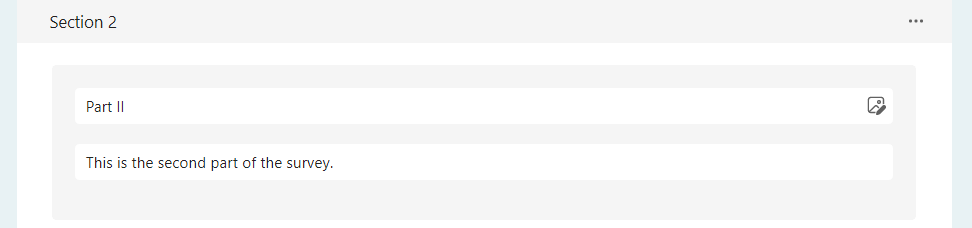
When you add a new section to the form, it automatically creates a section 1 and will encompass all the questions before section 2.
You can always move questions to the next section through this:
- Hover your mouse over the question
- Click and hold over the move icon (six dots)
- Drag the question over to the other section
10. Subtitle
The subtitle option will allow you to add more context to your question.
You can enable this by clicking on the three dots on the lower right side of the question:

All question types except for ranking will allow you to add a subtitle to the question.
Once you enable it, you will then see an additional field below the question:
11. Drop-down
If you have so many options for the user (like more than 5), it won’t be pretty to look at.
The other option here is to create a drop-down so it’s more convenient for the user.
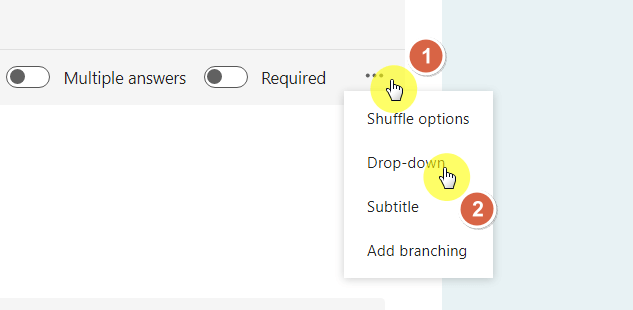
There are a few conditions here for this option to appear:
- Only choice questions
- No “other” option
- No multiple answers
12. Branching
The branching option allows you to connect a question to another question or section.
You will this option in the same place where you can find the drop-down and subtitle options:
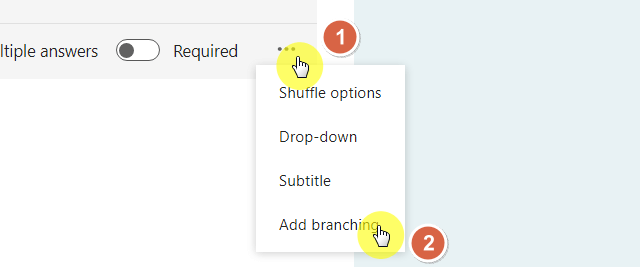
Note: The shuffle options setting, when enabled, randomly shuffles the options for each respondent or user.
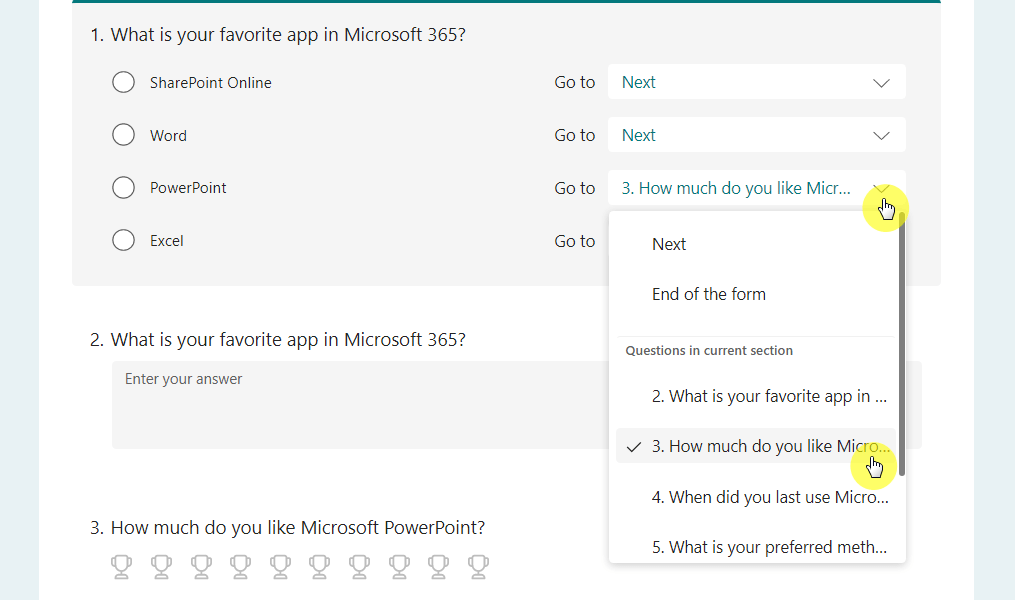
It’s easier to understand with an example:
The choice question asks the user about his/her favorite app in Microsoft 365. If the answer is PowerPoint, then we want to go directly to the third question (about PowerPoint).
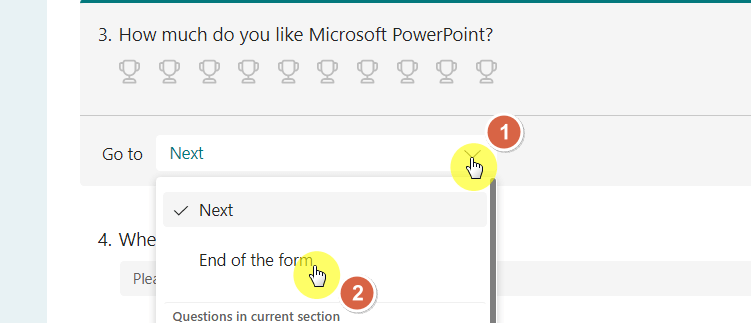
After the user answers question #3, we can safely ask him to go to the end of the form:
13. Restrictions
When asking for number-related information, the option is to use a text question.
Fortunately, there is a restriction setting so the Microsoft form will only accept an answer that fits the rule or criteria.
There’s a set of restrictions you can choose from — like number only, greater than, less than, equal to, between, etc.
You can only choose one restriction to apply. More options will appear after you select a restriction:
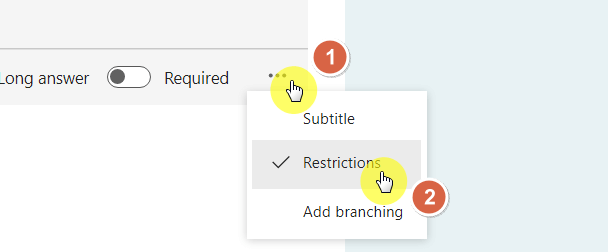
In the example above, you will have to define the number range. In other options, you will have to define their criteria as well.
You can also see that it adds a subtitle to the question as a sort of hint. Despite this, you can still add a subtitle to the question.
How to add a theme to your form
Sending a form in its default looks is plain boring. Fortunately, you can spice it up by using themes.
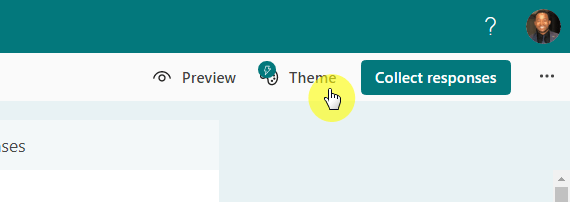
Simply click on the theme button from the head toolbar:
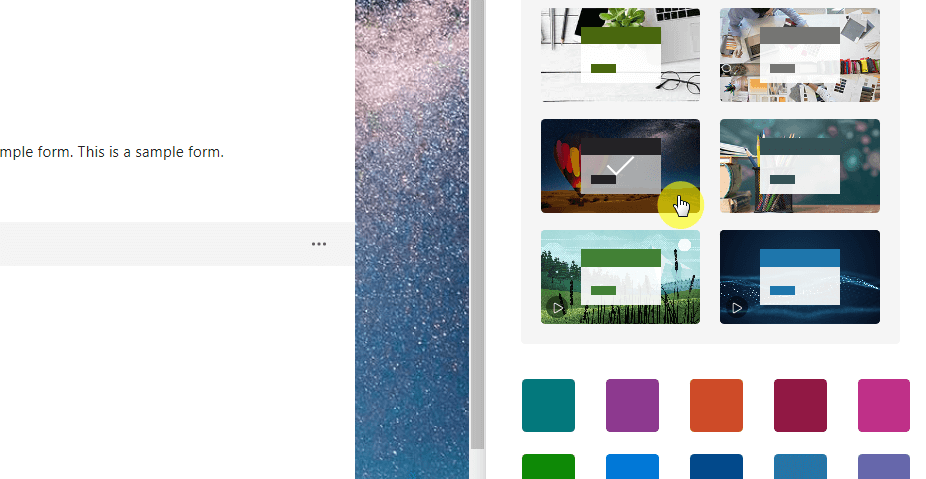
The good part here is that there are theme ideas for you to choose from. You can also select from a choice of colors and images.
All you have to do here is to click on the theme you like:
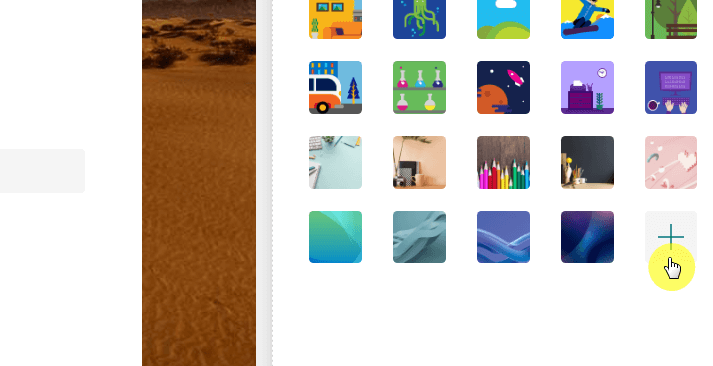
If you want to use a custom image and custom colors, click the add button at the bottom of the right panel:
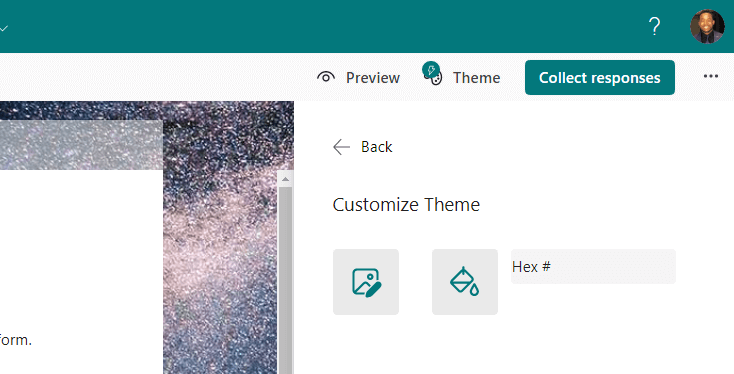
On the next screen, all you have to do is provide the hex # of the color and configure the image (online search, OneDrive, or upload an image).
If you want to see how your form looks to the user, you can preview it quite easily.
Click on the preview button from the head toolbar:
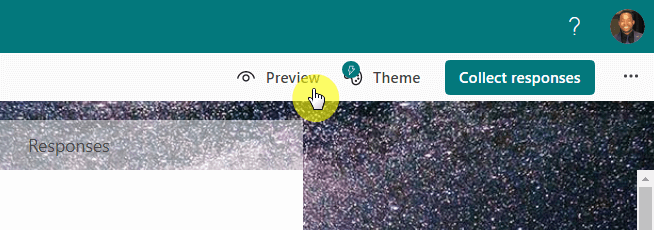
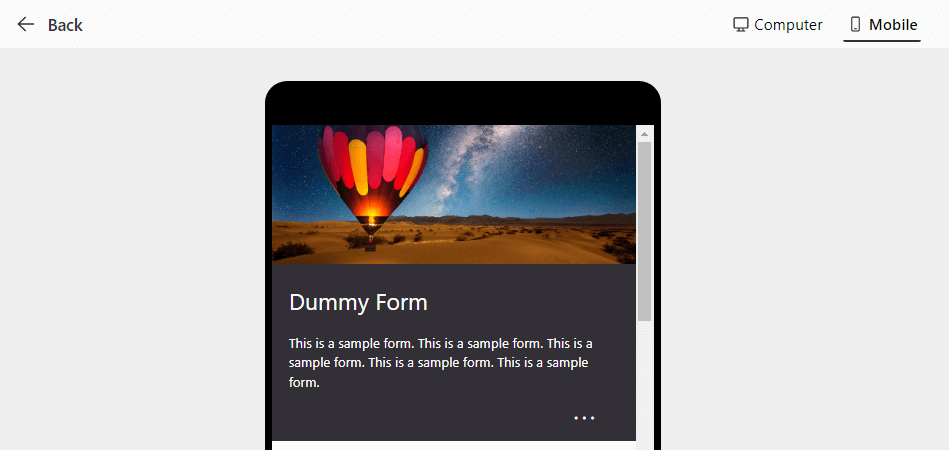
You will then see what your form looks like on the front end. You can also toggle the mobile button on the toolbar for a mobile device view.
Once you’re ready to share the form, all you have to do is click the collect responses button from the toolbar:
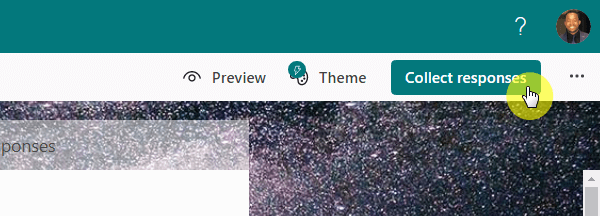
There are then four ways you can share your form:
- Send the link to the form (you can shorten it)
- Send an email from the form creator app
- Download a QR code
- Embed the form to a webpage

Do you still have any questions on how to create a form through Microsoft Forms? If so, kindly leave a comment below.
Need business help? For inquiries, use the contact form found here and I’ll get back to you as soon as possible.


