
Last Updated on September 23, 2023
Do you need an automated system that systematically deletes content in your intranet?
In this SharePoint administration guide, I’ll show you how to create a SharePoint retention policy and how it affects the site collection.
Let’s get started.
Table of Contents:
Organizations today receive so much data that they’re likely to run into storage issues in a few months.
Although cloud solutions like OneDrive allow upgrades in storage space, it doesn’t solve the main problem.

Many of the data retained in storage drives become unnecessary after a set amount of time.
Related: How to Manage SharePoint Storage Limits (Microsoft 365)
This is where retention policies and retention labels play a large role. They basically help organizations manage data retention.
Specifically, there are two actions that retention settings in Microsoft 365 execute:
- Permanently deletes items after a set amount of time
- Prevents users from deleting items before a set amount of time (or forever)
By the way, a retention label is different from a policy. Labels are useful when you need to create exceptions to the retention policies.
You can create a retention label on data lifecycle management > labels or on records management > file (for item-level retention settings).
Sign up for exclusive updates, tips, and strategies
To make this easier to understand, I’ll break this into a few steps:
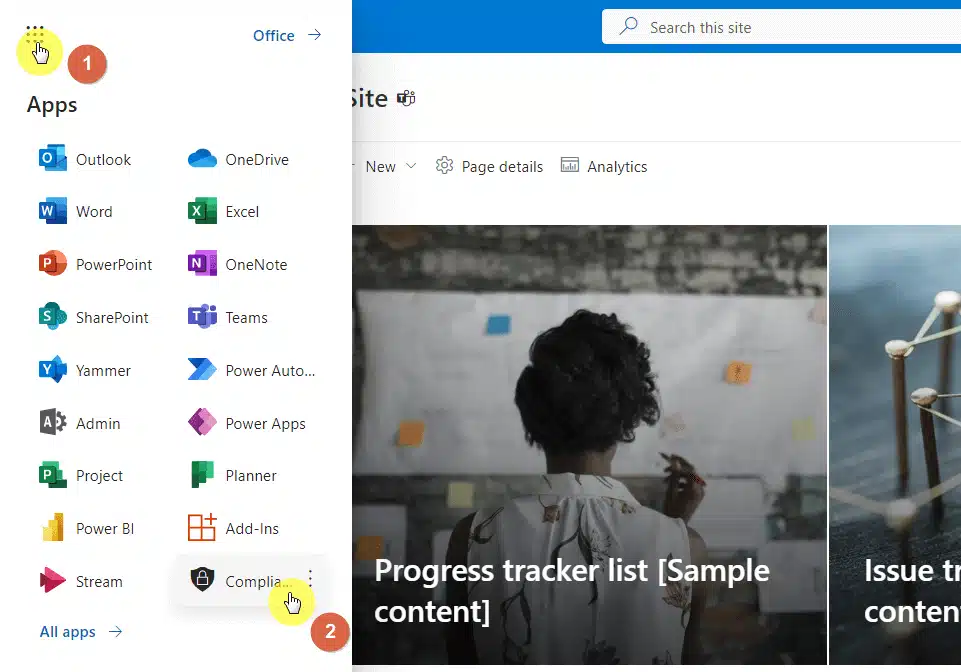
Navigate to any Microsoft 365 page and follow these steps:
- Click the app launcher icon on the page
- Open the compliance center from there
Note: If the compliance center isn’t available from your view, you need to see all apps in the launcher.
Step #2: Go to the retention policies page
Once you’re in Microsoft Purview, follow the steps below:
- Expand the options under data lifecycle management
- Hit the Microsoft 365 option
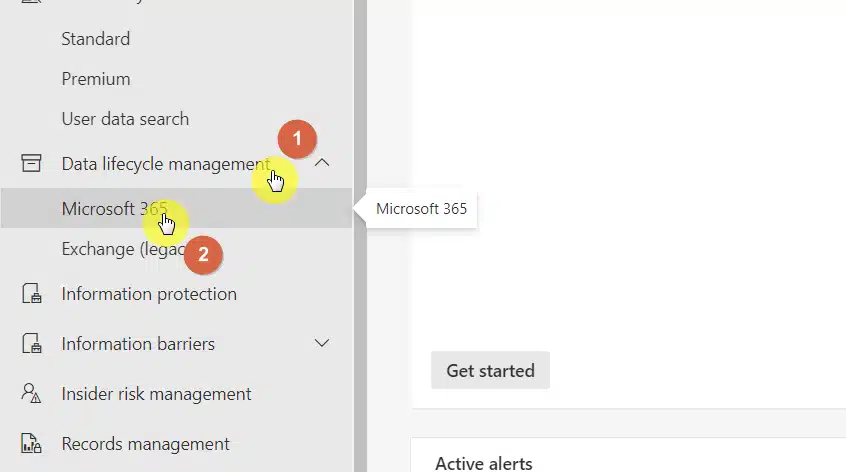
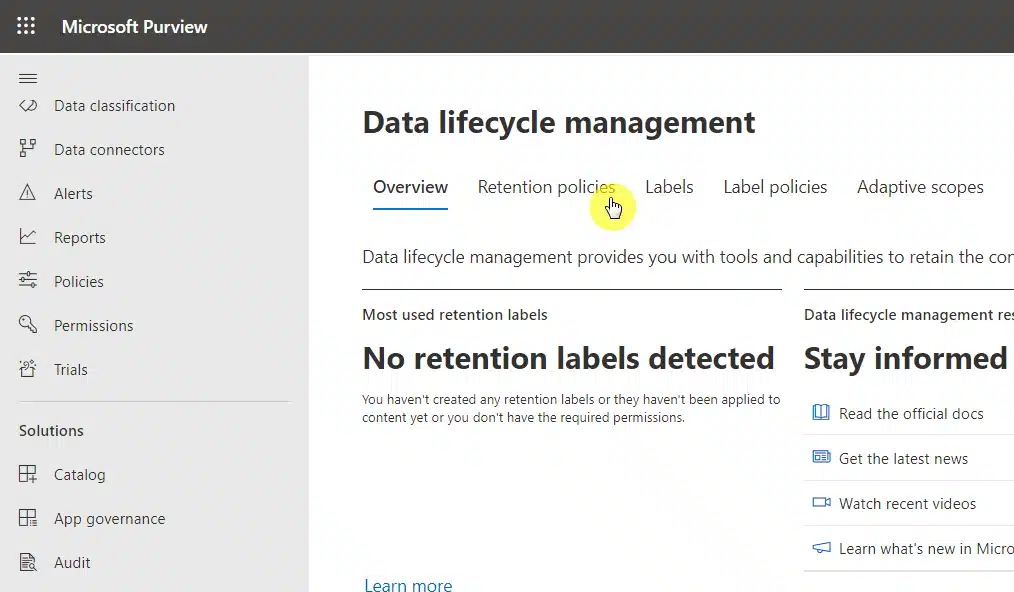
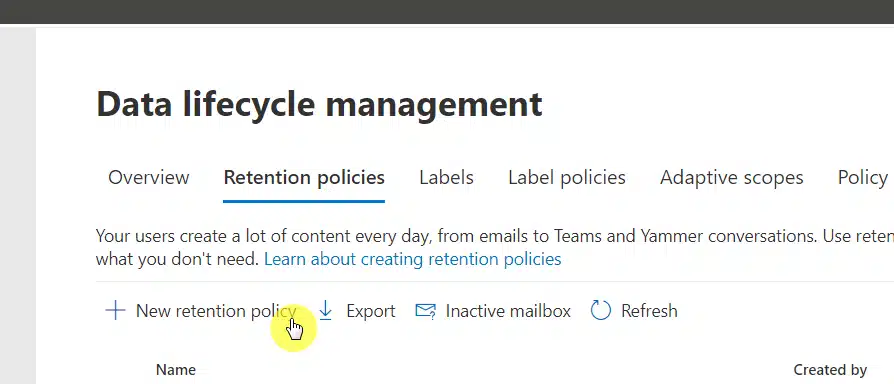
Once you’re on the data lifecycle management page, go to the retention policies tab:
Step #3: Create a new retention policy
We will discuss the first part of creating a new retention policy here.
Click on the new retention policy button to start:
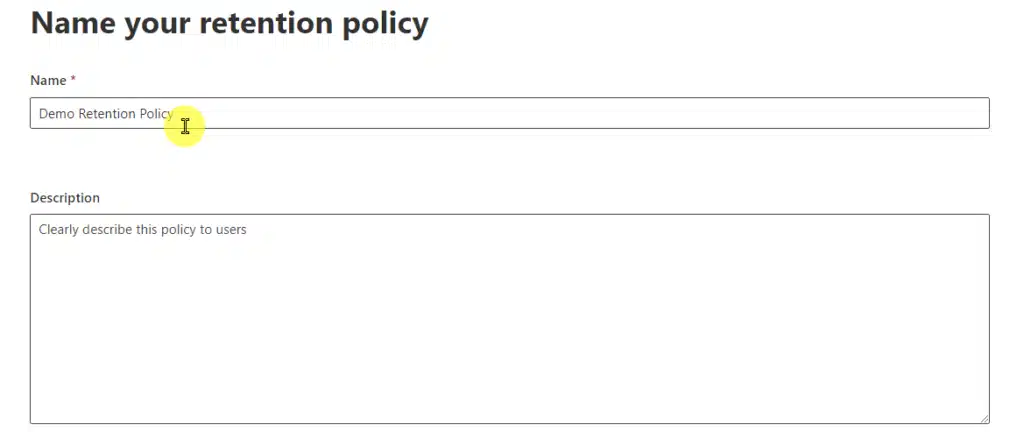
On the next screen, provide a name and a description (optional) of the policy.
The title can be as simple as the name of the site + retention policy or the specific period of time you want SharePoint to retain your files.
Click the next button to proceed to the next part.
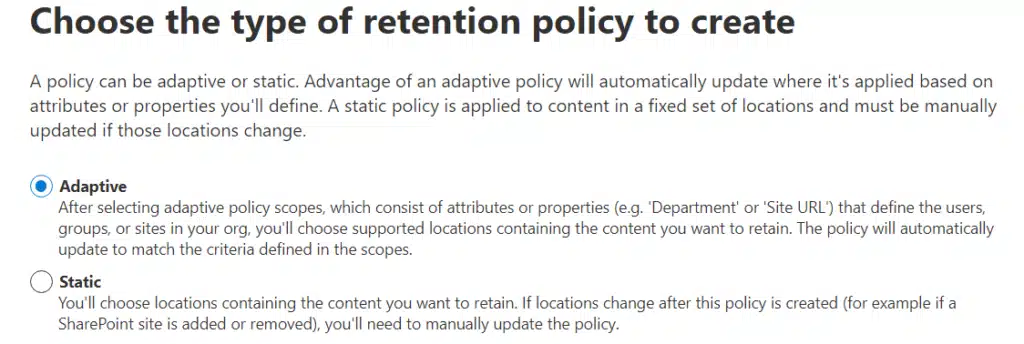
Step #4: Select the type of retention policy to create
This is the part that usually confuses admins (especially those who are new to SharePoint Online).
With recent updates, there are now two types of retention policies:
- Adaptive automatically updates to match the criteria defined in the scope
- Static needs manual update when there’s a change in the target location
If this is your first time touching Microsoft Purview, then creating an adaptive retention policy will require more work from you.
Basically, you will select a scope and then specify the locations where the policy will take effect:
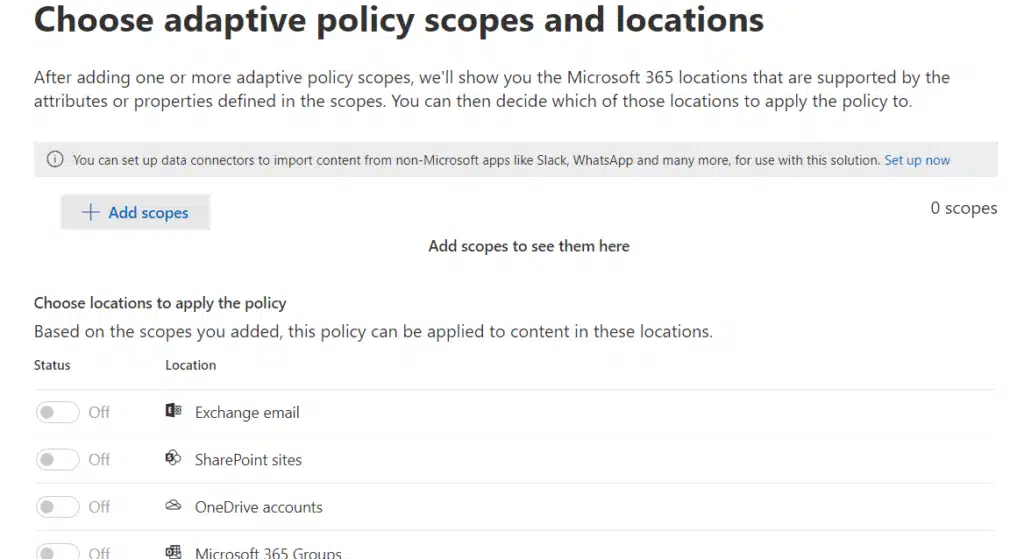
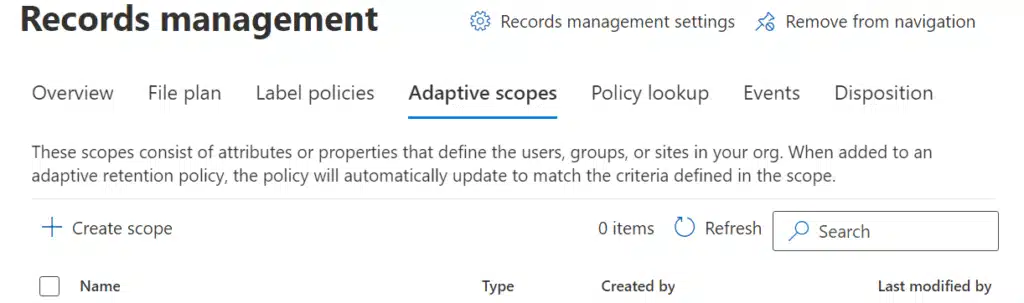
Unfortunately, for this to work, you need to have created adaptive scopes beforehand.
New users will have trouble with this since the retention policy page doesn’t offer any hints. All you need to do here is go to records management > adaptive scopes.
The static method is like the legacy method of creating a retention policy.
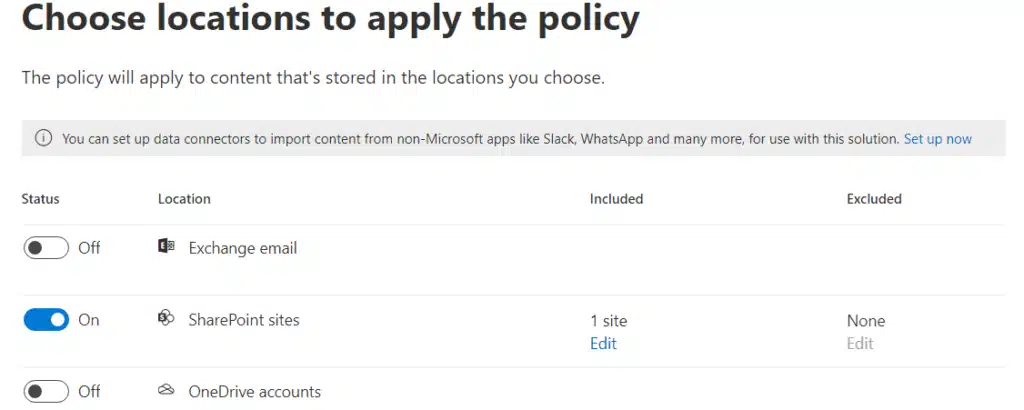
Through this, you will be able to manually set the location where the policy will take effect. There is also an option to go deeper into the included and excluded locations.
For example, I can set this up to only include SharePoint sites — and specifically, I want the policy to take effect on one specific site only:
Changing the included and excluded settings might confuse you at first. It’s not like other forms in Microsoft which automatically searches its database.
What you need to do here is this:
- Manually copy and paste the site link
- Click the add button beside the field
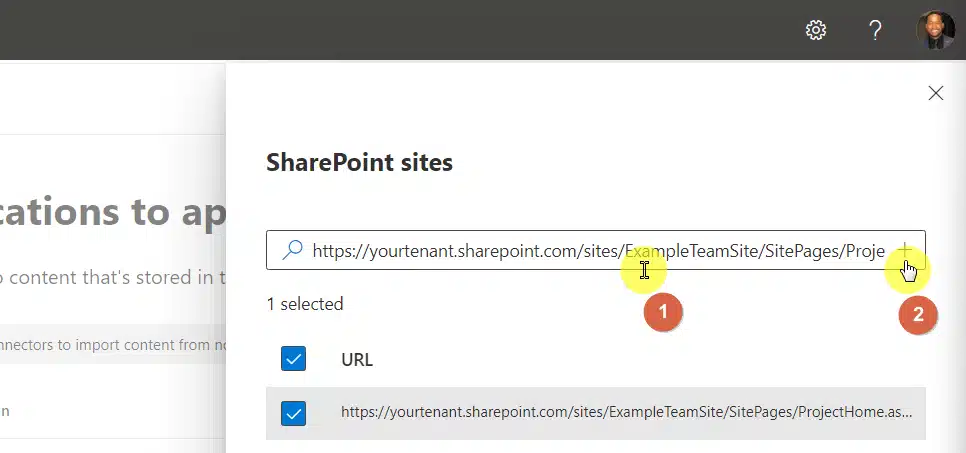
After that, make sure the URL is selected before you click the done button at the bottom of the panel.
Once you’re done with the steps here, click the next button at the bottom of the page to proceed to the next part.
Step #5: Configure the retention settings
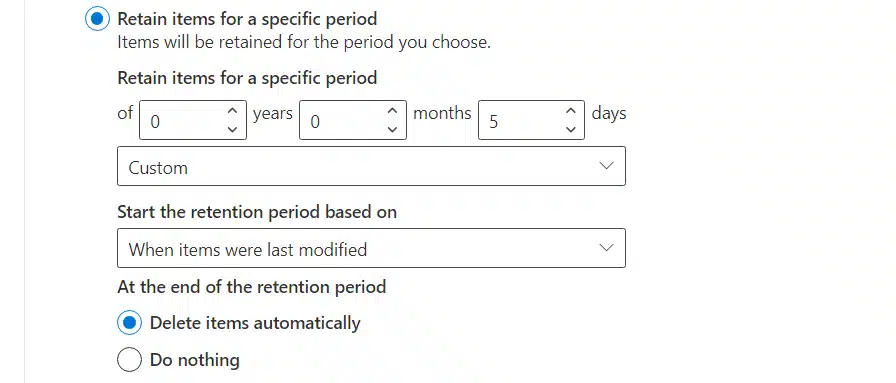
On the settings part, you need to choose the primary action of your retention policy.
There are three of them:
- Retain items for a specific period
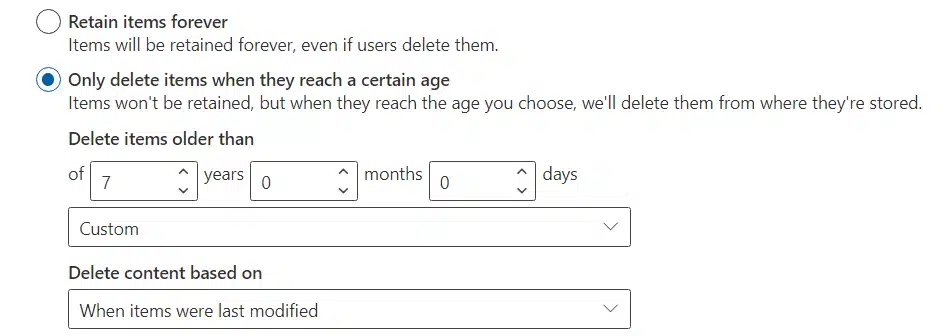
- Retain items forever
- Only delete items when they reach a certain age
By default, the settings start with the first one — retaining items for 7 years from creation and deleting them automatically.
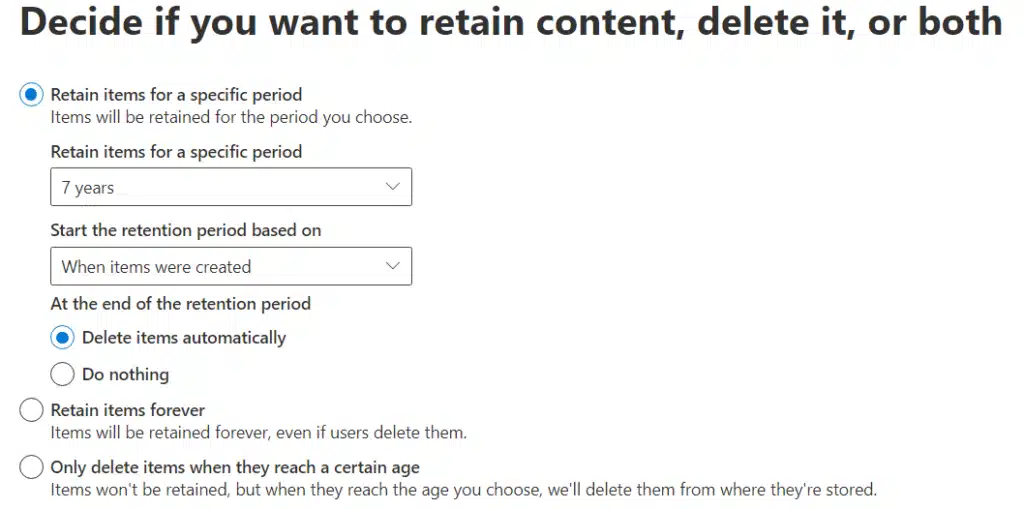
The first setting has 5, 10 years, and a custom option. If you select the custom option, you can specify the months and days.
You can also set the policy to start the retention period when items were last modified and decide to do nothing on those files.
The second option speaks for itself. Even when a user deletes the items, the items are still retained in a special location (discussed later).
The third option won’t add a protection layer to the items. But the system will delete them after a set period of time.
Note: A retention policy is an automated method of archiving documents. For more options, go here: How to Archive Documents in SharePoint Online.
After making the choice, click the next button once again at the bottom of the page.
In the end, you would be able to review your policy. If you need to change any of the settings, there is an edit link you can click.
If you set the policy to delete content, you will also see a red warning notification at the bottom.
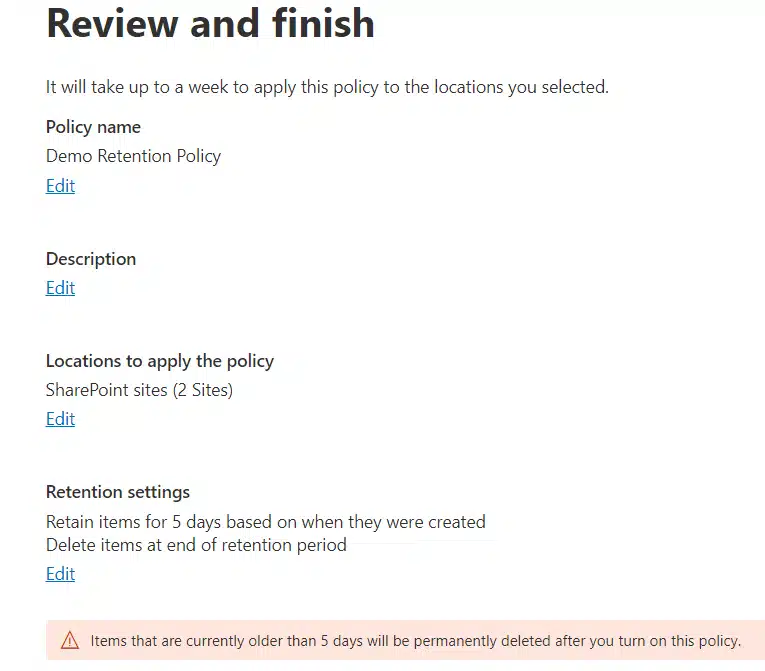
Click the submit button at the bottom to finalize everything and create your retention policy.
SharePoint Online will then inform you of successfully creating the retention policy and a reminder that it will take a week for it to be enforced.
You can also create a retention policy by using PowerShell. It’s a bit advanced and deserves its own post (future topic).
A retention policy has three basic effects on a SharePoint Online site collection:
1. Creation of the preservation hold library
When you create a policy, all the items on an affected SharePoint site won’t have a visible tag or metadata for users to see.
Anyone with the proper permissions can access and do what they need with the items as usual (no change in experience).
When a user changes something on the item or deletes it, the system will create a copy of that file in a different library.
The name of that place is the preservation hold library.
As you can see from the screenshot below, this library has appeared on the site where I included it in the policy created earlier:
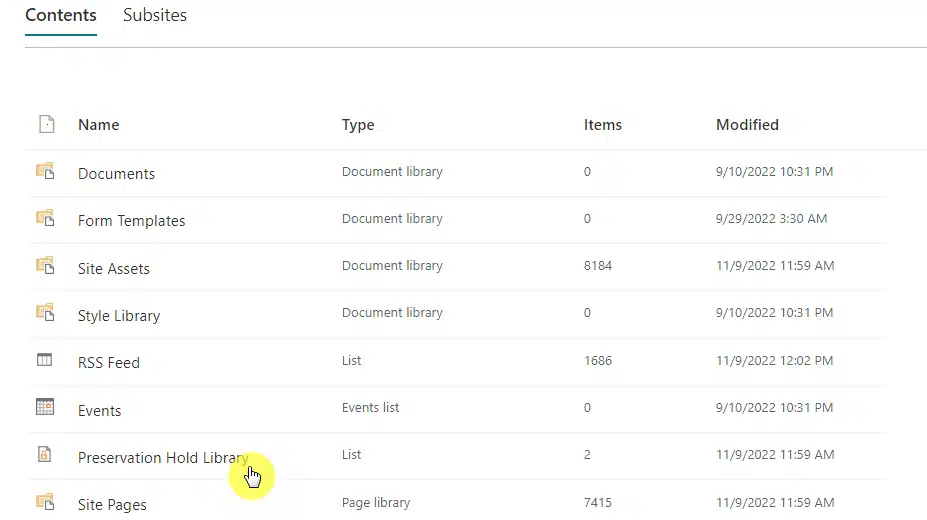
Now, don’t panic if this library hasn’t appeared yet on your site. The system only creates this when a file covered by the policy is changed or deleted.
Think of this as SharePoint’s method of making sure that items covered in a policy will be retained at all costs until the specified period of time has passed.
The library itself has a delete button on all its contents. But when you try to delete an item inside this special library, you will encounter an error:
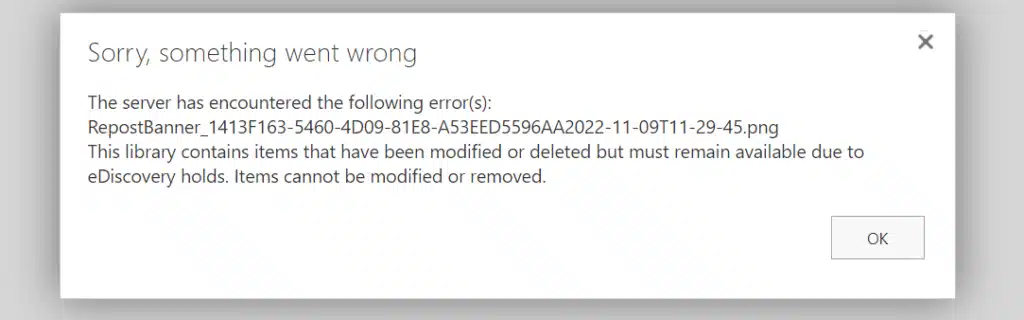
So rest assured that when you set up a retention policy, your files are protected from accidental deletions.
2. Block site deletion
When a site is included in a retention policy, that site gets a layer of protection from being deleted.
The user who’s trying to delete that site will see the following message:
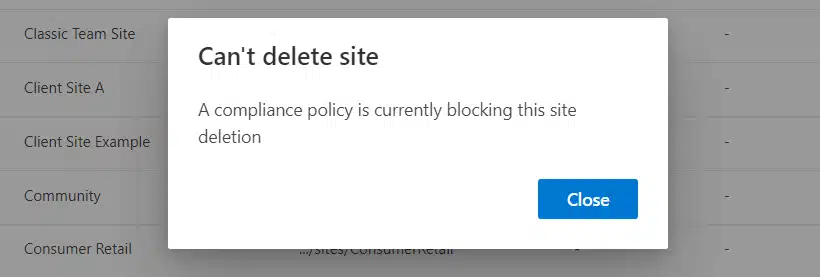
Although you can easily restore a deleted site collection within a certain period of time, this method is safer since the system itself automatically protects the site.
Note: For more information on deleting a Microsoft SharePoint site, read this guide: How to Delete a SharePoint Site.
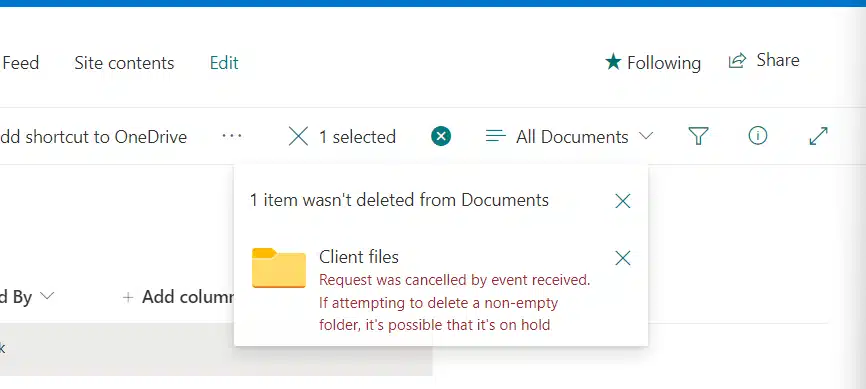
3. Can’t delete a folder without deleting its contents first
Another subtle change to the site is the fact that you won’t be able to delete a folder without deleting its contents first.
If you attempt to do so, you will see an error similar to this:
In addition to this, you won’t be able to delete any list (which includes libraries as well) while the retention policy is still active.
You will see a notification that says:
List cannot be deleted while on hold or retention policy.
Note: For more information on list vs library in SharePoint, read this article: SharePoint List vs Library: The Differences.
After activating the policy, what’s next? What happens to the files deleted by the system? How about the file versions?
Here are some answers:
1. Deleting items from the target location
If you designed the policy to delete items, then the system will delete the items after the specified time has passed.
To demonstrate, when you delete an item, it moves to the recycle bin, right? There’s also a copy that appears in the preservation hold library.
When you check the recycle bin, the deleted by column will show the user’s name who made the action:
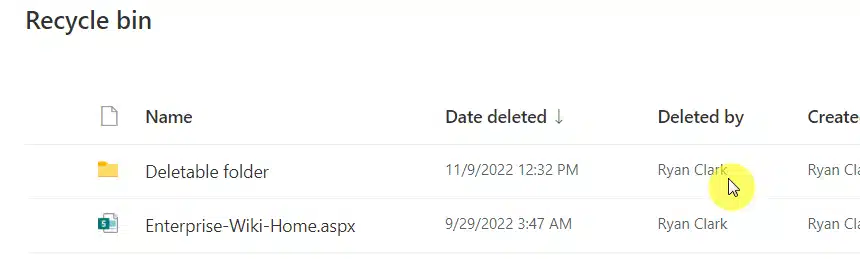
But if it was the system that deleted the file after the specified period had passed, then that column was replaced by the system account (literally).
Note: Need to restore a file from the recycle bin? Check out this article first: SharePoint Recycle Bin: Everything You Need to Know.
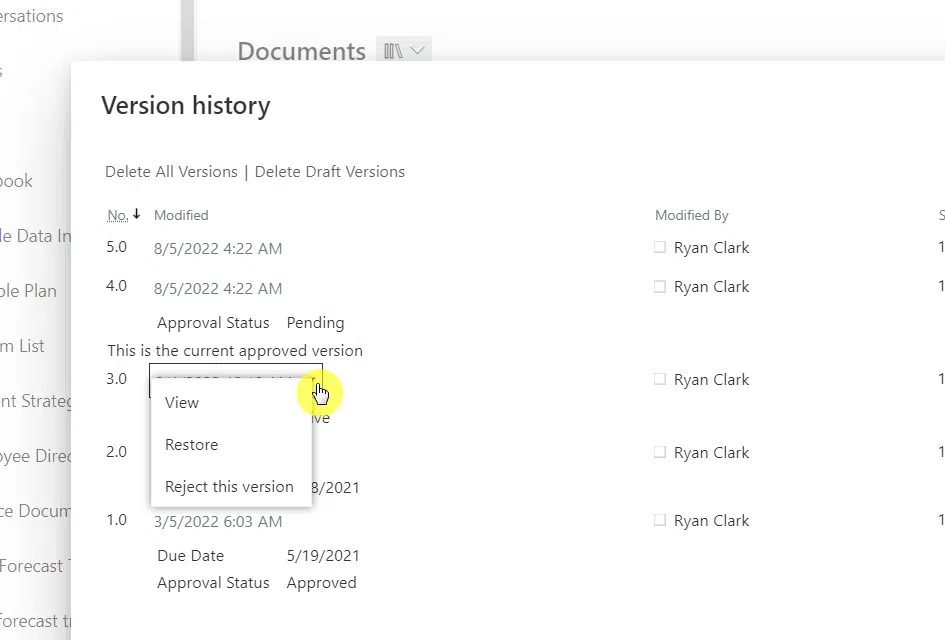
2. File versions are preserved
SharePoint creates a new version (500 versions by default) whenever a user makes a change in a document or a list item.
In the past, when a site was under a compliance policy, SharePoint Online created a separate file for each version in the preservation hold library.
Since there are different files, different expiration dates are applied to each version if the retention period was based on the last modified date.
That means the first versions created will expire first and will be deleted or moved to the site’s recycle bin.
However, Microsoft updated the system in July 2022. Now, all file versions are in one file and saved in the preservation hold library.
If the retention period was based on the last modified date, all the versions will have the same expiration date as the latest one (so they expire altogether).
Otherwise, the if the retention period was based on when the file was created, the expiration date of all versions will be the same — based on the original document.
Note: For more information on the versioning feature, check out this article: Major Version vs Minor Version: SharePoint Online Versions.
3. When a user leaves the organization
If a user leaves the organization while the retention policy is active, that user’s content in SharePoint won’t be affected.
The same applies to his files in OneDrive. They will all be retained until their expiration date has passed.
The system will then delete his files after the specified period has passed and will move them to the site collection recycle bin (accessible only to the admin).
In terms of the time it takes before the file is deleted from the preservation hold library, it will take around 37 days for an item to be deleted.
That’s because the system only checks the item’s retention after 30 days, and this internal job runs every 7 days only.
Hope I was able to discuss retention policies in SharePoint clearly. But if you have questions, kindly share them below.
Need professional help? Let me know how I can help using the contact form found in this page and I’ll get back to you asap.


Can you please share if you have done the same for the adaptive scope please
Can you provide more details on what you are looking to achieve?
Hello, thanks for the input. What is the difference between the various Compliance Admin Portal options. E.g.: How is the “Data Lifecycle Management” different to the “Records Management” Options in the admin center? For example: I wanted to create a governance policy, that no documents can be deleted from a SharePoint site. I created a policy in the “Records Management” Settings that no documents can be deleted from a specified SharePoint Site. I enabled the policy and it shows me that it is active. But I can still delete documents (and they are not in the Preservation Hold Library –… Read more »