
Last Updated on February 17, 2025
Want to create a custom user access?
In this guide, I’ll show you how to easily create a custom user access level in SharePoint Online.
Let’s get started.
Table of Contents:
What are the default permission levels?
As you already know, there are already built-in permission levels in SharePoint that control what users can do.
These are:
- Full control
- Edit
- Contribute
- Read
- Limited access
- View only
Each permission level serves a different purpose.
For example, full control is typically for site owners, while read and view only for access but can’t make changes.
Limited access, from its name, grants users access only to specific items, useful for sharing files without the whole site.
Unfortunately, you may need more control, which is where custom permission levels come in on the scene.
👉 Related: SharePoint Groups & Permissions Explained: How Permission Levels Work
Sign up for exclusive updates, tips, and strategies
How to Create Custom Permission Levels
What’s nice with a custom permission level is that you can fine-tune its access based on your needs.
Here’s what to do:
Step 1: Access Permission Settings
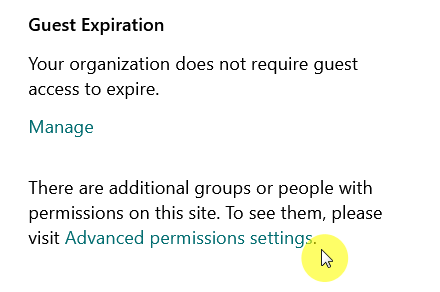
To get started, go to your SharePoint site and click on the gear icon (⚙️) in the top right.
Select Site Permissions, then click on Advanced permissions settings.
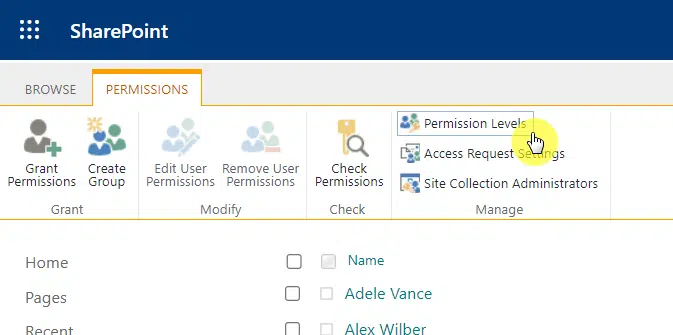
On the next page, click on Permissions Levels in the ribbon to see the existing permission options.
Nice! 🙂
Step 2: Create a New Permission Level
You have 2 choices here:
- Start from scratch
- Choose from an existing permission level
For the first one, you can just click on the Add a Permission Level button:
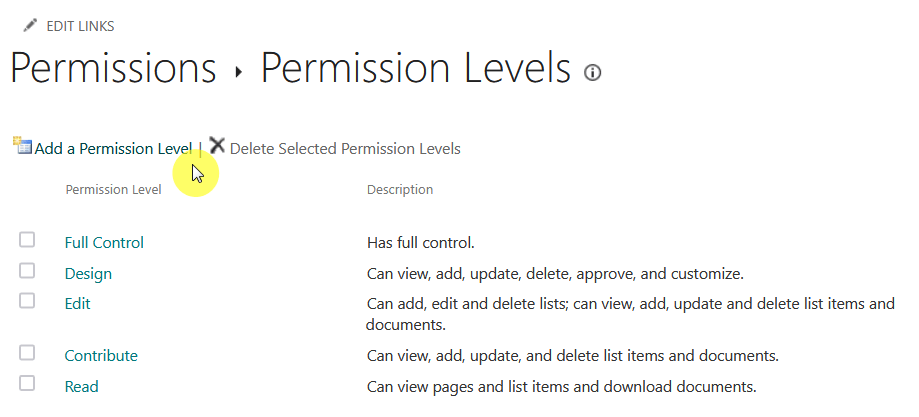
Obviously, the difference is that an existing permission level will already have some SharePoint permissions checked.
If this is what you want, choose an existing permission level (click on it) that closely matches what you need.
Scroll to the bottom and then click Copy Permission Level to create a duplicate:
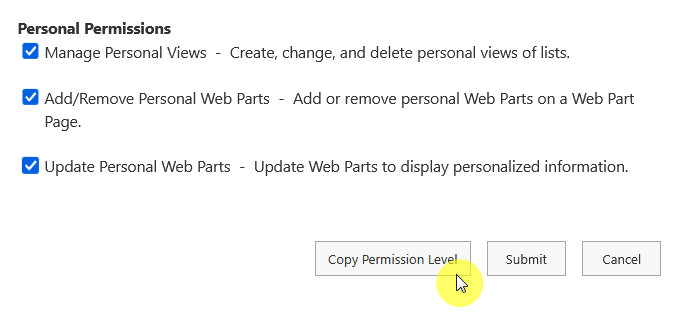
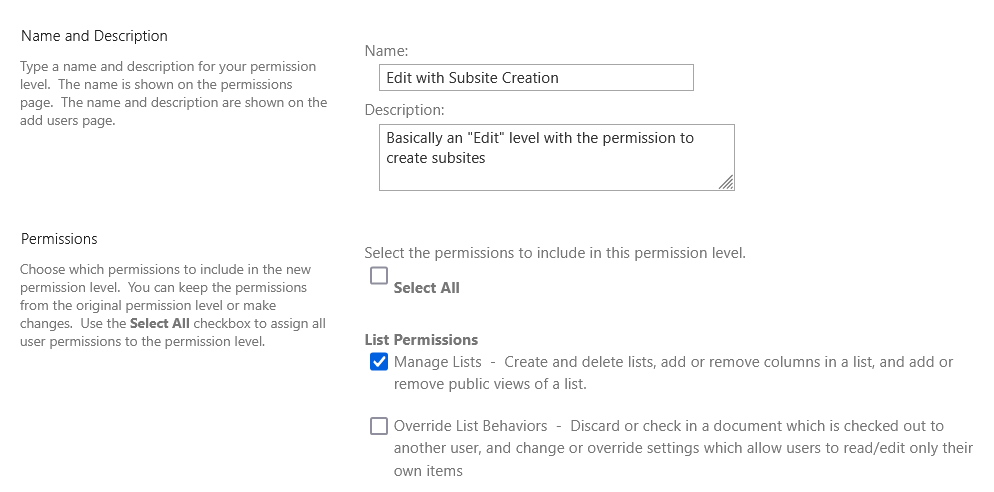
From here, just give your new permission level a unique name and description.
You must also check or uncheck the permissions you want to allow or restrict.
After that, go to the bottom and click Create to save the new permission level.
Step 3: Assign the Custom Permission Level
The last part is assigning the custom permission level.
For this, go back to Site Permissions and choose a user or group (click on its name).
Then click on Edit User Permissions from the ribbon:

From here, simply choose your newly created permission level from the list.
Then click OK to apply the changes.

Now, your users have exactly the access they need—nothing more, nothing less.
Note that when you grant permissions to a user or group, you will also be able to select the new permission level. 🙂
Common Scenarios for Custom Permissions
If you’re not sure whether or not it’s the right “scenario” to create custom permissions, I’ve got sample cases for you.
Your scenario might relate:
- Some documents should be visible only to specific teams or individuals
- Users may need to add files but not delete or edit existing ones
- External partners or vendors might need access to view, but not change, files
- Team members working on a temporary project may need different permissions than permanent staff
- HR, Finance, or IT may require unique permission settings to protect internal documents
Just take note that without proper controls, unauthorized users might be able to alter or delete important files.
That’s why I recommend that you double-check before providing any permission levels to a user or group.
Potential Challenges and Solutions
By the way, you might face a few challenges when creating your own custom user access levels in SharePoint.
These include:
- Permission inheritance conflicts
- Overlapping permissions
- Difficulty tracking changes
- Unintended access
- Revoking access after role changes
The solution to all of these is having ongoing attention and regular audits to avoid security risks and disorganization.
I always remind users that using SharePoint groups instead of individual user permissions will simplify access control.
Do you have any questions about customizing user access levels in SharePoint Online? Let me know.
For any business-related queries or concerns, contact me through the contact form. I always reply. 🙂


