
Last Updated on May 21, 2025
Feels like your sites are slowing down?
In this guide, let me share a few practical SharePoint performance tips I have learned over the years.
Let’s get started.
Table of Contents:
1. Compress and Resize Images Before Uploading
Even if your internet is decent, loading a 5MB+ image on a SharePoint page filled with other content slows everything down.
SharePoint still has to serve that data every time someone visits the page.
So here’s what you can do:
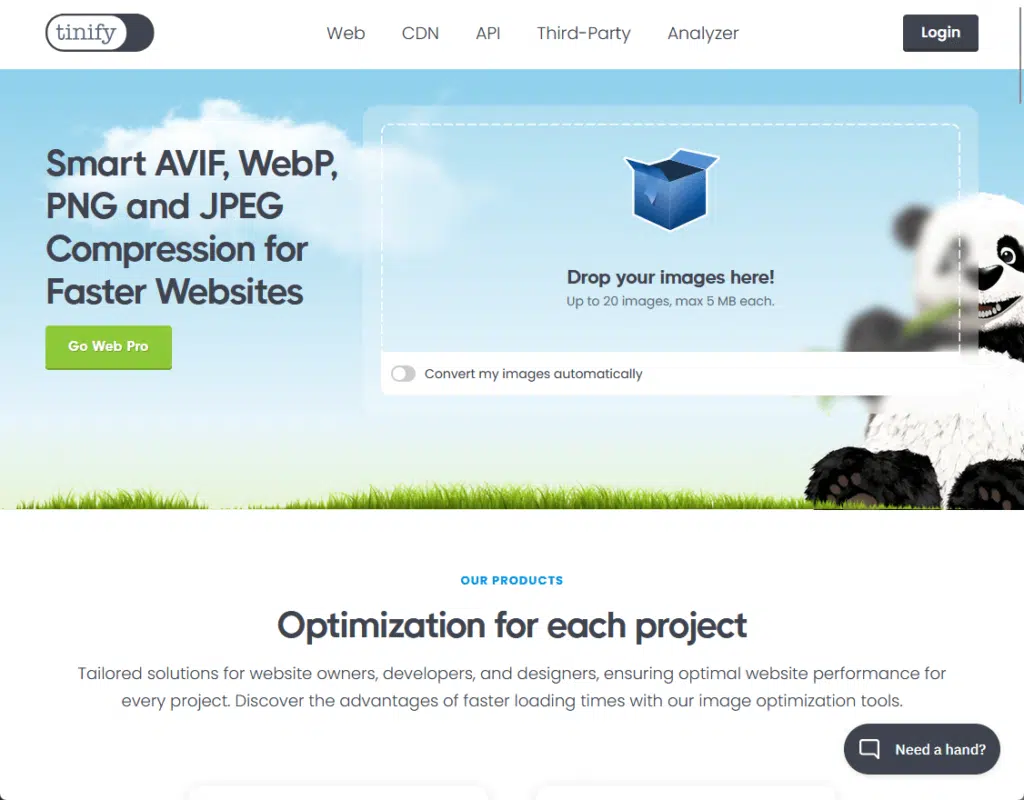
- Use tools like TinyPNG to compress images without killing the quality.
- Resize images to match what you actually need.
- Stick with modern formats like WebP or compressed JPEGs.
- Avoid uploading images straight from high-res cameras or phones.
When using tools, you simply need to drag your images into the page and then download their optimized versions.
Modern image formats like WebP are designed to keep image quality high while keeping file sizes small.
That size difference directly affects how fast a page loads, especially when you’ve got multiple images on the page.
Resize the images as well, since there’s no need to upload a 4000x3000px image if you’re only displaying it at 600px wide. 😅
Sign up for exclusive updates, tips, and strategies
2. Limit Web Parts on Pages
Web parts are awesome mainly because they’re how you build out SharePoint pages, but it’s really easy to go overboard.
Every web part you add increases the amount of stuff (data and script) SharePoint has to load and render, resulting in delays.
Here’s the lowdown:
- Keep only the web parts that add real value.
- Avoid stacking too many complex or data-heavy ones.
- Use sections smartly.
- Try to keep the homepage and landing pages clean and fast.
Some web parts definitely put more strain on performance than others, especially when they pull live data or run queries.
Examples include:
- Document library
- List view
- Highlighted content
- News and events
I don’t mean you shouldn’t use any of those web parts (they’re important!), but just use them wisely and not all on one page.
By the way, when I say “use sections smartly,” I’m talking about how you lay out your content on the page using layouts.
What helps is to separate content logically, don’t stack everything in one scroll, and when possible, use collapsible sections.
When in doubt, think minimal but functional. 🙂
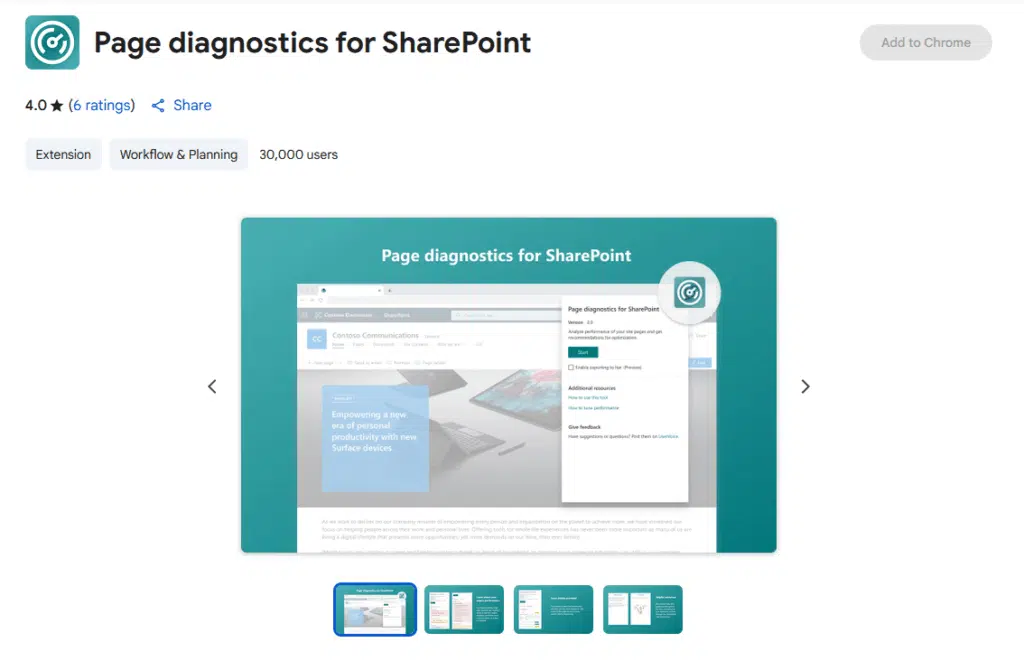
3. Use the Page Diagnostics Tool
This SharePoint tool is a browser extension (available for Edge and Chrome) that analyzes SharePoint Online pages.
Think of it like a quick health check: you run it on a page, and it tells you what’s slowing things down and by how much.
Here’s what it can do:
- Flags things
- Shows load time and gives a breakdown
- Gives tips (with links to documentation)
For example, this is what you will see after running it on a demo site:
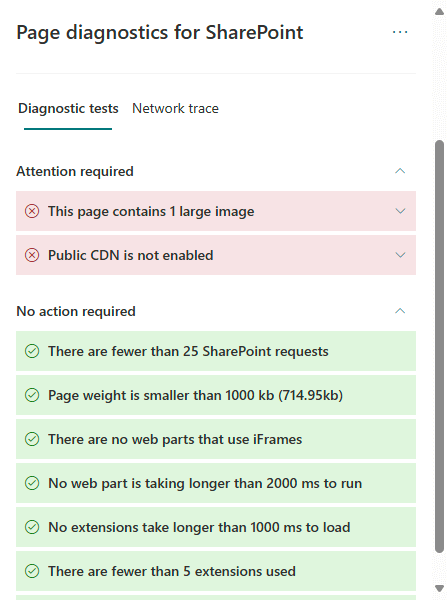
As you can see, it will give you a performance score and show how long the page took to load, including the breakdown.
It can tell you things like:
- How much time was spent loading scripts
- How long web parts took to render
- If large images or files are slowing things down
- If there are too many or slow queries running
It basically points out which parts are the slow ones, so you’re not flying blind.
You can use that info to tweak the page, like replacing a slow web part, compressing an image, or adjusting how data is being pulled.
Note that this tool doesn’t change anything on the page; it just reports, so it’s safe to use even if you’re not an admin.
4. Index Columns in Large Lists
When a list gets big (we’re talking thousands of items), SharePoint starts enforcing something called the list view threshold.
Once you hit around 5,000 items, it limits what queries it will run unless they’re optimized, and that’s where indexing comes in.
Here’s what indexing does:
- Tells SharePoint which columns to look at first when filtering or sorting
- Speeds up views and searches
- Helps prevent those annoying errors
By that error, I mean this:
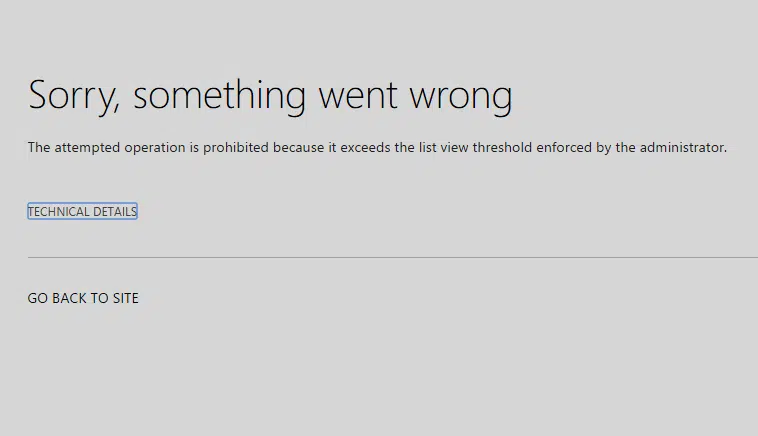
When you filter or sort a list in SharePoint, it needs to figure out which items match your criteria.
If the column you’re filtering on isn’t indexed, SharePoint has to scan every single item in the list to check if it matches.
But if the column is indexed, SharePoint already has a sort of “map” of the values in that column, so it can quickly jump there.
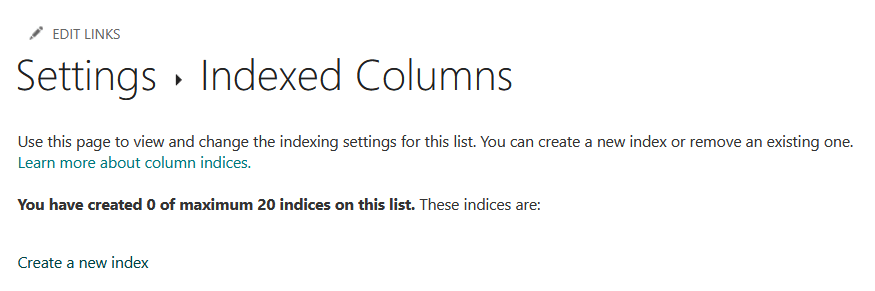
That’s all good, though, but remember that there’s a limit, with each list having only up to 20 indexed columns.
If you’re confused about which columns to index, here’s what you can do:
- Look at your most-used views
- See what filters or sorts are applied there
- Check slow-loading views or frequent errors, and review what columns are involved
- Any column that returns more than 5,000 items
If this is your first time encountering this, you can set up indexes in the indexed columns option in the list settings. 🙂
5. Split Large Document Libraries
It’s tempting to dump everything into one giant library. 😅
It feels organized at first, but once that library starts getting big (think thousands of files), things can slow down fast.
Search takes longer, loading views can hit that 5,000-item threshold, and users start complaining that it’s “laggy.”
Splitting the library can help you:
- Keep each library under the performance sweet spot
- Apply more focused permissions, views, and metadata
- Reduce the chance of hitting view limits and performance bottlenecks
Unfortunately, there’s no built-in “split this library” button (wouldn’t that be nice?), so you will have to do this manually (mostly).
For starters, you can use the SharePoint UI, use OneDrive Sync, or use PowerShell scripts or tools like ShareGate or Mover.
For automation, there’s Power Automate, where you can build a flow that moves files based on metadata or creation date.
To split effectively, you can try:
- By project or department
- By content type or purpose
- By year or date range
It’s not hard, just takes a little time, especially if you’re dealing with thousands of files.
And yeah, always good to back up or test on a small batch first (you don’t want your files to suddenly disappear on you).
6. Enable Microsoft 365 CDN
If you’re unfamiliar, a CDN is designed to speed up how static assets, like images, JavaScript, and CSS, are loaded.
Instead of pulling those files each time, they’re delivered from a Microsoft-managed CDN server that’s closer to the user.
There are two types here:
- Public CDN for widely-used assets like logos or scripts
- Private CDN for internal files
Microsoft 365 CDN only works for static assets, things that don’t change often.
For this, you need to enable it using PowerShell, and you can define which libraries or folders get served via the CDN.
For example:
Connect-SPOService -Url https://yourtenant-admin.sharepoint.com
Set-SPOTenantCdnEnabled -CdnType Public -Enable $true
Add-SPOTenantCdnOrigin -CdnType Public -OriginUrl sites/mysite/Style Library
Take note that Microsoft 365 CDN is included with your SharePoint Online and Microsoft 365 subscription.
Since it’s Microsoft-hosted, there’s no third-party CDN provider involved and no extra charges for usage or bandwidth.
Anyway, after you enable it, the CDN will run in the background. 🙂
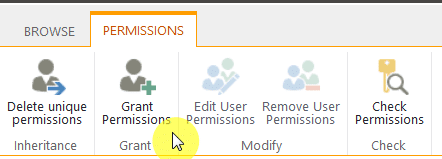
7. Simplify Permissions
This one’s low-key underrated when it comes to SharePoint performance (they can get real messy real fast).
And the more unique or item-level permissions you set, the harder it gets for SharePoint to manage who can see what.
When you apply unique permissions to items, SharePoint has to check and enforce those permissions every time.
The back-end has to calculate visibility per user dynamically, not just load the data, and that’s extra processing.
Here’s what I suggest:
- Use SharePoint groups, not individual users
- Avoid unique permissions on files or folders unless it’s absolutely needed
- Set permissions at the SharePoint site or library level whenever possible
- Review permission inheritance every so often
The question now is, when is the right time to use unique permissions?
Well, here’s a quick list of when it makes sense to use them:
- Sensitive documents
- Project-specific content
- Temporary access
- Compliance or audit requirements
When you do set unique permissions, make sure to document why and review them occasionally (it’s easy to forget them).
And that’s when things usually start getting messy. 🙁
8. Compress Files Before Uploading
Because big files eat up space and slow things down.
SharePoint has to process and serve every file you upload, so reducing their size makes them faster and lighter.
Here’s what you can do:
- Zip up folders before uploading
- Compress PDFs
- Reduce the resolution of large PowerPoint decks or images inside Word files
- Use built-in “Save As” or export tools to shrink Excel or PowerPoint file sizes
When you open a large file, SharePoint and the browser need to load and sometimes render the content before it’s usable.
This is true especially with browser-based apps (like Word Online) that need time to load everything into memory.
A good rule of thumb here is this:
| File Size | What to Do |
| Over 10MB | Consider compressing, especially if used often or by many users |
| Over 50MB | Compress it or split it into smaller parts if possible |
| Over 100MB | Expect slowdowns—compress or move to a dedicated storage solution if needed |
This depends a bit on file type, too:
- For PDFs, try to keep them under 5MB if they’re going to be opened in-browser.
- For Office files, anything over 10–20MB should be reviewed.
The reason is that large images, charts, and embedded objects usually cause the bulk in Office files (usually PPT).
If you’re storing things long-term and not opening them often, it’s less urgent. But for anything being used actively?
Lighter is better. 🙂
9. Limit File Versioning
Ahh, you know, file versioning can be a sneaky performance drag if you’re not paying attention.
SharePoint automatically saves a new version every time someone edits a file, which is nice if you need to roll back changes.

But if you’re not careful, this can stack up to dozens or even hundreds of versions per file, especially in busy libraries.
It matters because:
- Each version takes up space
- It adds overhead when syncing or managing files
- It can slow down performance and indexing in massive libraries
The to-do here is to set a reasonable version limit, like 10 or 20, based on how often files change.
If you don’t know how, just head over to the versioning settings (under the general settings) inside the library settings.
Then set the “Keep the following number of versions” box to something reasonable:
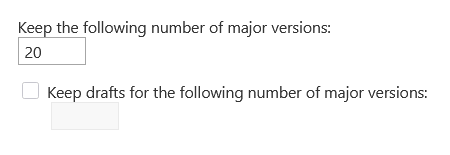
Don’t forget the OK button, and that’s it. 🙂
From now on, older versions beyond that limit will be deleted automatically as new ones are created, problem solved.
By the way, for document libraries with heavy file traffic, set it even lower if backups (important) are handled elsewhere.
Anyway, do you have any questions about the performance tips I shared here? Let me know below.
For any business-related queries or concerns, contact me through the contact form. I always reply. 🙂


