
Last Updated on April 14, 2025
Want to configure the permission level?
In this guide, I will show you how to set up SharePoint permission levels to control site access.
Let’s get started.
Table of Contents:
- What exactly are permission levels?
- What does setting up permission levels include?
- Choosing the Right Permission Level
- Optional: Creating Custom Permission Levels
- Assigning Permission Levels to Users and Groups
- Managing Permissions for Lists and Libraries
- Regularly Review and Audit Permissions
- Limit Using Item-Level Permissions
What exactly are permission levels?
Permission levels in SharePoint are basically sets of rules that define what someone can or can’t do on a site.
They control things like whether a person can view content, edit files, delete items, or manage site settings.
There are already pre-existing or default permission levels by default:
- Full control – Total access to everything, including site settings and permissions
- Design – Can create lists and libraries, edit pages, and apply themes or styles
- Edit – Can add, update, and delete lists and list items
- Contribute – Can add and edit content, but not delete lists or libraries
- Read – Can only view pages and content
- View only – Can view content but can’t download it (mainly for documents)
- Limited access – Lets users access specific content like a file or item without seeing the whole site
For example:
Someone with “read” permission can only view stuff but can’t make changes, while those with “edit” permission can add or change content.
And “full control” means they can do almost everything, including changing settings and managing other users’ permissions.
These levels help make site management smoother by giving you control without micromanaging every detail.
Sign up for exclusive updates, tips, and strategies
What does setting up permission levels include?
Before proceeding with the actual steps, let’s talk about what “setting up” includes.
When we say “set up” permission levels in SharePoint, it usually means a few things depending on what you’re trying to achieve.
Here’s what it generally involves:
- Choosing the right level
- Creating custom levels (if needed)
- Assigning permissions
- Setting permissions on different parts
- Managing and reviewing access
So it’s not just a one-click thing: it’s about planning who should do what, applying the right settings, and keeping it all updated.
To note, I have already written many in-depth tutorials about each specific step here, and I will link each one I wrote.
Let’s start with the first step:
Choosing the Right Permission Level
This is really about matching access to the person’s role, giving just enough access for them to do their job, nothing more.
Here’s how you can think about it:
| Permission Level | Best For |
| Full Control | Site owners or admins who manage everything |
| Edit | Team members who need to add/edit content and lists |
| Contribute | Users who should update content but not delete or change settings |
| Read | View-only access for stakeholders or higher-ups |
| View Only | Very limited viewing without downloads |
| Limited Access | Users who need access to a specific item, not the whole site |
For example, you’re managing a SharePoint site for a marketing team.
This includes a manager, a few content creators, external reviewers, and your company’s leadership, who just need to check on progress.
Here’s how you might want to assign the permission levels:
- Manager – Give full control so they can manage the site layout, permissions, and content.
- Content creators – Use edit so they can create blog drafts, upload images, and manage lists.
- External reviewers – Assign view only so they can look at drafts but not download or change anything.
- Leadership – Give them read access so they can check updates, but not accidentally edit anything.
Why these levels? You choose based on responsibility.
The manager needs full access to manage the team’s work. Creators need more freedom than just reading, but not full admin powers.
At the same time, reviewers don’t need to interact with the files, just look. Leadership needs insight, not control.
Giving too much access can lead to accidental changes or security issues. Too little, and it slows down work.
Optional: Creating Custom Permission Levels
Custom permission levels come in handy when the default ones don’t quite fit your needs.
Sometimes, you want to fine-tune a person’s abilities, maybe give them access to upload files, but not delete them.
Going back to the example earlier:
Let’s say the external reviewers need to leave comments or tag documents, but still shouldn’t be able to download or delete anything.
“View only” won’t work because it’s too limited, and “contribute” or “edit” gives them too much control, so a custom level is needed.
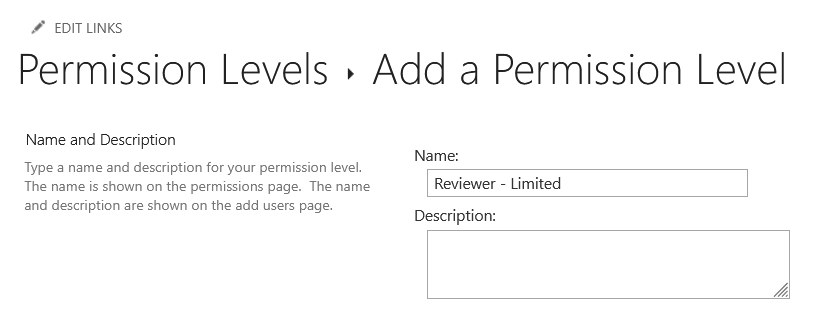
Creating a Reviewer – Limited Custom Level
To build on the example above, let’s first define what this new permission level should do:
- View documents
- Leave comments or tag files (metadata)
- But not download, delete, or edit content
Now, let’s go to the site where we should apply this level (or to the actual site where you need a new custom level).
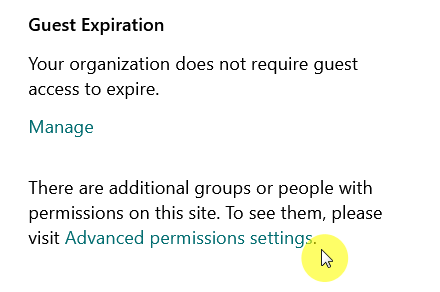
Click the gear icon and then Site permissions, and from there, click the Advanced permissions settings.
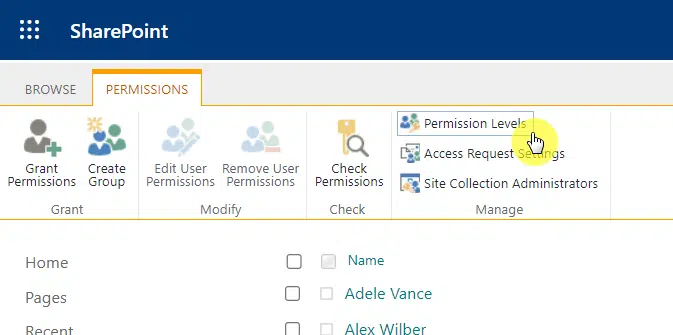
To create a custom permission level, click on the permission levels button and then the add a permission level button.
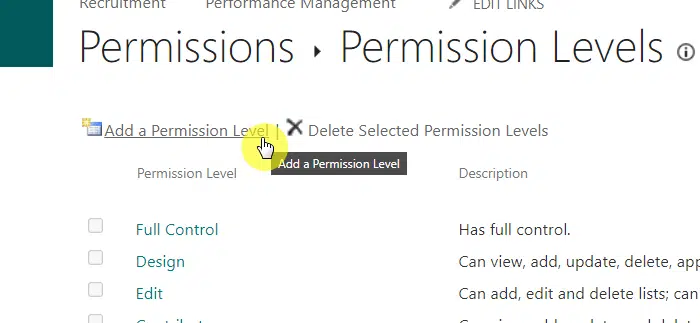
The next page is where you can enter the name of the new permission level, along with its permissions.
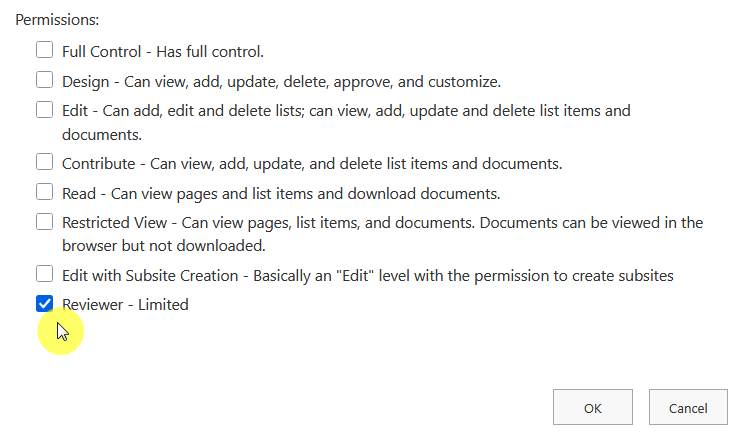
Going back to the example, to meet the definition of this new custom permission level, check the following permissions:
- View items
- Open items
- View versions
- View application pages
- Add items
- Edit items
- Browse directories
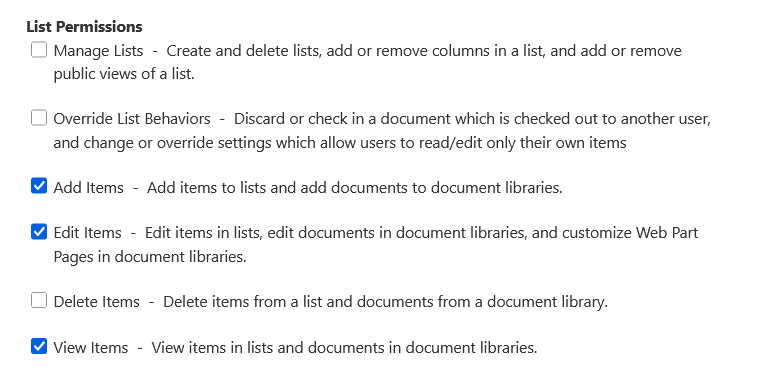
Checking the permission boxes will grant those specific permissions to users and groups with this permission level.
Assigning Permission Levels to Users and Groups
The next step is assigning a permission level to users and groups, which is how you put those “permissions” in action.
Directly to Users
Go back to the old-school advanced site permissions page.
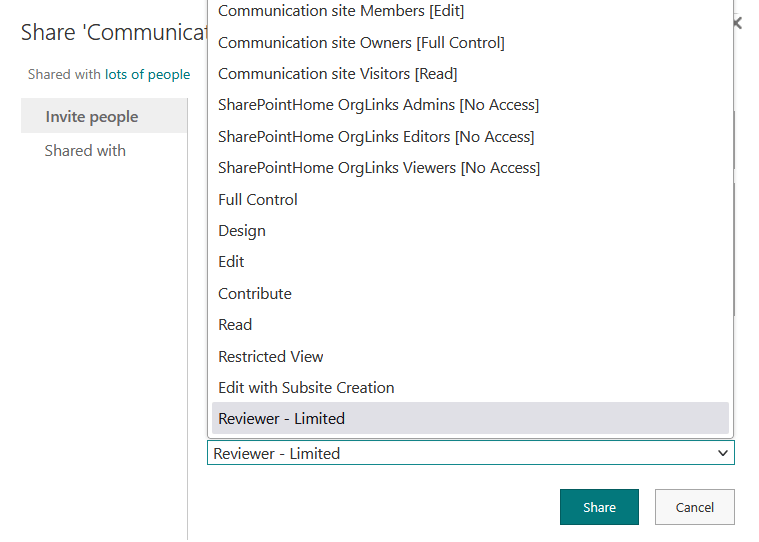
When you add a user through the grant permissions button, make sure to select the right permission level.
Like this:
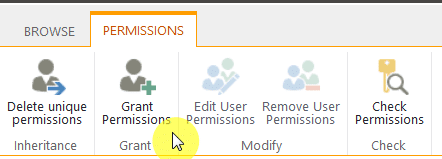
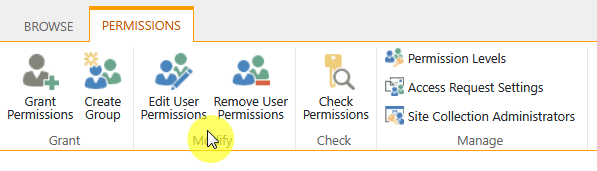
If the user has already been added, select that user first, and then click the edit user permissions button from the ribbon.
Then select the permission level from the list.
This example includes selecting the custom permission level, but you can select any existing permission level that you have.
Using groups is just way easier and cleaner than giving permissions to people one by one.
When you assign a permission to a group, anyone you add to that group automatically gets the right access.
If someone leaves, you just remove them from the group; no need to search through settings for each user.
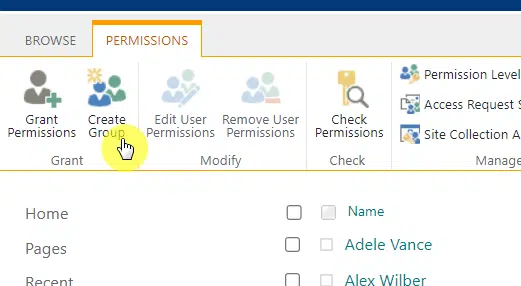
To create a new group, just click on the create group button from the ribbon:
Then create the new group with the right name, and then assign it the correct permission level at the bottom of the form.
Like this:
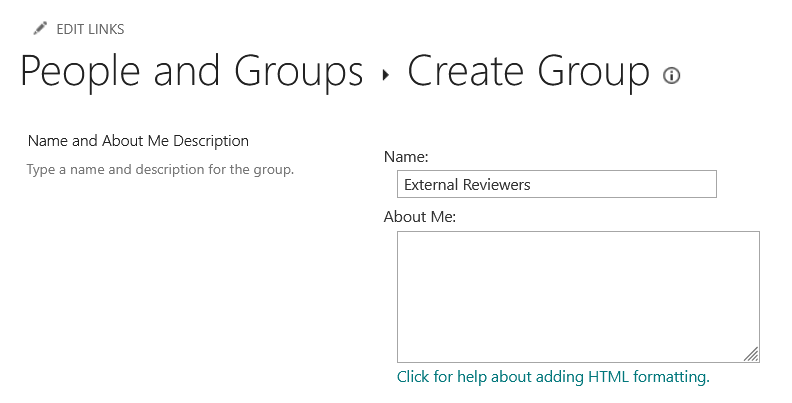

Don’t forget to click the create button. 🙂
By the way, you can also edit the group’s permission level the same way you can edit a user’s permission level.
Managing Permissions for Lists and Libraries
Managing permissions for lists and libraries means giving specific access to parts of your site, rather than the whole thing.
This is a more selective application, like applying “Reviewer – Limited” to one document library only, that reviewers should access.
Here’s what to do:
Step 1: Break permission inheritance from the parent site
This is the first step because, by default, lists, libraries, or pages follow the same permission setup as the site they’re in.
So if you want a list or library to have different rules, you need to stop it from following the site’s permissions.
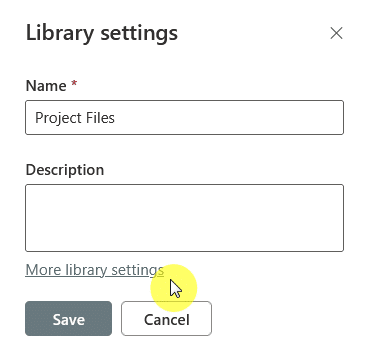
To break the inheritance, go to the list or library’s settings, then to its permissions page:

All you have to do here is click the stop inheriting permissions button from the ribbon.
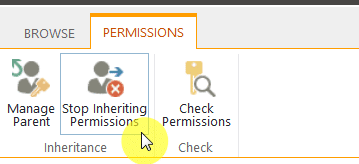
After that, whatever changes you do here in the permissions won’t affect the rest of the site and vice versa.
Step 2: Assign unique permissions
The next step is to manage permissions for that list or library.
For this example, let’s say we have a client feedback documents library that external reviews need to have access on.
After breaking the inheritance, the grant permissions button from the ribbon will appear, and you can enter the group name there.
For example, we can add the external reviewers group we created earlier, and then assign it the reviewer-limited level.
Don’t forget to click the Share button once you’re done.

Optional: You can also remove existing users or groups that were inherited from the site to restrict access further.
Once you apply it to a library, only those people or groups you added to the library will have the specific access level you chose.
Regularly Review and Audit Permissions
Doing this means going back to check who has access to what, and whether that access or permission still makes sense.
Why do this? Because things change:
- People leave the company
- Roles shift
- Projects end
- Sensitive content gets added
If you don’t keep tabs on permissions, someone might still have access to a library they no longer need, or shouldn’t have at all.
That’s a risk you don’t want.
So every now and then (maybe monthly or quarterly), go through your site or libraries and:
- Look at who’s in which SharePoint groups
- Check custom permissions on lists or libraries
- Remove anyone who doesn’t need access anymore
- Make sure the right permission levels are still being used
It’s a simple habit that helps you avoid messy surprises later and keeps your site secure and organized.
Limit Using Item-Level Permissions
What are item-level permissions?
They’re when you set unique permissions not on a library or list, but on individual items, like a single document or one list entry.
So instead of saying “this group can access the whole library,” you’re saying “only these 2 people can see this one document.”
Think of it this way:
- Permission levels define the “what” – what a user can do (like view, edit, or delete).
- Item-level permissions define the “where” – exactly which item(s) those rules apply to.
So, when you create or use a permission level, you’re choosing the rules.
When you apply that level to a single document or item (by breaking inheritance), you’re applying those rules in a very specific spot.
Why limit item-level permissions? Because while they’re powerful, they can get messy fast:
- It’s easy to lose track of who has access to what, especially if many items have their own special rules.
- SharePoint has to check permissions on every single item, and that can slow things down.
- If you’re trying to fix access issues later, hunting down item-level settings is a headache.
Only when it really makes sense.
Like if you’re sharing a sensitive document with just one person, or you need to hide one list entry from most users.
It’s technically just another form of breaking inheritance, but it’s very granular, so use it sparingly, and always document it when you do.
Anyway, do you have any questions about setting up permission levels in SharePoint? Let me know.
For any business-related queries or concerns, contact me through the contact form. I always reply. 🙂


