

Last Updated on April 30, 2023
It’s possible to create a cascading dropdown with SharePoint Lists. Unfortunately, it may not be that simple as creating a lookup column or downloading multiple files from SharePoint.
The good news is, it’s completely learnable. Although there are a few codes involved — you will not get lost if you do it step-by-step using this guide.
Note that the steps explained below can only be applied in the modern experience. For the classic experience, you need JavaScript or InfoPath.
Let’s get started.
Table of Contents:
What is a cascading dropdown?
A cascading dropdown is commonly used in forms and is meant to improve the user experience.
It’s called “cascading” since the selection of the parent dropdown list will affect the child dropdown list and limit the choices to only those related to the parent.
Here’s a good example of a cascading dropdown where selecting the parent item (department) dictates the options in child dropdown lists:

In other words, whenever a user selects an option in the parent list, the child list gets filtered according to the option selected.
Sign up for exclusive updates, tips, and strategies
To create a cascading dropdown list, you basically need to create a power app first, connect it to your data in SharePoint, and add the cascading lookup logic.
Here are the steps:
First off, you need to create separate lists in SharePoint for each dropdown list you want to include in the form.
Let’s continue with the example earlier.
Since there are two dropdowns (department and examination), you need to create a separate list for each, with the child list using a lookup functionality.
The parent dropdown list is “Department” — which contains the different departments as titles:
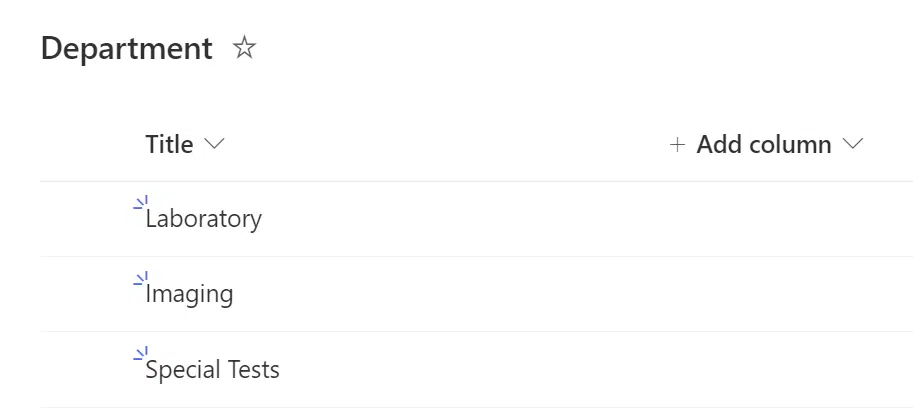
For the child dropdown list, the entries (titles) are the options in this list.
Then, a separate lookup column connects this list with the parent list.
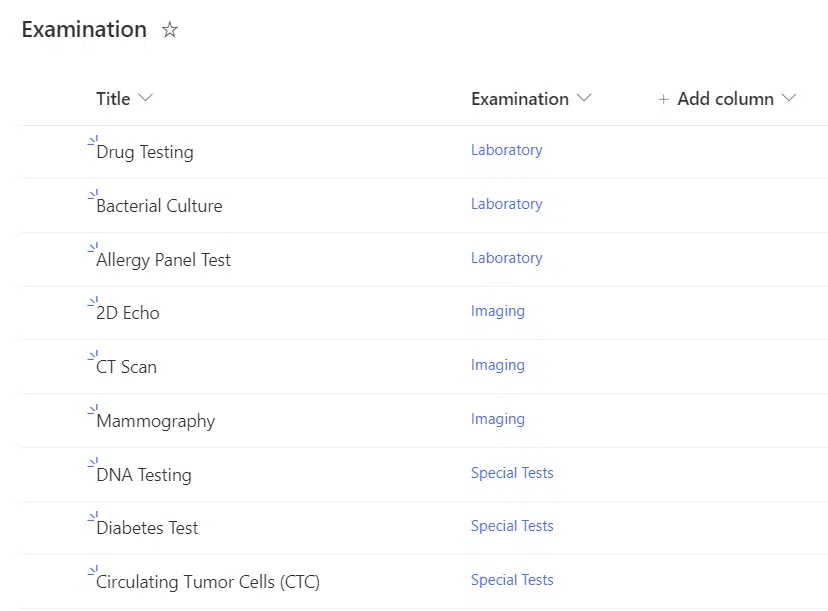
Since you need to add a lookup column, that means you need to edit and link each entry to its correct department.
If you need help with this step, read my guide on how to create a lookup column easily.
Step 2: Create a Canvas App in Power Apps
In this step, you need to use Power Apps.
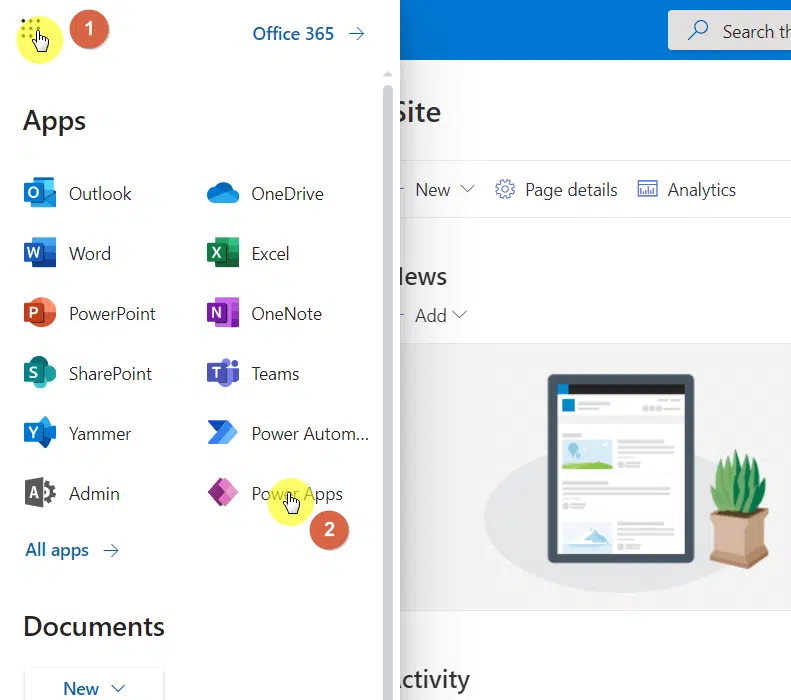
From your SharePoint site, fire up the app launcher and select Power Apps.
Related: Creative Ideas for Microsoft Power Apps: Sharepoint-Ready?
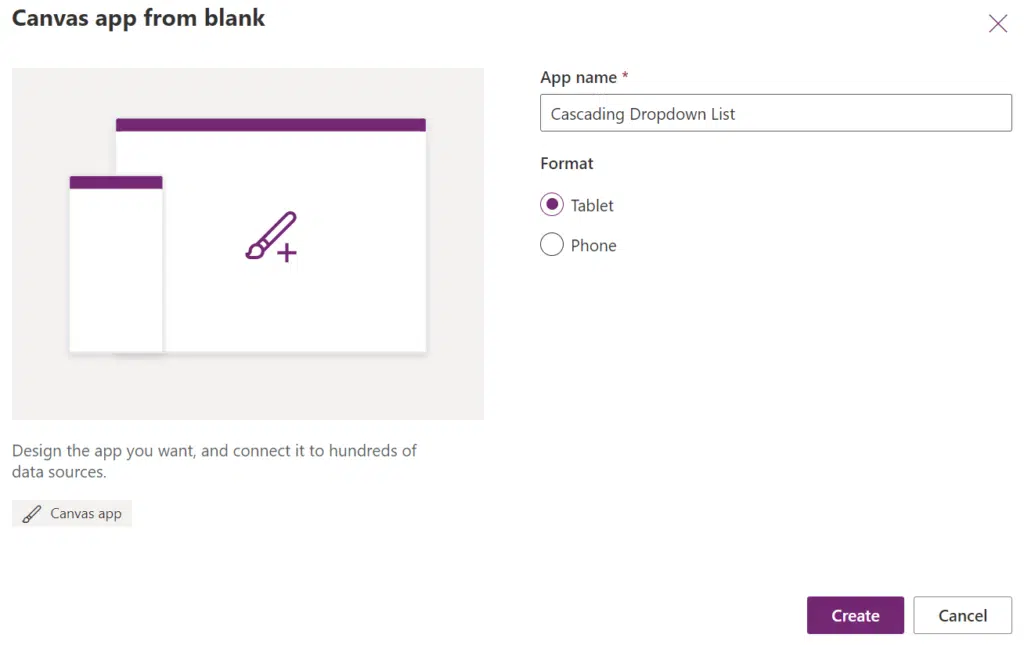
On Power Apps, click “Create” from the left bar and create a “Canvas app from blank”.
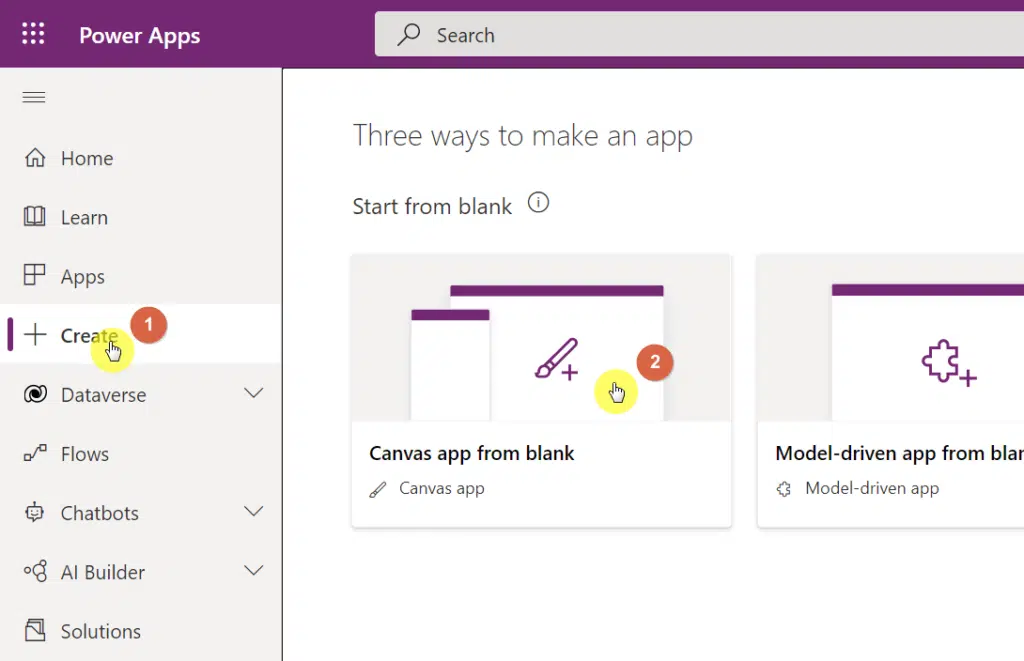
Then, give the app a name that you can easily recognize and choose the tablet format to see it in that layout.
Click the “Create” button to proceed.
Before you can create a working cascading dropdown list, you must connect your data in SharePoint with Power Apps.
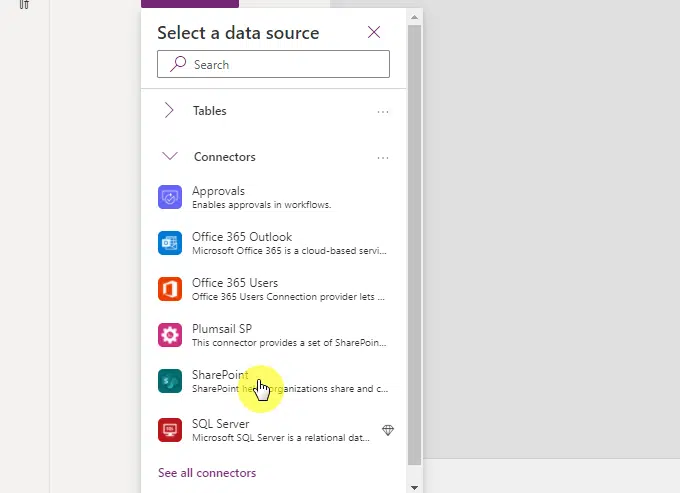
To do this, click the data icon on the left bar and click the “Add data” button.
In the choices, go to the “Connectors” tab and select “SharePoint”.
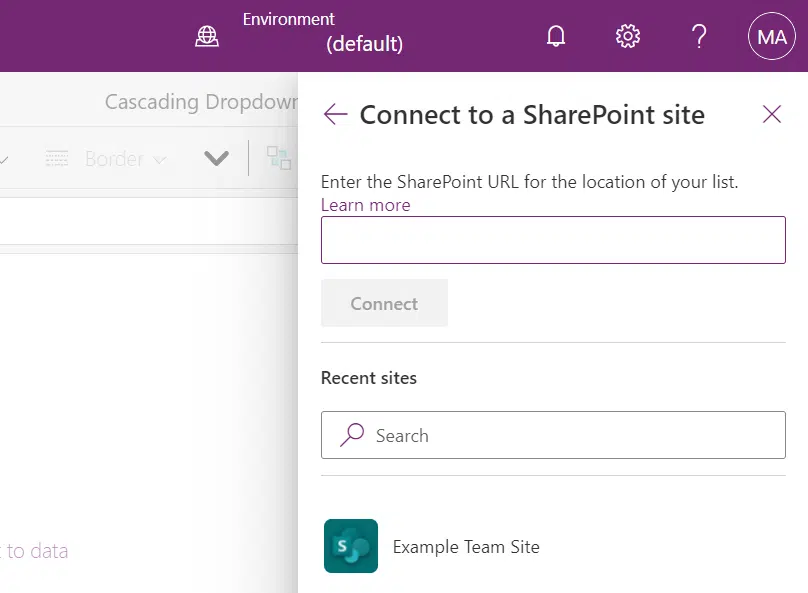
If you got to the Power Apps from the app launcher, you will then see your account and will have to click on it.
To actually connect your data, you will need to either provide the link to the SharePoint list or simply find the site that has your lists.
Select the participating lists and click the “Connect” button at the bottom.
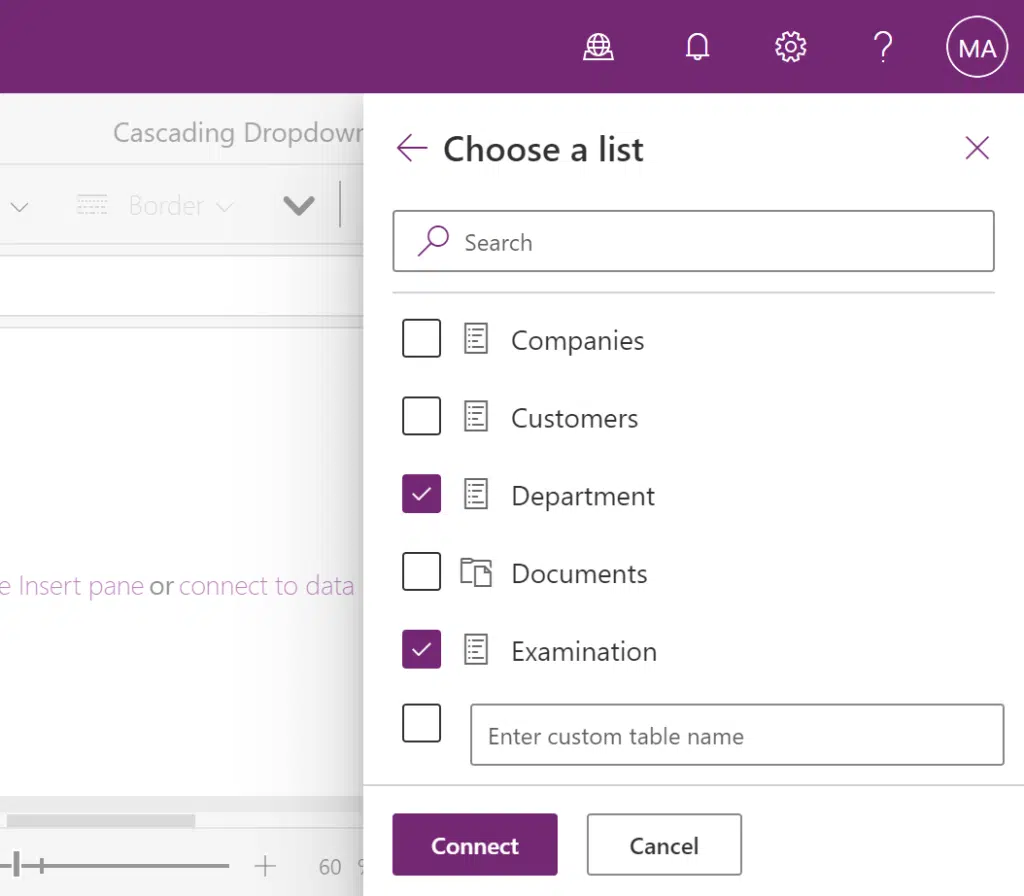
You will then see the lists in the data sources.
Step 4: Create the Form
In this step, you must add two dropdown controls along with their own labels.
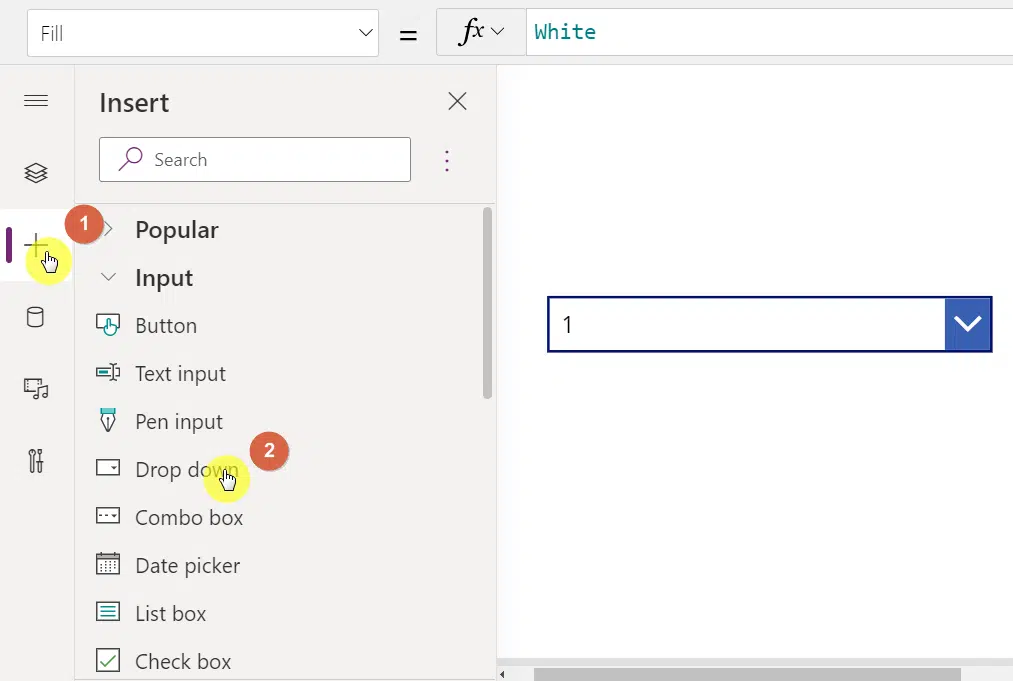
On the left bar, click on the add (+) button.
Under the “Input” group, select “Drop down”.
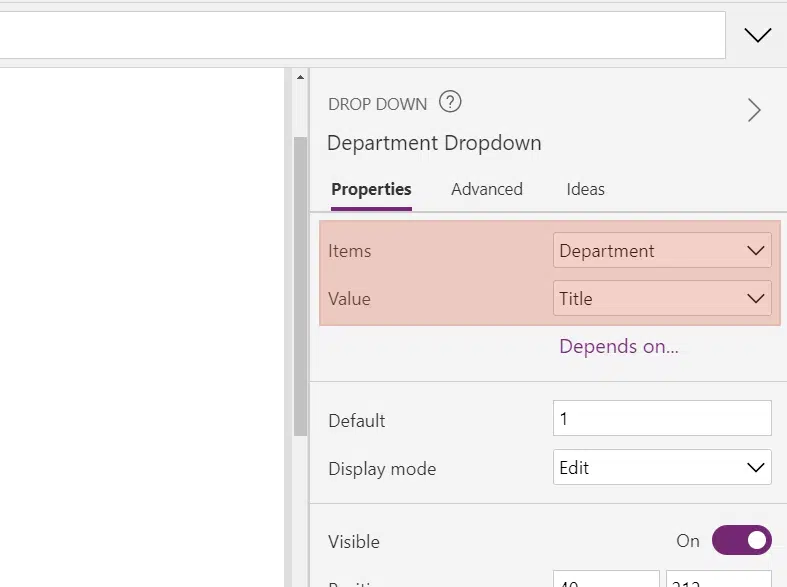
The next step is to customize this dropdown, which shall be called “Department Dropdown”.
Once you click on the dropdown inside the canvas, a properties pane will automatically appear on the right side.
Under the properties (default) tab, change the “Items” to the parent dropdown (in this case, it’s “Department”).
On the “Value” setting, change it to “Title”.
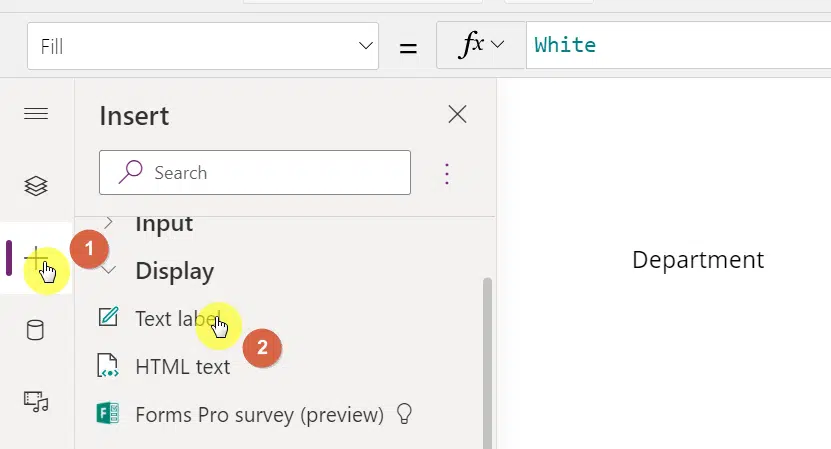
To add a label, click the add button once again and select “Text label” under the “Display” group.
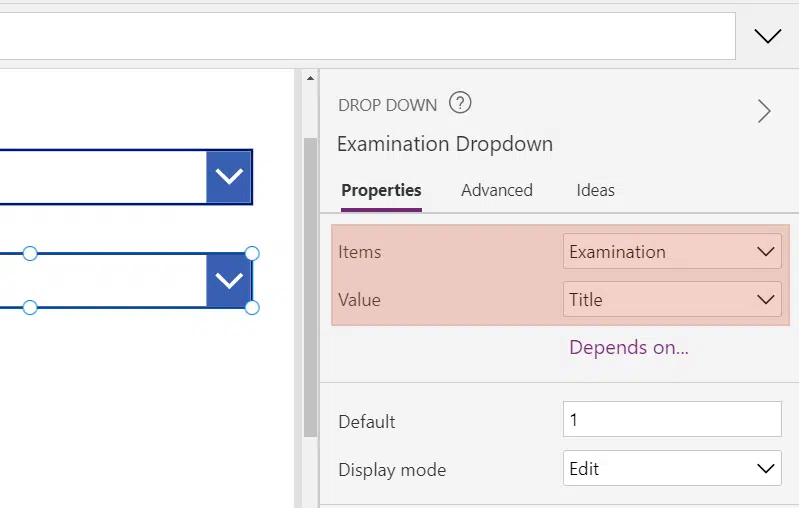
Now, create another dropdown and text label for the child list.
Don’t forget to change the “Items” and “Value” settings for the dropdown as well.
Step 5: Add the Cascading Lookup Logic
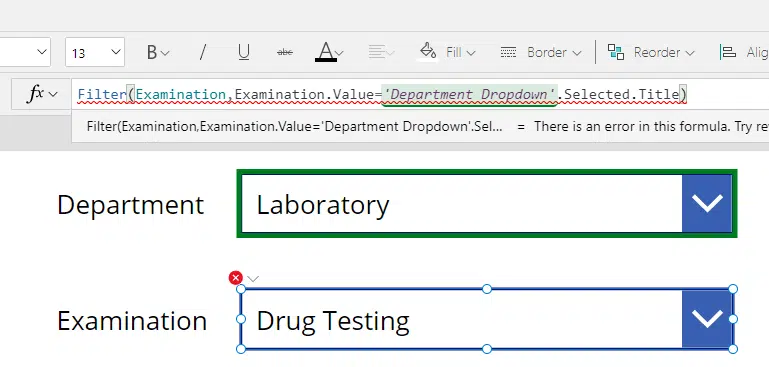
This stage may be a little confusing since you will need to add a code or a formula to tell the dropdown to filter the options based on what’s selected on the parent dropdown.
Before you start, make sure to click on the child dropdown first.
Then, on the formula bar, enter a filter formula as its “Items” property:
Filter(NameOfChildList, LookUpColumnNameOfTheChildList.Value=NameOfParentDropDown.Selected.Title)
In the example, the formula looks like this:
Filter(Examination,Department.Value='Department Dropdown'.Selected.Title)
With that, the child dropdown will now show only the options linked with the parent dropdown.
Before you publish the app and use it online, make sure to test the dropdown first and see whether or not it works.
How to Default the Cascading Dropdown to Blank
One of the things you may have noticed is how the dropdowns always default to the first entry.
Unfortunately, there really isn’t a solution as of now right within Power Apps.
However, there is a workaround you can implement that will default the dropdown to blank, which goes away only when the user selects an option on the parent dropdown.
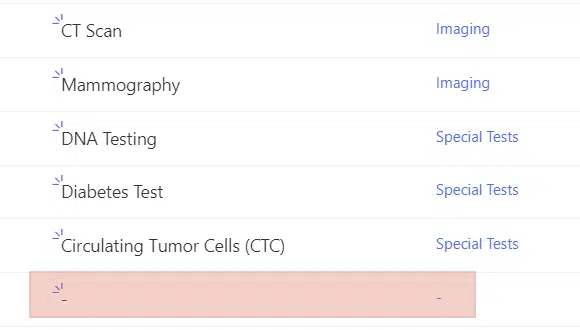
To start, visit your parent list for your cascading dropdown, add a new entry with a blank line (hyphen).
Do the same on the child list and on the lookup column, connect the new entry (blank line) on the parent list.
Now, go back to Power Apps.
Select the parent dropdown and enter the following formula as its “Items” property:
Sort(NameOfParentList,Title)
In the example, the formula will be:
Sort(Department,Title)
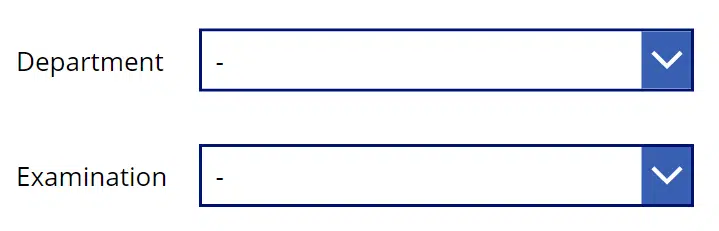
Note that this formula will also sort your parent dropdown (not the child). Since the line goes first alphabetically, the dropdown will default to it.
When a user first visits your form, it will now look like this:
As you can see, the steps to create a cascading dropdown with SharePoint Lists and Power Apps may be a little bit hard.
However, if you have been using Microsoft Excel or you’re familiar with programming, the formula isn’t really that hard to understand.
Note: For creating a drop-down list in Excel, check this out: How to Create a Drop-Down List in Excel in 3 Easy Steps.
If you’re still confused or you have some questions, feel free to drop a comment below. You can also reach me through my contact page.


Following the steps exactly, I got an error on the child dropdown saying “Expected Operator. We expect and operator such as +, *, or & at this point in the formula.” In reviewing your screenshots above, you had the exact same error and red “X” showing on the dropdown. How to fix?
Hi, I hope you found the solution. I too faced the same issue. It worked after I modified the formula to this:
Filter(NameOfChildList, LookUpColumnNameOfTheChildList.Value=NameOfParentDropDown.Selected.Title)
I’m glad you got it to work. Thanks for sharing.
Thank you, your comment here helped me fix this!!!
I there a way to get the cascading lists to work in a sharepoint list? Ex, when i change the value of one row to Lab, the next column options would change respective to that
To my knowledge, this is not currently possible directly in a SharePoint list. Could possibly use PowerApps or a SPFx solution.
I got this to work, but how do I use this on a form to submit data to a SharePoint list?
I have the same problem! I can get the dropdowns to work, but then they go nowhere. I need the data selected to reflect on my master list.
When you say they go nowhere, what do you mean? Do you have a screenshot you can share?
From what I can tell after creating the cascading dropdowns in a form, the selected choices do not save into a form.
I’ve been at it for 2 days…I just can’t get it working. Dropdown 1 ok, but the main thing, which is for drop-down 2 to recognise its Lookup column just won’t work. I tried both the given formula and the slightly tweaked one from Nirupama to no avail. In Properties, there is no “Title” showing for my Parent list. Only the name of the List itself “FBU”. and for my second drop-down menu Properties, Record Centre is my Child list. Then the child list second column created as a LookUp is “FBU linked to RC”. So supposedly my formula should… Read more »
Corrected formula:
Filter(Examination, Examination = ‘Department Dropdown’.Selected.Title)
Thanks. I have updated the post with this.
I thank you for posting this. It helped me. Please accept my suggestion for making it better.
The second column in the Examination list should be renamed to Department. Examination is not the correct name for it.
Then, the correct formula would be:
Filter(Examination, Department = ‘Department Dropdown’.Selected.Title)
I have updated the formula. I appreciate your contribution.
Hello dear,
Is there anyway to apply the following to datacard? I created a sharepoint list, then created a form on PowerApps, and added all the fields, one of them are bloc and rooms dropdown. Each room is connected to a specific bloc, how can i apply this to a datacard not a dropdown? I need to keep it as datacard since i need the search field which is not available in the dropdown
Hi Ryan, thanks for the guidance above for creating dd in Power Apps, but as a novice user in SharePoint, this is too complicated for me. I’d appreciate if you can provide me with a much simpler guide on how to modify / update my current SharePoint list which has two columns ie. Parent & Child which I want to make dependent of each other.