
Table of Contents:
- Step 1: Assess Tenant-Wide External Sharing Settings
- Step 2: Prepare a Pilot Site for Guest Access
- Step 3: Choose Permission Levels for Typical Guest Scenarios
- Step 4: Secure Shared Content With Governance Tools
- Monitoring and Maintaining Guest Accounts
- External Sharing in Teams-Connected Sites
- Ongoing Governance and Policy Reviews
Last Updated on July 6, 2025
Looking for a way to add external users?
In this guide, let’s take a look at the steps to take to set up permissions and protect your data with confidence.
Let’s get started.
Step 1: Assess Tenant-Wide External Sharing Settings
Ask yourself:
What level of access makes sense for your business?
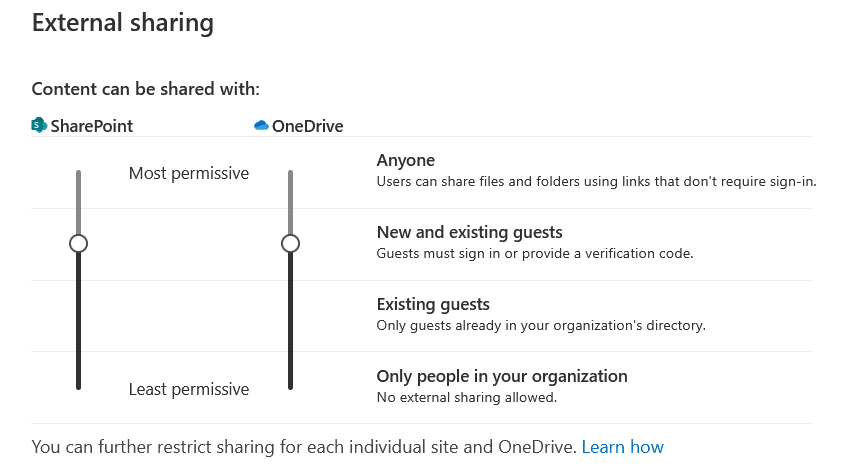
Start by visiting the SharePoint admin center to set the baseline for external sharing across all sites.
In the admin center, go to “Policies” > “Sharing” to find these options:
If your site is connected to a Microsoft 365 group, external users can be managed through group membership as well.
Here’s what to check:
- Choose if you want to share with guests, anyone with a link, or only users in your directory
- Check Microsoft 365 compliance rules
- Confirm your settings match your company’s security policies
- Anything besides “only people in your organization” will enable external sharing
Once you’ve established your baseline, you can further restrict or loosen sharing on individual sites as needed.
Sign up for exclusive updates, tips, and strategies
Step 2: Prepare a Pilot Site for Guest Access
It’s best not to roll out external access everywhere right away.
Instead, follow these steps:
- Pick a test site (can be a communication site or a team site)
- Enable guest access for that site only
This helps you see how the process works before making broader changes.
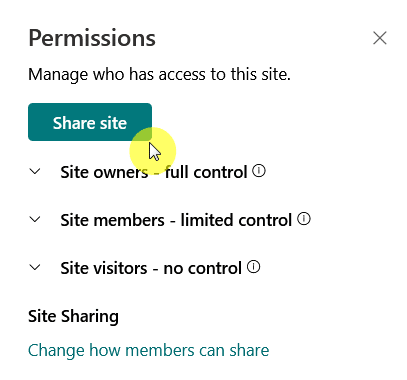
First, in the SharePoint admin center, select your pilot site.
Then, update its sharing settings to allow external users:
- Go to the site settings
- Select “Sharing”
- Set the sharing level to allow guests
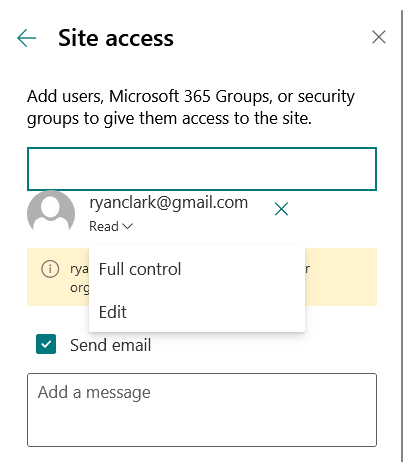
After that, send a test invitation to an external email address and follow the guest sign-in process.
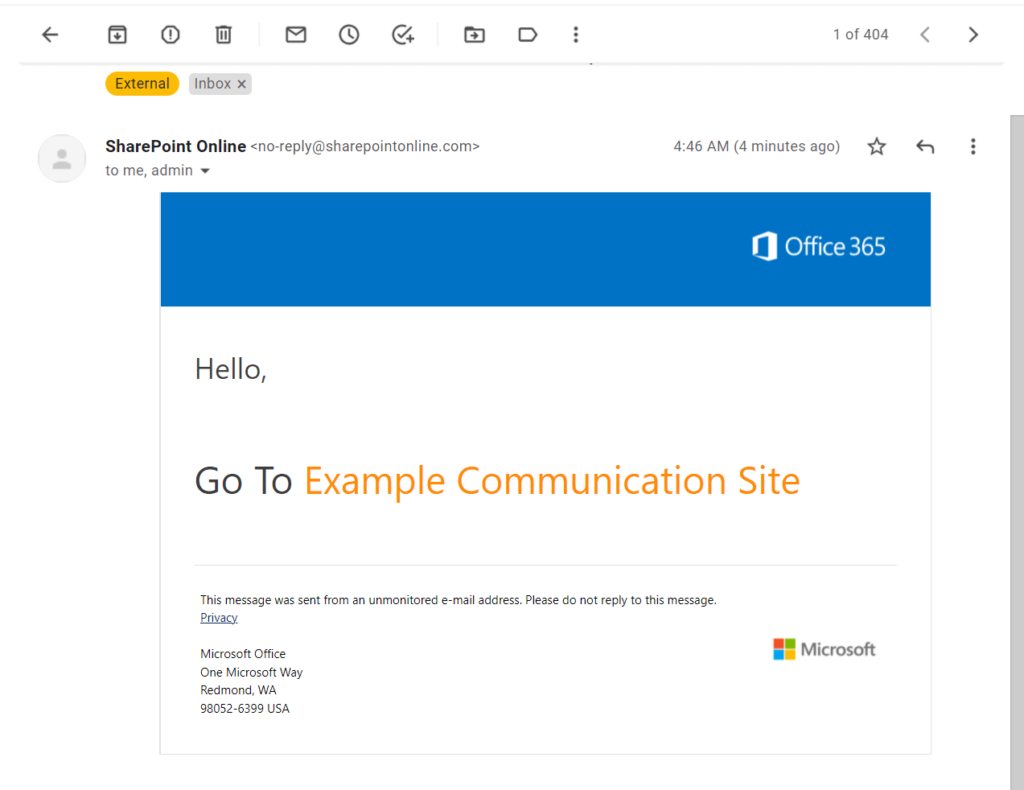
This allows you to spot any potential issues, such as blocked domains or required approvals.
Step 3: Choose Permission Levels for Typical Guest Scenarios
Not all external users need the same level of access.
Here are some common scenarios:
| Scenario | When to Use It |
| Read-Only Access for Reviewers | Give this to clients who only need to view documents or reports |
| Edit Permissions for Partners | Choose this for partners who need to collaborate or update content |
| Unique Upload-Only Libraries | For vendors who just need to upload files without seeing the rest of the site, create a dedicated document library with custom permissions |
For more control, explore advanced permissions settings to customize access for different external users.
Think carefully about what each guest really needs.
If in doubt, always start with the least privilege and increase only if required.
I recommend playing it safe when sharing access for the first time. 😊
Personally, I never rely on permissions alone to keep things secure.
Use SharePoint’s built-in governance features to help protect sensitive data:
- Apply sensitivity labels to restrict actions like downloading or sharing
- Set up DLP (Data Loss Prevention) policies to detect and block confidential information from being shared
- Review and manage “anyone” links, disabling or expiring them when no longer needed
- Block external users from re-sharing files or folders unless absolutely necessary
With these tools, you can add another layer of protection and help prevent accidental data leaks.
I find it reassuring to have these extra safeguards in place.
Monitoring and Maintaining Guest Accounts
Even after your initial setup, it’s important to keep an eye on guest accounts:
- Use the SharePoint admin center and audit logs to track guest activity, such as sign-ins and file sharing
- Schedule regular reviews to clean up unused or expired guest accounts
Here’s how you can use the admin center and audit logs:
- Go to the SharePoint admin center and open the audit log search.
- Filter for guest activity, like sign-ins or file access.
- Review recent actions to spot anything unusual.
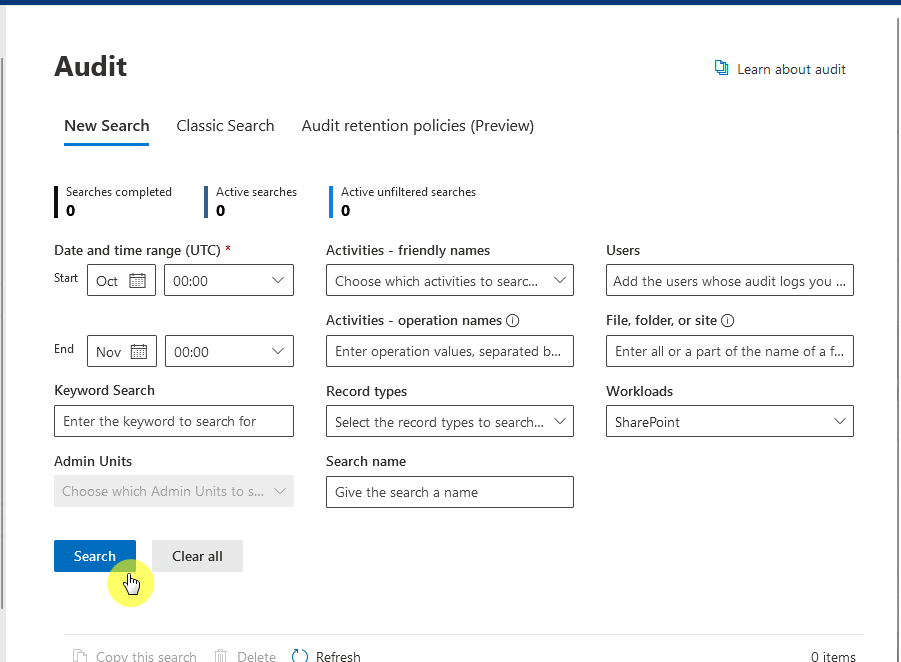
I always check this after adding new guests just to be sure.
To clean up unused or expired guest accounts, open the SharePoint admin center and go to the list of guest users.
Remove any users who haven’t accessed the site recently or whose access is no longer needed.
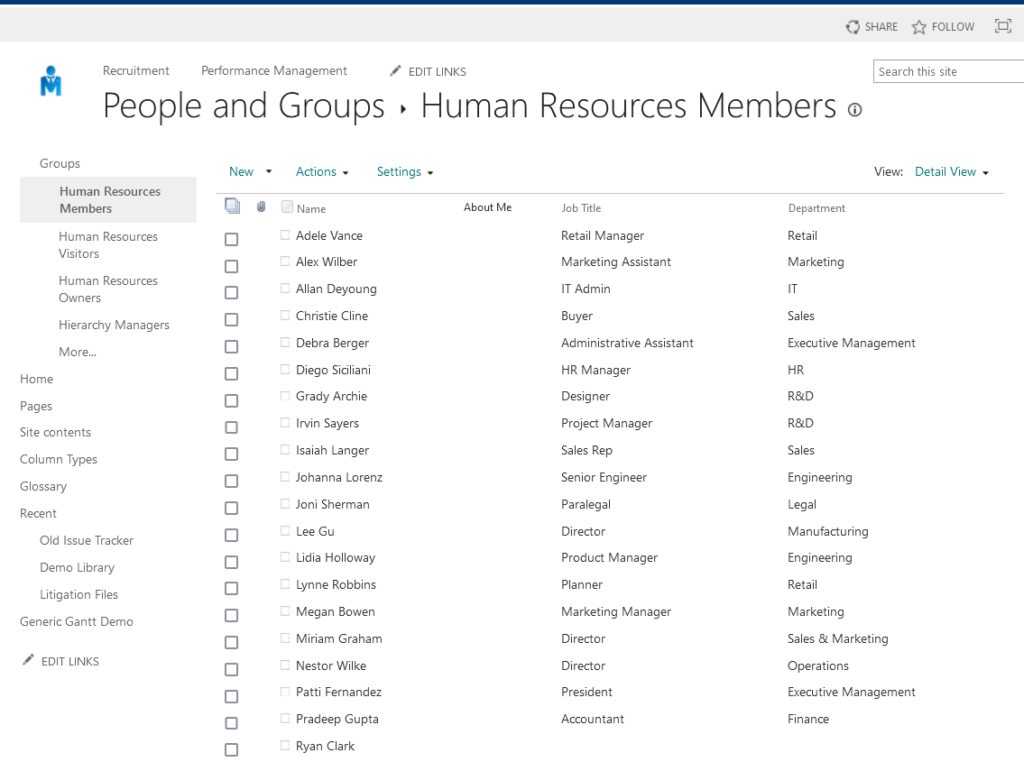
Always make sure to double-check before deleting anyone, just in case.
You can also use PowerShell scripts to clean up guest accounts in bulk.
Just run a script to find and remove users who haven’t accessed your site in a while.
Here’s an example:
# Remove all guest users who haven't logged in for 90 days
$threshold = (Get-Date).AddDays(-90)
Get-AzureADUser -Filter "UserType eq 'Guest'" | Where-Object {
    $_.LastLoginDateTime -lt $threshold
} | ForEach-Object {
    Remove-AzureADUser -ObjectId $_.ObjectId
}
I find this helpful for keeping things tidy without too much manual work.
Automation really saves time during busy months, especially when things get overwhelming.
External Sharing in Teams-Connected Sites
If you’re using Microsoft Teams, every team has an associated SharePoint site collection.
Most standard channels simply use the parent team’s external sharing settings.
However, private and shared channels each create their own separate SharePoint sites.
These sites don’t appear in the SharePoint admin center’s “Active sites” list.
If you try to check site permissions from the SharePoint site, you will see a red banner:

That icon opens the channel directly in Teams.
All permissions for private and shared channels must be managed in Teams, not in SharePoint.
Always double-check channel permissions in Teams after creating a new private or shared channel, just to be safe.
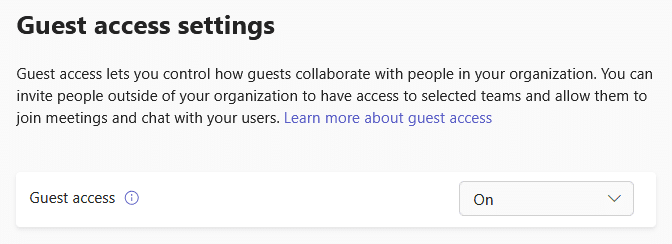
A quick check in Teams keeps guest access consistent, so you always know what guests can see.
Ongoing Governance and Policy Reviews
Review your external sharing controls whenever Microsoft policies or your organization’s needs change.
Here’s what I suggest:
- Set a reminder to do quarterly or bi-annual external user access audits
- Watch for Microsoft policy updates that could impact external sharing
- Update your settings if compliance rules or company policies change
Check the Microsoft 365 Message Center for announcements, and keep a quarterly review checklist.
You never know, regular reviews might save you from accidental oversharing.
Anyway, got any questions about setting up SharePoint permissions for external users? Let me know.
For any business-related queries or concerns, contact me through the contact form. I always reply. 🙂





























Thanks for the clear and actionable breakdown, Ryan! We’ve found that piloting external sharing in a controlled environment—just like you mentioned—is an effective way to avoid misconfigurations and ensure compliance from the start. The combination of sensitivity labels and DLP policies is essential, especially for organisations operating under strict regulatory frameworks.
From our experience helping businesses with Microsoft 365 and SharePoint deployments, we always recommend automating guest access reviews using PowerShell or third-party tools—it significantly reduces overhead for IT teams while keeping environments secure.
Great guide overall. Looking forward to more security-focused insights in future posts!