
Table of Contents:
Last Updated on May 18, 2025
Confused about the access control settings?
In this guide, let’s discuss the access control in SharePoint Online so you can manage permissions easily.
Let’s get started.
What are permission levels?
Permission levels in SharePoint define what actions users can take on a site, library, or file, sort of like pre-set bundles of rights.
Here are the common permission levels:
- Full control
- Edit
- Contribute
- Read
- View only
Most of them are easy to understand, except for edit and contribute, where edit lets users delete content (the difference).
These permission levels help admins avoid assigning too many rights manually, keeping things rather consistent.
There are also SharePoint groups (collections of users) that go hand in hand with permission levels to control who can do what.
Here’s how:
- Instead of assigning permissions one by one, you add people to a group.
- Each group is assigned a permission level.
- For example, the “Members” group usually gets “Edit” rights, while “Visitors” get “Read.”
This makes it easier to manage as you won’t have to worry about users having random permissions all over the place.
Just update the group’s permission or change someone’s group, and you’re good; no need to redo every permission. 🙂
Sign up for exclusive updates, tips, and strategies
Organization-Wide Access Policies
This is important for protecting your content, especially when users access it from devices outside your company’s management.
There are practically two main options to manage access from unmanaged devices:
- Allow limited, web-only access
- Block access
Block access is obvious, while the first one still allows viewing/editing in the browser (no downloading, printing, or syncing).
These settings help balance security with user productivity.
For instance, allowing limited access enables users to work without downloading sensitive files to personal devices.
How to Configure These Settings
The key here is to go to the SharePoint admin center, which you can easily do so by entering this in your browser:
https://yourtenant-admin.sharepoint.com
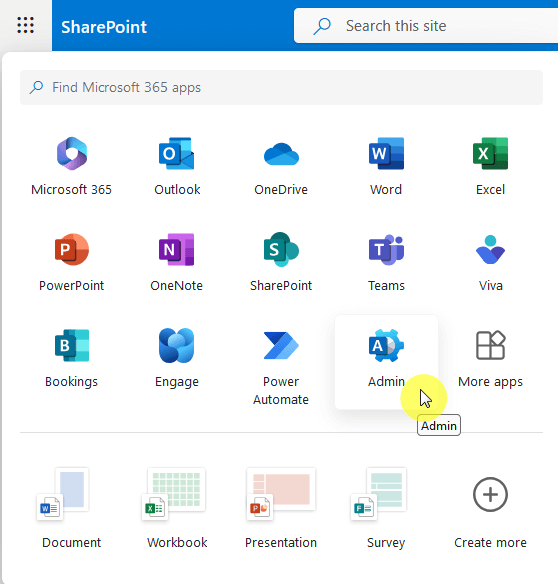
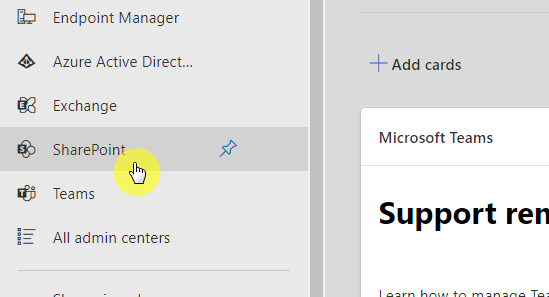
Otherwise, you can go through the app launcher’s admin button, then to the SharePoint admin center option.
Then navigate to the policies item in the left-hand sidebar, to access control, then to unmanaged devices on the next page.


Note that you need an EMS license (specifically, EMS E3 or E5) to block or limit access from unmanaged devices.
Without that, the options in the SharePoint admin center are shown, but you can’t actually use them unless you’re licensed.
Finally, you will also need to assign the license to yourself or whoever is configuring the policy. 🙂
Configuring Site-Level Access Controls
You can still secure individual sites even without an org-wide policy, as site-level access controls give you that flexibility.
Here’s what you can do:
- Allow full access
- Allow limited access
- Block access
Unfortunately, PowerShell is the primary method for configuring site-level access controls for unmanaged devices in SharePoint.
The admin center’s user interface doesn’t offer granular controls for individual sites, only for organization-wide policies.
For this, you can use the command:
Set-SPOSite -Identity <site-url> -ConditionalAccessPolicy <PolicyOption>Where <PolicyOption> is AllowFullAccess, AllowLimitedAccess, or BlockAccess.
This lets you manage access for sensitive sites without needing global enforcement.
Take note that your site-level policy can’t be less restrictive than your org-wide setting (org-wide policy always wins).
But only if you have both site-level and org-wide policy. 🙂
Sharing and External Access Management
When it comes to sharing content in SharePoint, you have a few key options to control who can access your files and sites.
Here are the main sharing options:
- Anyone
- People in your organization
- Specific people
All those options are self-explanatory, with anyone being the loosest sharing option, and specific people being the strictest.
If you ask me, using the specific people is the best option unless you need to share everything with everyone in the org.
Manage Site External Sharing Settings
Managing external sharing settings for a SharePoint site is pretty straightforward once you know where to look.
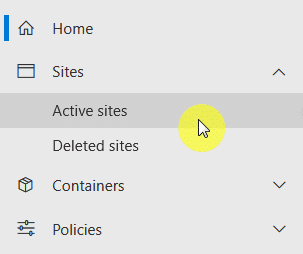
Get to the SharePoint admin center once again and this time, go to the active sites page and find the target site.
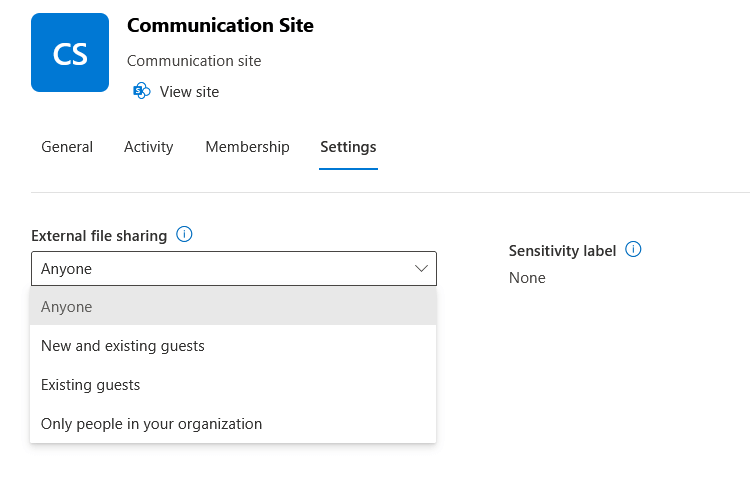
Click on the site’s name to open its settings panel, then go to the settings tab.
You will find here the external file sharing with four choices:
- Anyone
- New and existing guests
- Existing guests
- Only people in your organization
There’s also a more sharing options link below the dropdown that would allow you to configure more sharing options.
Similar to access policies, a site’s sharing settings can’t be more permissive than the organization’s overall sharing setting.
If your whole organization blocks external sharing, you can’t turn it on for just one site. 😅
How about on the organizational level?
Well, it’s just as important, and it sets the maximum “openness” that any site can have.
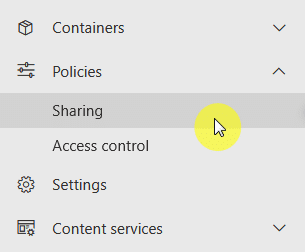
Go back to the SharePoint admin center and go to the sharing option above access control (still under policies).
You will see here a slider that represents external sharing policies from the most permissive to the least permissive.
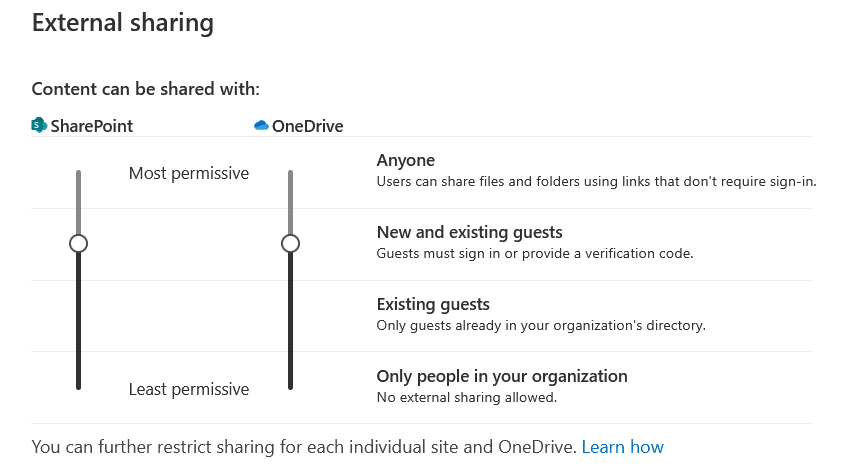
This setting acts like a ceiling as individual sites can have stricter settings, but they can’t be looser than what you set here.
For example, if you set “Existing guests only” at the org level, no site can use “Anyone” links, even if someone tries to allow it.
It’s smart to start tighter and loosen up only when needed. 🙂
Do you have any questions about the access control in SharePoint Online? Let me know below.
For any business-related queries or concerns, contact me through the contact form. I always reply. 🙂


